You’ve NEVER seen an ITX Case like this – ROG Z11 Review

Share:
Table of contents
I honestly don’t even know where to start with the ASUS ROG Z11 ITX enclosure. It seems like a really unique showpiece, it is doing many things completely differently than what we have come to expect from an ITX case. However, it’s also really inconvenient to work with and it’s kind of hard to handle in terms of the assembly procedure. That begs the question of who is this case for and why does it exist?


I spent 3 days working with the Z11 and it brings many unique features that I haven’t seen anywhere yet, like the 11 degree slanted motherboard angle that gives you more room behind the motherboard tray for cables and apparently better cooling too. It’s a showpiece that gives you the flexibility of orientation – either vertical or horizontal – with the GPU always on display and the glass on the side too.
Build Quality


The build quality element here is also absolutely incredible. It’s aluminium, glass, plastic, and steel and they all worked very well together in terms of material choices and aesthetics. However, at $279 USD this case will be tough to recommend even for ITX lovers. Unless you are strictly ASUS ROG fan, maybe this thing isn’t for you. Nevertheless, in this review we are going to cover everything that is awesome about the Z11, everything that is interesting, and everything that is questionable.


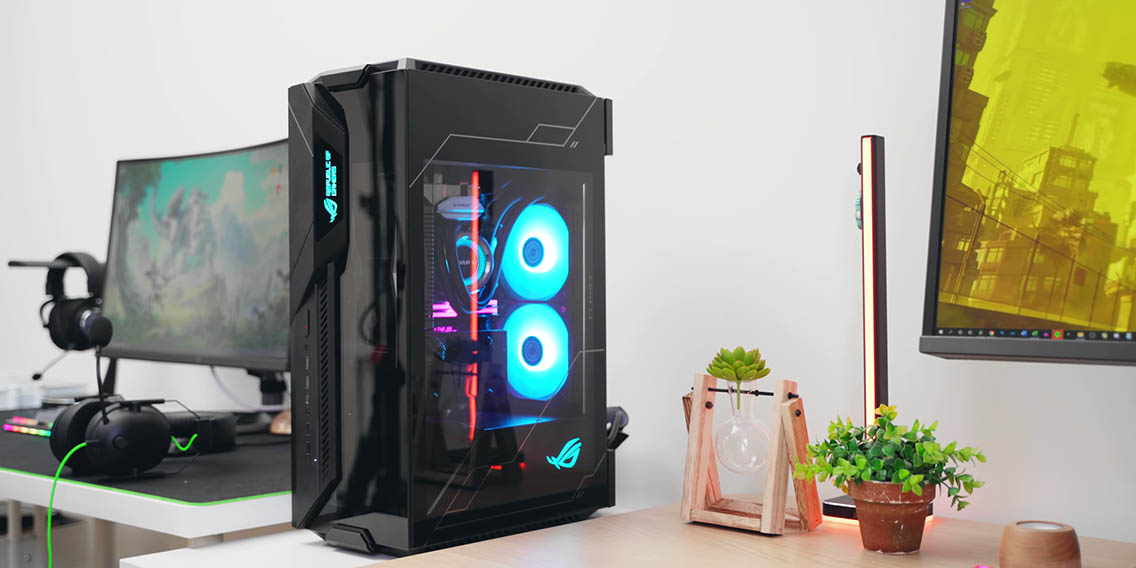
First of all, before we get into the size comparison let’s admire what ASUS has done here with the aesthetics. I have never seen anything like it, it is a true ROG themed case with angular sections, brushed aluminium, tempered glass, really unique ventilation designs, and this complex structural layering on the front, on the sides, and basically all around the enclosure. It looks like something that should be in space and not back on the Earth. Having said that, because it’s all brushed aluminium and glass be prepared to constantly clean this thing after any sort of handling.
Size Comparison


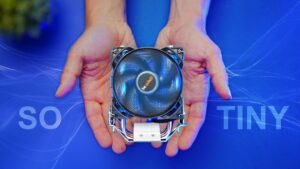
Now let’s talk about that size comparison, and this is kind of hilarious. Right next to the Corsair 4000D Airflow mid-tower, and the Corsair ONE ITX enclosure, the ROG Z11 is a behemoth. In the vertical orientation it is taller than the 4000D mid-tower and it is barely less deep, so it’s basically a mid-tower form factor but for an ITX motherboard. That is an extremely risky move for ASUS to do because the ITX market is obviously going towards smaller and smaller designs. We are seeing compact ITX enclosures that can fit as much hardware as possible while not exceeding that mid-tower category. While here the Z11 almost highlights the direction they wanted to take, not care about the size at all and just worry about the cool factor and the features.
I/O & Accessories


The case’s I/O area is absolutely loaded, four USB ports, two of which are USB 3.0, one Type-C Gen2, power and reset buttons, a combo audio jack, and an LED button with which you can switch the enclosure’s lighting or you can simply connect it to your motherboard for cohesive software control. The I/O is totally accessible to you regardless of the orientation. By the way, power button is in red and does not follow with the whole RGB illumination on the power supply shroud and that whole ROG section at the front.


As for the case accessories, there is a power supply extension that is used when the case is laying down horizontally, and also a power supply SFX bracket because the case supports both ATX and SFX power supplies. Next there is a radiator bracket for the bottom fan if you are going water cooling here and a pump bracket that even has a bit of foam and it can be installed on the interior. ASUS have included a the small aluminium screwdriver, which is going to be helpful for the assembly process. There is an adhesive plastic logo plate that is used when the cases is in the vertical orientation, and finally some bits and screws plus a few zip ties. Make sure to look over the user manual because working with the Z11 is unlike anything I have worked with before in terms of actually accessing the interior, removing the panels, and just figuring out what goes where.
Disassembly


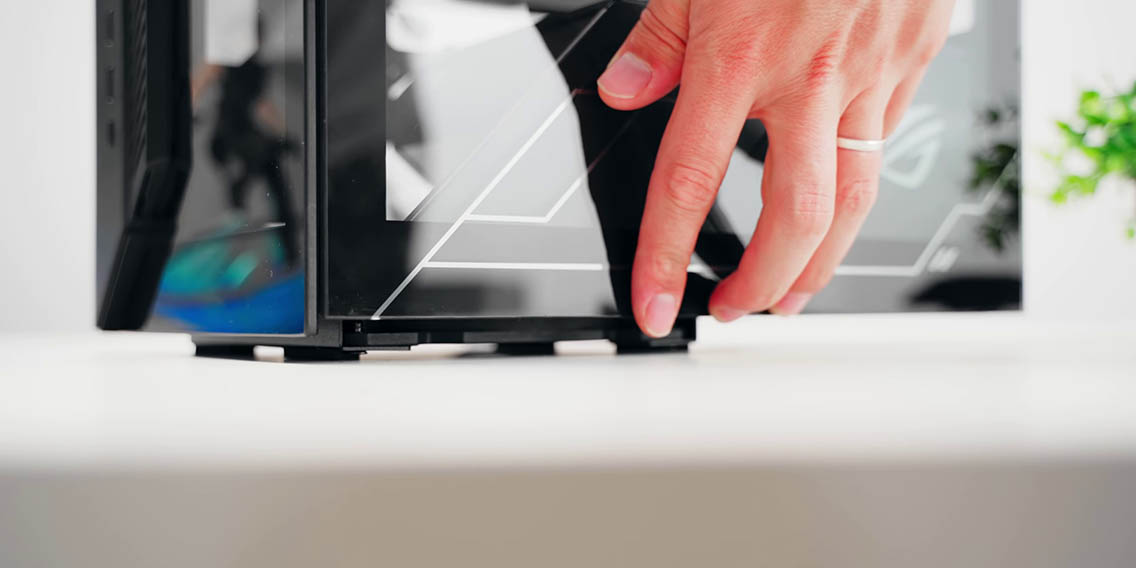


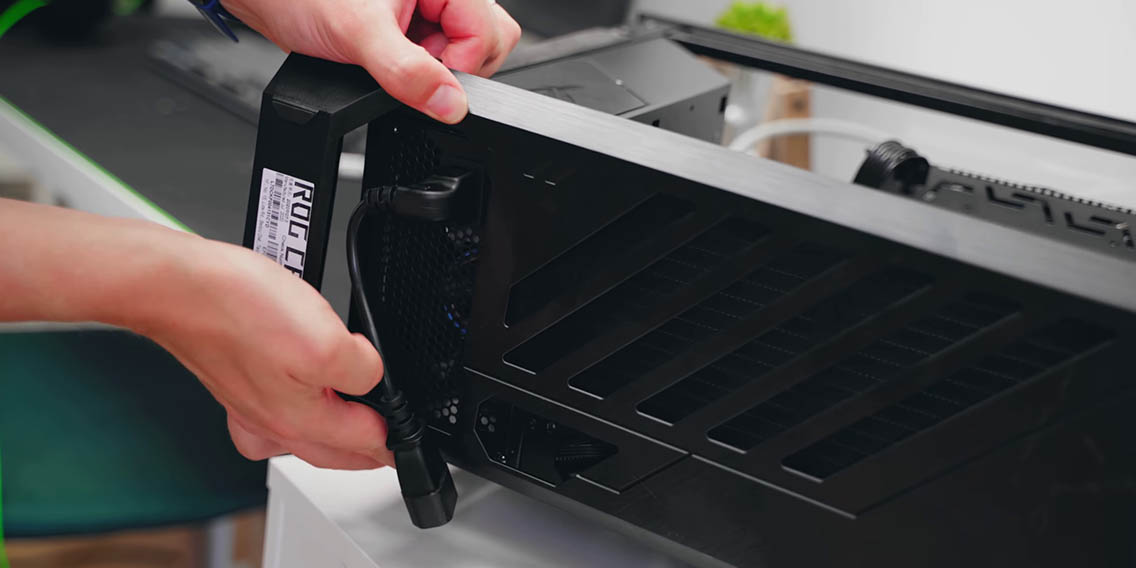
To get inside the enclosure you need to remove the top panel and that gives you access to the side panels, which are screwed in. Luckily, the mount here is super simple with the pegs of the bottom going in first, and then you just slide it from the top. Removing the case’s feet is easy, there is a thumb screw on the inside and then you simply pop off the feet. This means you cannot carry the case by the feet, you cannot use them as handles because that single thumb screw on the inside will not support the weight of a fully loaded system.
The Interior


The interior is unlike anything I have worked with before, and it’s kind of unconventional but in a cool way. Specs wise you can mount DTX or ITX motherboards with CPU coolers up to 130mm tall. You either want to go with something low profile or a water cooler. GPUs up to 320mm are supported, and ASUS says that triple-slot cards can fit inside the Z11, but I think in most cases that won’t work. For example, the recently launched RTX 3090 is a triple-slot card and it’s shorter than 320mm so in theory it should fit, but there are two issues.


First of all, the GPU must have only two PCIe brackets, because as you can see above there is a little frame beside the PCI slots so if you have a third bracket on the graphics card it will not fit. Secondly, if your GPU only has two PCIe brackets – but is a triple slot design – that should fit but then your cooler we will be right against the glass. That is another visual compromise where the graphics card will be pretty right against the glass, but it will be kind of choked of airflow.


This case does have some ventilation at the front with its own removable filter that you can be pulled off and remove for cleaning. There is also some ventilation on the side with its own fine dust filter. As for dust protection for the rest of the enclosure, both the front and back panels have a built-in fine mesh with removal pieces for the sides. There is also a dust filter for the feet panel that is shaped around the ventilation pattern, which makes me think that the tooling for this enclosure must be super expensive, which explains why this case costs $279.


As for CPU cooling, you have the aforementioned 130mm low profile heatsink option, or there is support for a 240mm on the side of the motherboard. However, to do that you have to remove the SSD bracket that can mount 2 SSDs, which compromises/limits your storage options. In the horizontal orientation with the radiator at the bottom and the pump of it that will cause some issues in the long-term for the AIO. Even if you go on with the custom water cooled route it is going to be the same situation because the pump will have to be above the radiator. The case comes equipped with three 140mm 1400RPM fans, which are really powerful and a bit loud at full speed. However, they help tremendously with cooling, especially in the horizontal orientation where you are not blocking too much of the intake. That intake is a single 140mm fan near the power supply, which by the way is on a separate platform so it does not interfere with the power supply compatibility. You can actually mount a really long power supply that might overlap with the fan if you remove that little angled shroud, but at least you will always have an intake fan at the bottom near the power supply.


Speaking of power supplies, since the shroud is so massive full-size ATX units are compatible. This is partially helped by the fact that the bracket at the back is extended backwards, giving you slightly more room for cables on the interior. The dual 140mm fans up top can be swapped out for 120mm fans, and you could potentially mount a radiator there, but it’s not recommended simply because the motherboard I/O is facing that direction so you need that space for clearance for all your cables. If you mount a radiator with a set of fans there, there is no way you can plug in a DisplayPort cable. Secondly, the whole portion of the frame up top is almost blocked off without easy access, so I doubt you could actually fit a 240mm radiator through it.


As a cooling recap, there is a 140mm intake at the bottom that can be substituted for a 120mm radiator with that bracket included. You can mount two 120mm fans beside the motherboard for intake or exhaust with a respective 240mm radiator. And for the top exhaust there are two 140mm fans with spacing for 120mm. This type of cooling potential for an enclosure this massive makes it seem like other things were prioritized. In terms of GPU clearance I would say anything that is 60mm in width and up to 320mm in length should fit no problem. In terms of the height of the GPU you have about 40mm away from the PCIe slot for the GPU height, so tall graphics cards should be fine. As for the motherboard tray, you can clearly see that is angled at 11 degrees, and that gives you a lot of space behind the motherboard tray for all your cable work. We also have that cable cover in front of the motherboard onto what you can mount 2.5-inch drive, so storage isn’t totally compromised if you do decide to go with this configuration. However, M.2 drives on your motherboard is what I would recommend doing.
The Hub


One of the best features about this case – especially for ITX – is the hub at the back. It has six 4-pin fan connectors so that you can connect everything into it, and you won’t require splitters for your ITX motherboard that likely doesn’t have a lot of 4-pin fan connectors. The hub also has three 5V addressable headers, which means you can connect other accessories like my Lian Li all-in-one cooler. I can plug it directly into the hub so I can control all the lighting through hub via my motherboard. There are also two internal USB 2.0 passthrough headers in case you are running an all-in-one cooler or maybe another hub, and you connect both of those into the included hub for the case and then that gets plugged into your motherboard. It’s a lot of wiring at that point, but you only need to do it once… hopefully.
Assembly & Cable Management


Now when it comes to the assembly process, everything is pretty much simplified in terms of mounting the motherboard, the GPU, the 240mm radiator, and routing all your cables. In my example, the cable work took about maybe 15 minutes and it was pretty enjoyable. Yes, the angle of the motherboard does help to hide and stash some of the cables, especially where the angle is at its maximum. However, all the I/O cables are pretty chunky and that leaves you little room to actually compress everything because the side panel is totally flat against that section. One word of caution during assembly is that when the case is in the vertical orientation without the bottom panel installed the fan actually has tiny rubber bits to prevent it going directly against the surface that you are working on, so just be careful with that.


My one issue with cable management wasn’t routing everything, but actually connecting things into the motherboard, like USB ports, DisplayPorts, the LAN ethernet cable, etc. The reason for this is that the motherboard is facing up, therefore all your I/O is internal and you have to plug in everything from the back panel and route it into the motherboard. This is extremely difficult to do because there isn’t enough room, reaching the graphics cards was the most challenging part for me. I imagine that having to replace a USB cable or replug something in that is going to be a nightmare. Not only because you have to remove the side panels, which requires that you remove the back panel, the top panel, and the side panel as well, but you also have to take into account the orientation of your enclosure because both of those introduces different challenges for your motherboard cables.


You will have to shut down the system or turn off the top fans when you are replugging anything into the motherboard. This is especially true when doing anything for the GPU cable routing, because that DisplayPort cable is absolutely massive and it touches the top fans. I had to reroute it so that it touches the fan frame and not the blade. Furthermore, I wish that ASUS had built-in the power supply adapter somewhere on the inside because in the horizontal orientation using the included 90 degree adapter. At the moment you have to follow a particular assembly procedure of plugging it in, routing it through the little feet so that it exits on the right side. You have to think about so many things for this thing to look good. At the end of the day you have the power supply cable at the front while all your I/O cables are at the back.


To summarize, with the ROG Z11 you will have no issues cleaning up the interior, but it is all the exterior cables that will look kind of messy. I wish they would have put more thought into exterior cable management, because going from horizontal to vertical orientation requires a bit of cable readjustment.
Temperatures


As for cooling, I was surprised to see a massive temperature difference in horizontal versus vertical orientations. In the horizontal position our GPU was so much cooler, and my thinking is that because the front fan is unobstructed we have this front to back constant column of air. In vertical orientation the bottom of the case is basically just choked. When we compare temperatures versus other ITX cases, the CPU and GPU are the best that we have seen at least in the horizontal orientation. However, that is to be expected given the size of this “ITX” case. Furthermore, I was expecting to have a bit more variety in cooling potential, perhaps support for larger CPU towers and maybe more water cooling support.
Conclusion

After having worked with ROG Z11 I still can’t pinpoint who this case is for. It’s not for ITX lovers because they prefer smaller cases like the NCASE M1 and the DAN Cases A4-SFX. Even the new NR200 from Cooler Master – which is slightly bigger in the ITX space – is much smaller than the Z11, much cheaper too, and it offers better cooling capacity and potential.


The unique part of the Z11 is its design and the concept of releasing something that is completely out of the ordinary. We should give ASUS some props for trying to do something risky like that, but of course at this price point the flaws are hard to accept. I think the demise of this case was the focus on the variable orientation, because if this was a normal unidirectional case then ASUS could have focused their attention on making sure that the motherboard I/O was facing/exiting one of the sides. However, this case does have that vertical orientation, which looks cool but gives you worst temperatures.


My favorite part about the Z11 is design, I love all the paneling, all the layering for glass, the brushed aluminium, the designs of the ventilation, all the angularity of the enclosure, but I still would not recommend this case for anyone looking for in the ITX experience. Let me know what you think about the ASUS ROG Z11, I suspect the majority of you will similarly not be too thrilled with the case.