Clean Up the Cable Mess for LESS – PC Desk Cable Management Guide

Share:
Cable management is my least favorite thing about building computers, about setups, about managing my studio. It’s one thing to clean up the space for an Instagram shot to have everything pretty and clean, but it’s another thing actually having to live in the space, working in it, and it being as effective as possible. When it comes to cable, if I have to replace a keyboard or mouse I don’t want it to be like a 30 minute adventure of trying to reconfigure all the cables.

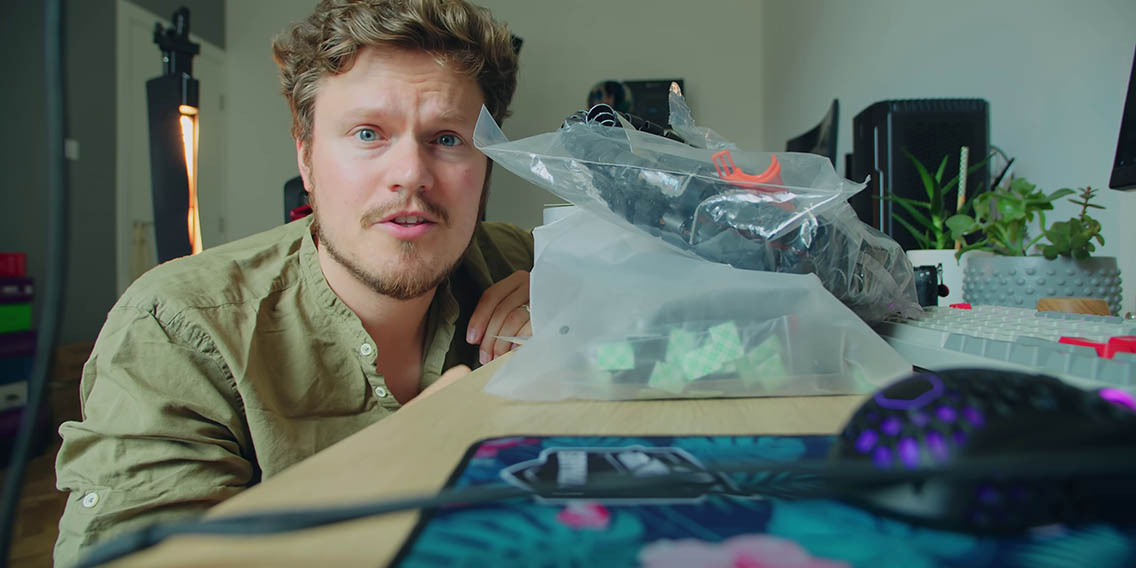
I totally get that some people find it therapeutic to neatly organized cables, but I honestly don’t. Therefore, Mike and Eber challenged me to spend $50 on the most popular cable management accessories from Amazon to see if I could be motivated into doing it right. As you might have guessed, the point of this article is I’m going to do some cable management and hopefully find a way for me to actually enjoy it too.
The Accessories

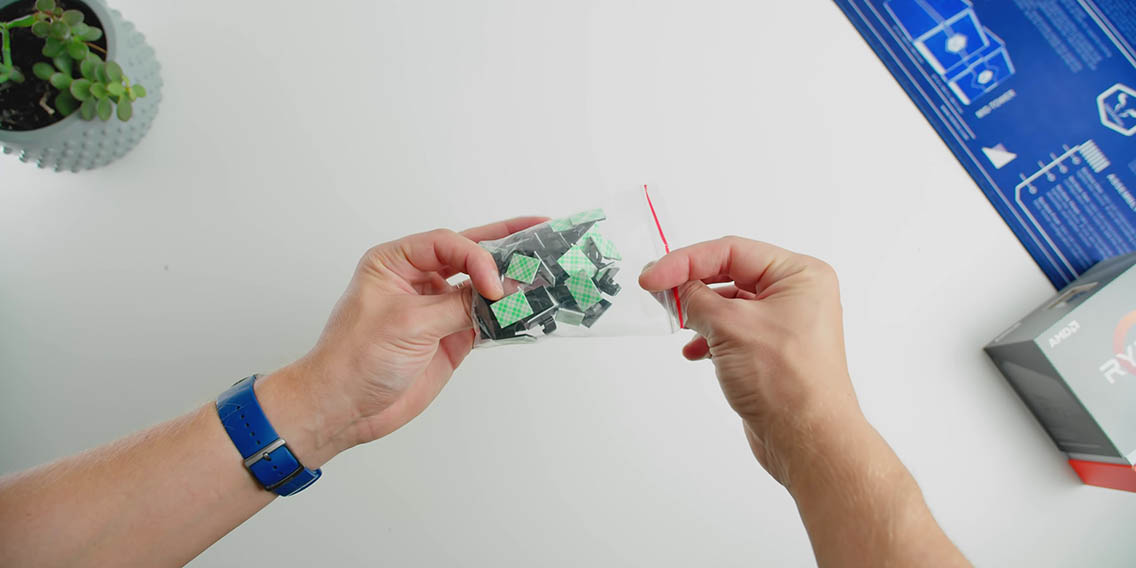
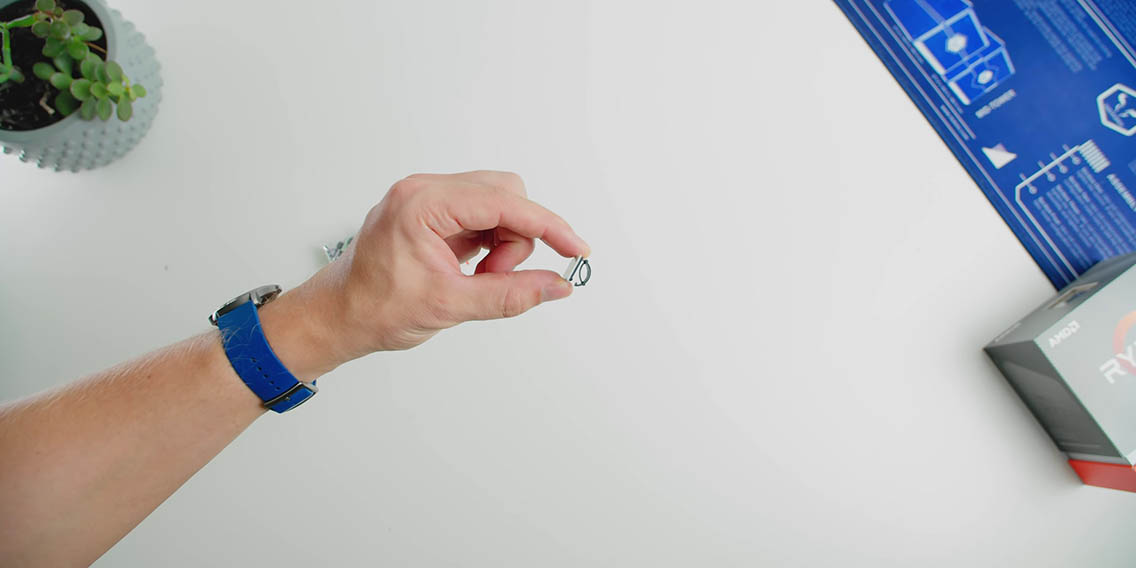
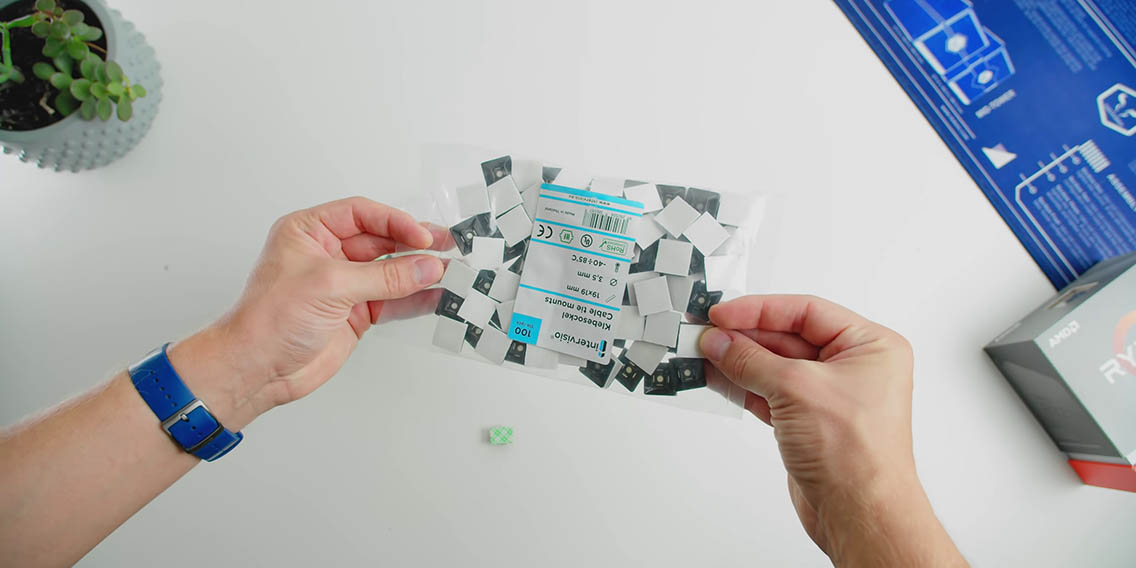

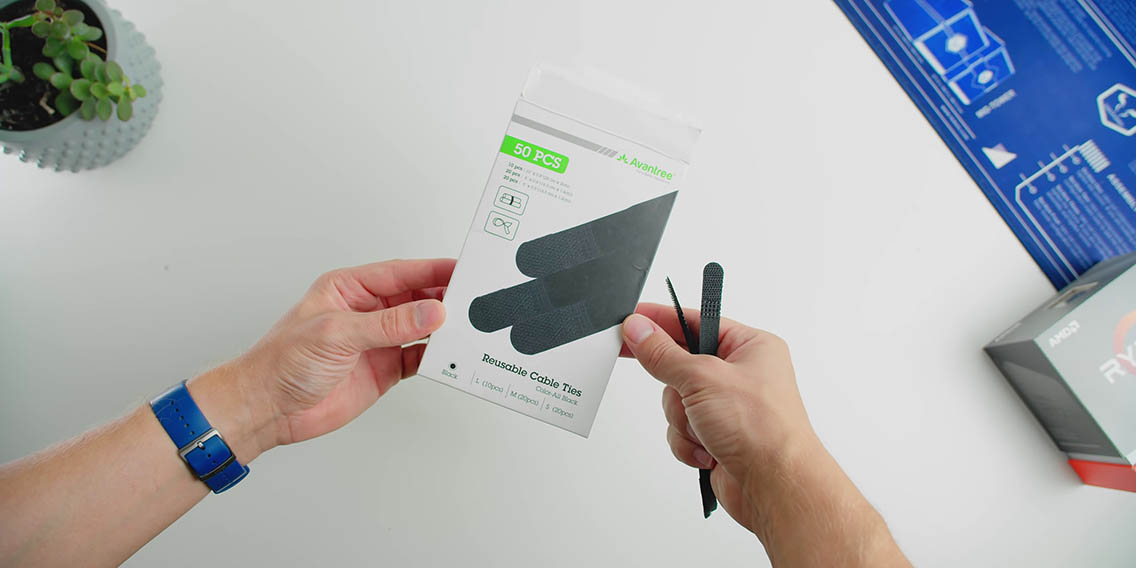
What started as a project that I was kind of dreading turned out to be actually quite fun… I never thought I would say that about cable management. Many of the techniques we apply in dealing with cables inside a computer case apply to a desk as well. Surprisingly, a lot of the accessories that I bought were not as helpful as I thought they would be. First to have these really awesome adhesive clamps that you can put literally anywhere on your table, under, on the side, or even above. I also have these adhesive cable tie mounts, and they are awesome because you get to decide how large the cable tie you should use. Of course, I have large and small cable ties and Velcro cable ties, which are super important. They also come in different sizes and the best part is that they are reusable, so if you need to open up a flock of cables you don’t have to cut anything, just simply open it up, remove a cable, and tie it back down.
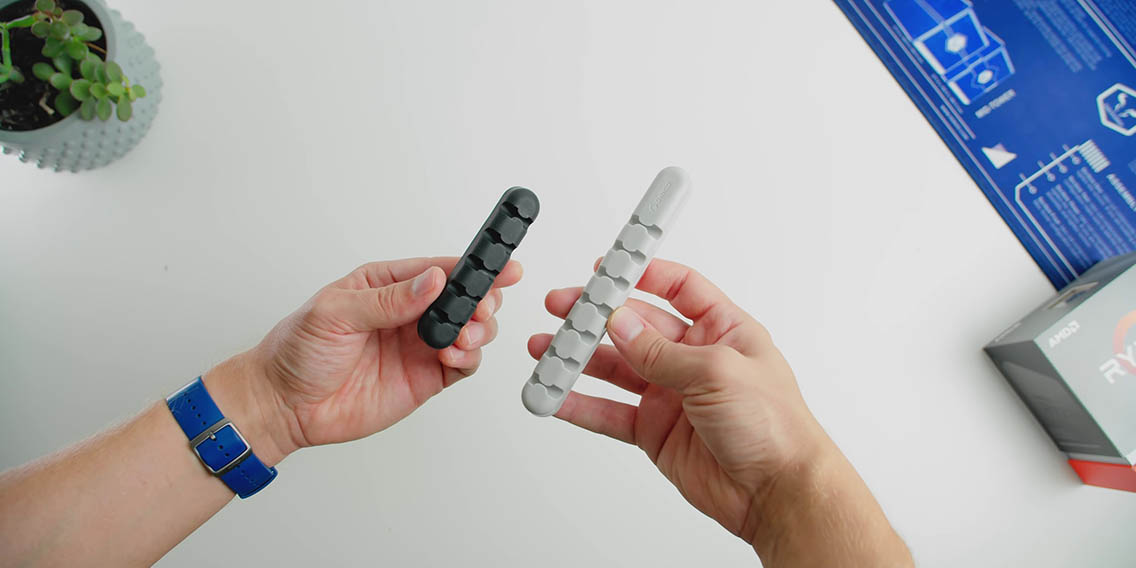
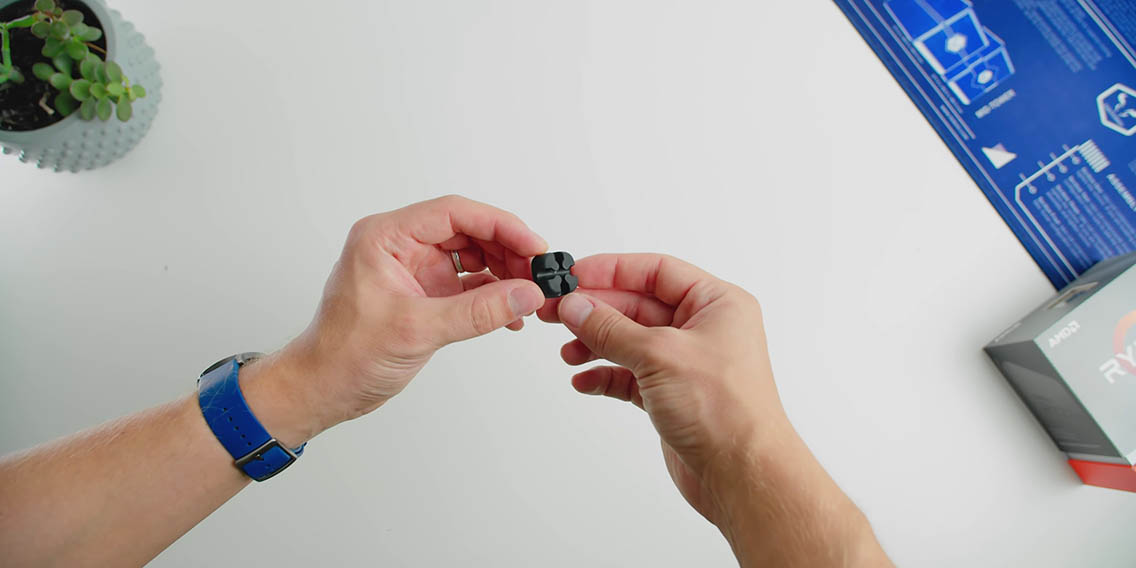
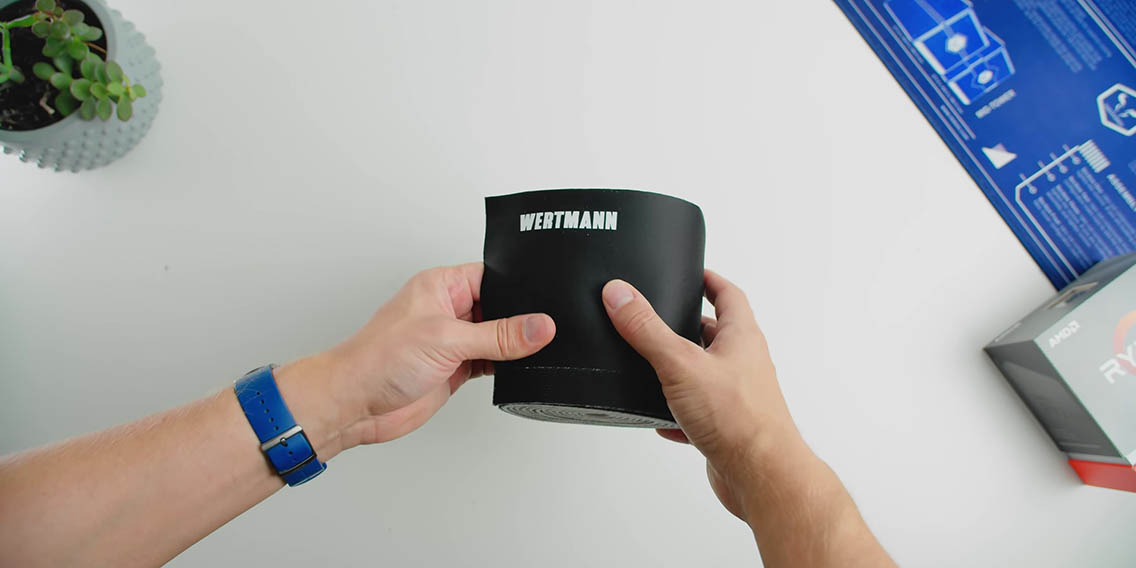
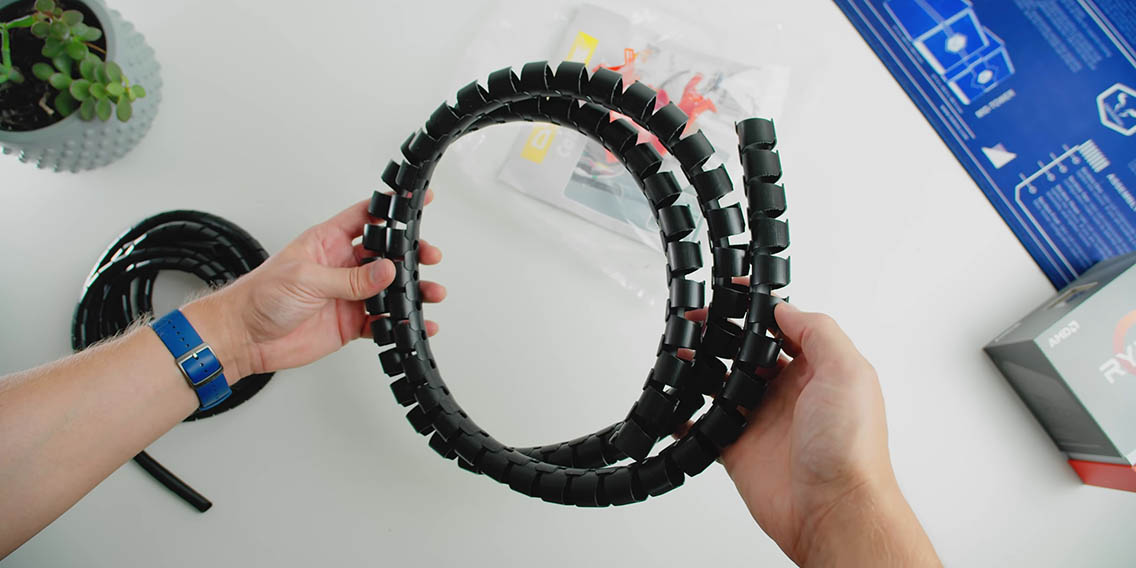
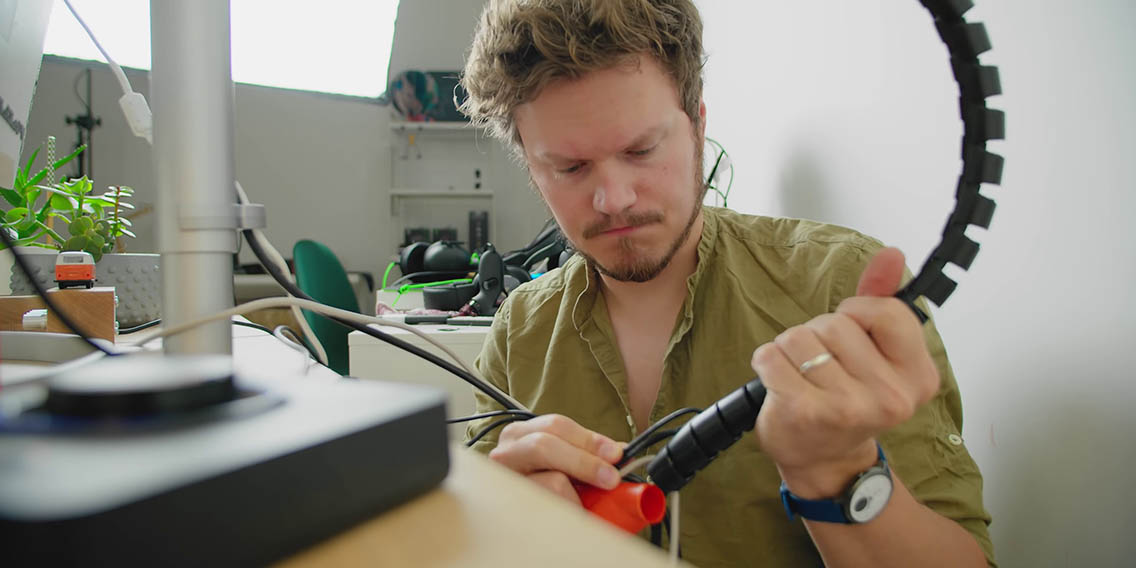
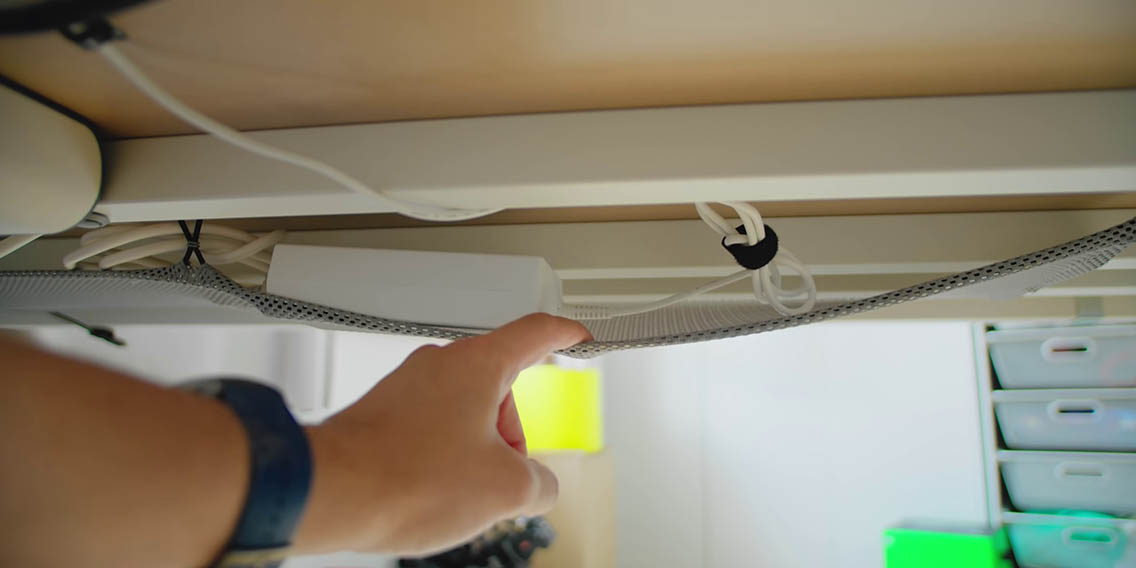
I also have a few of these adhesive rubber cable channels, so if you are using a specific cable that you don’t want to be reaching for constantly it’s a nice way to get that secured on your desk and in the reach. They always come in different sizes and different colors too, and I will a hundred percent use them all in the long run. The last two items include this flexible Velcro channel that you can cut to size, and they are awesome because they can house both small and large cables. And the last item are these plastic cable channels that are great for security, because it’s super difficult to remove cables from them, and because of the plastic design everything stays in place.
Starting The Cable Management
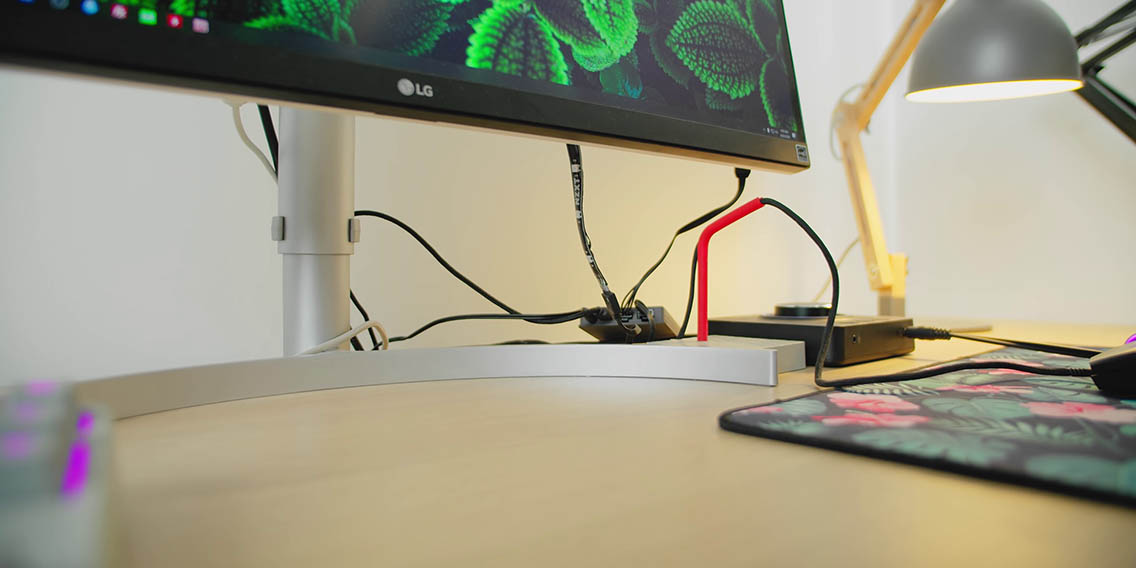
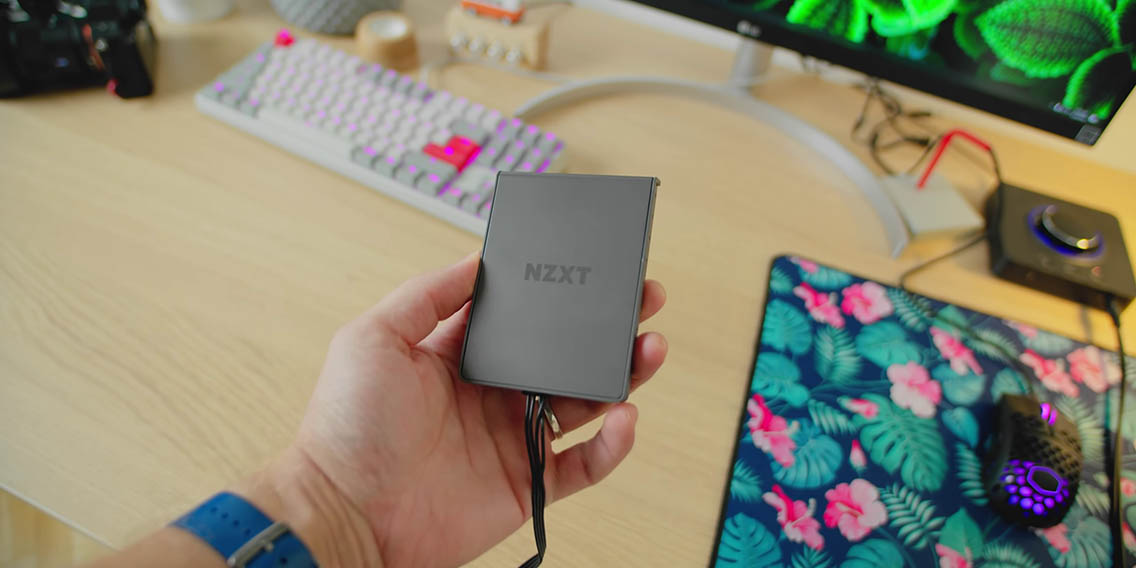
The first part of cable management – much like a case – is to remove anything that is unnecessary. In my case I definitely want to remove the NZXT HUE 2 hub behind the monitor. Not only was it adding bulk the cables, but it’s been bugging me and not really working properly, so that has to go.
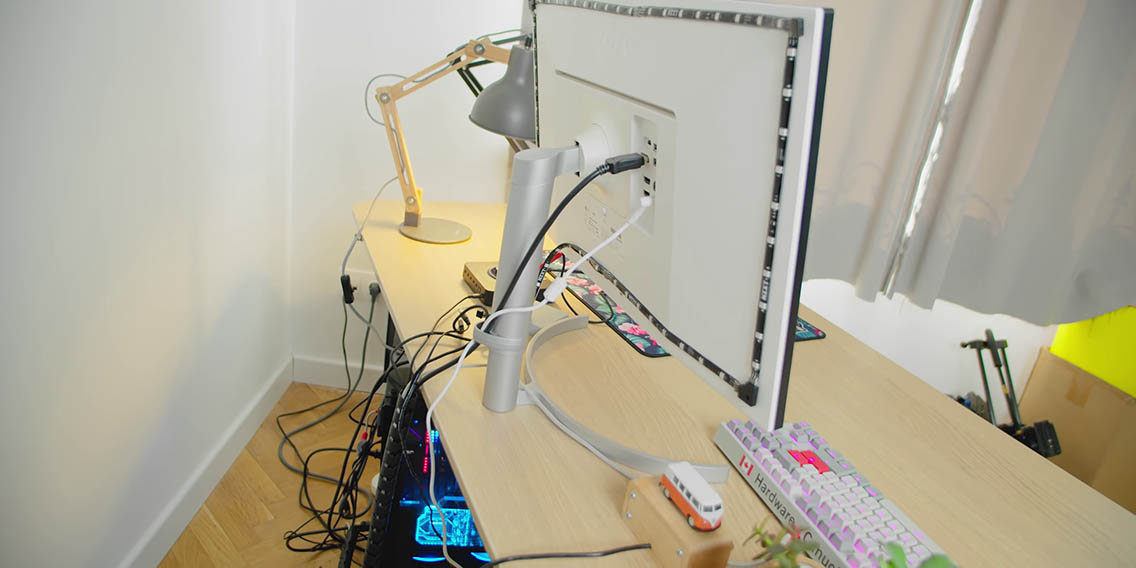
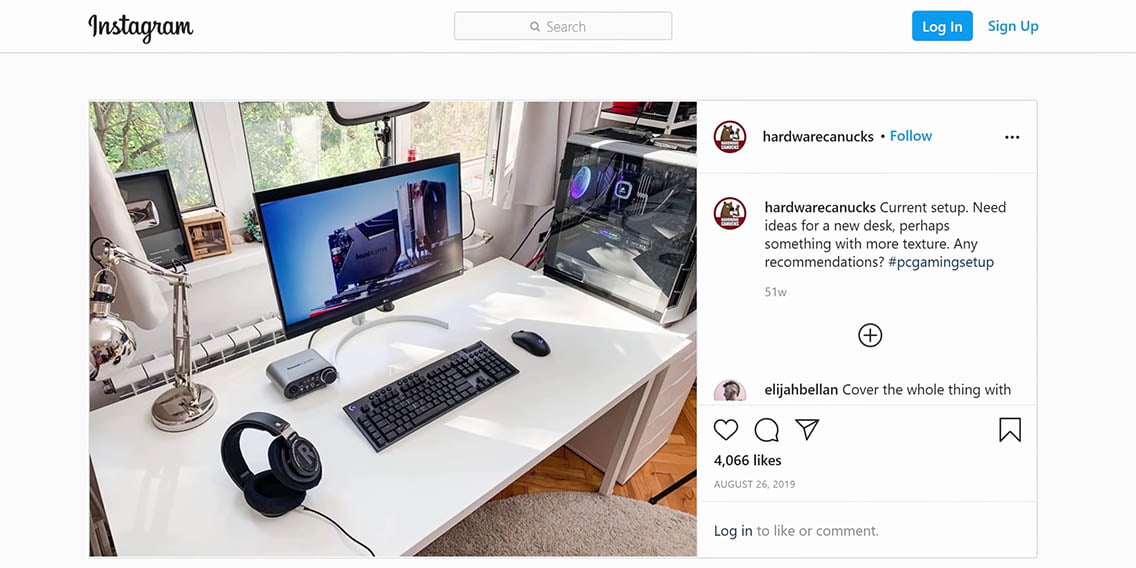
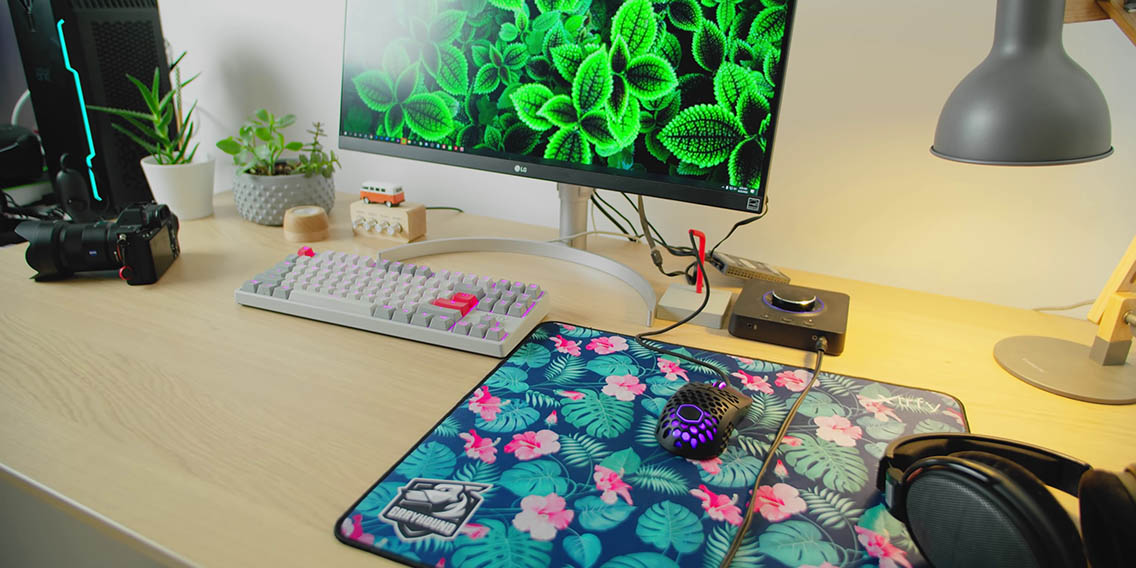
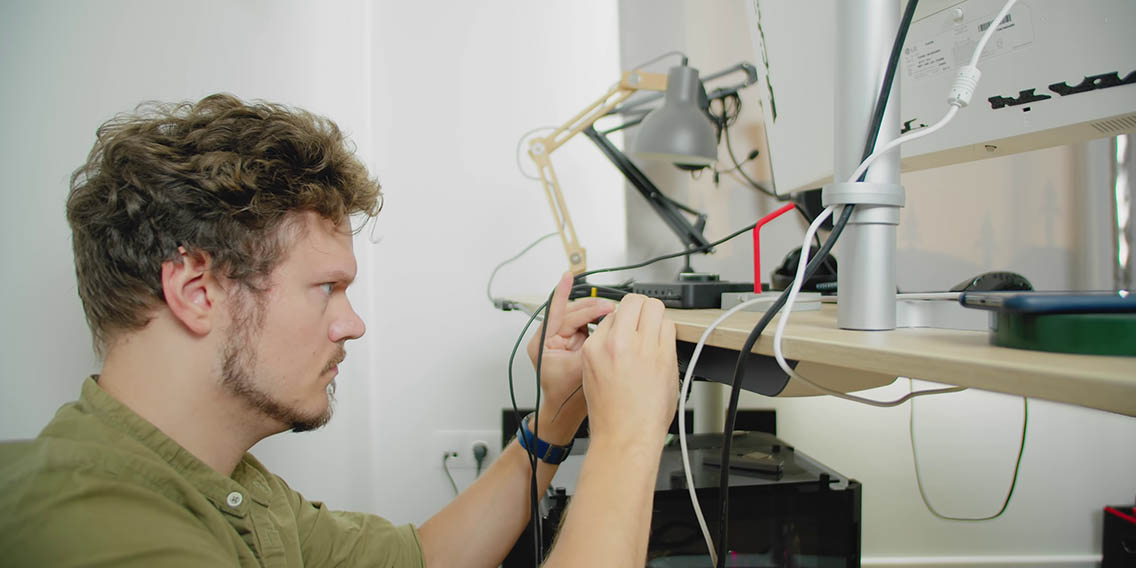
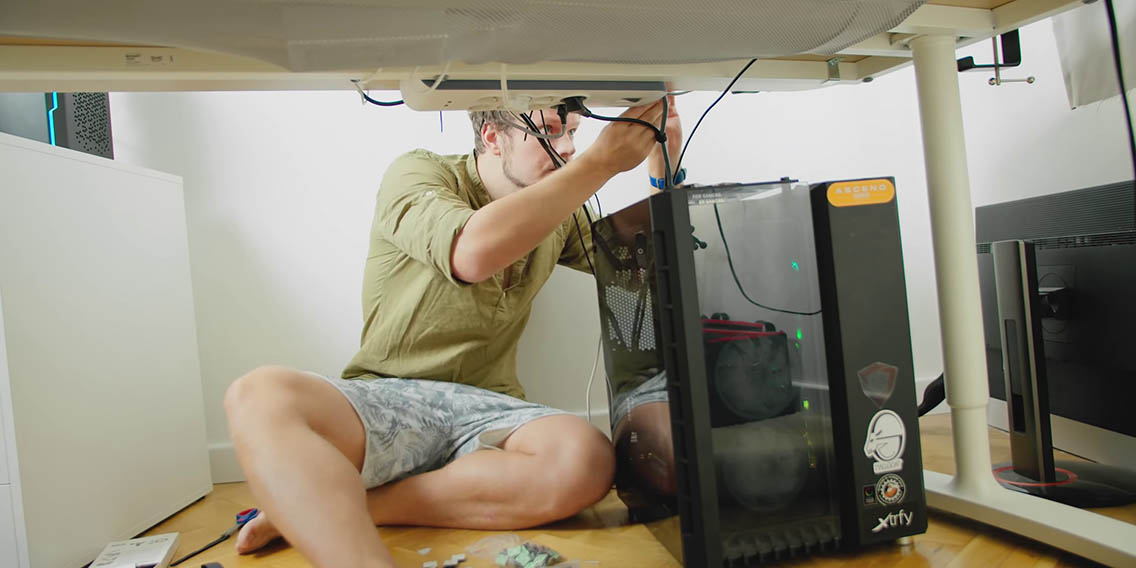
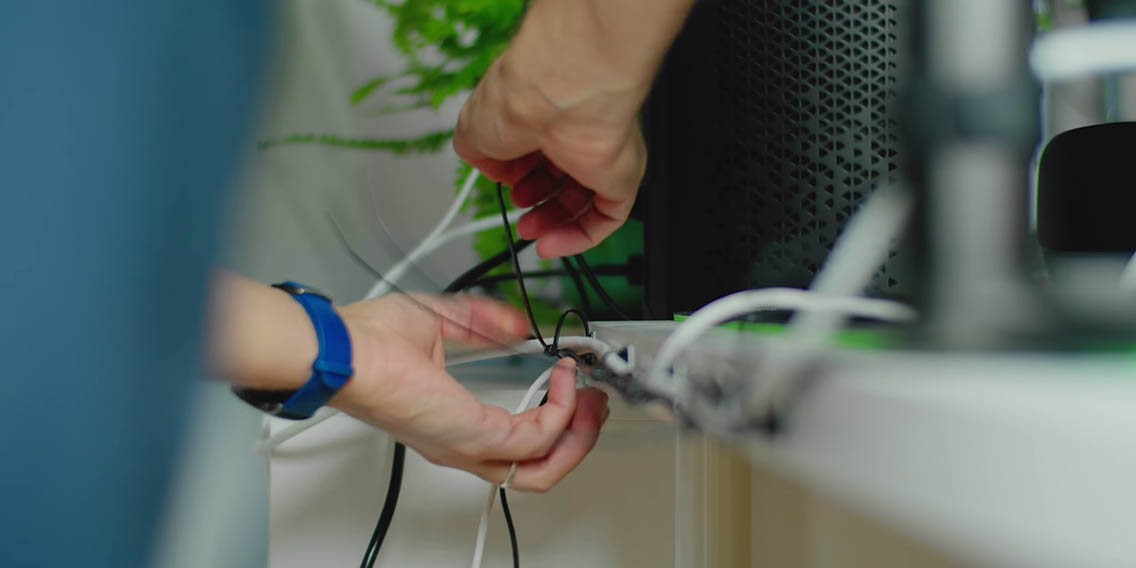
Looking in the back of my desk, everything is such a mess. There is absolutely no organization in the cables and how they are channeled and where they are going. It’s a really good way to see what the before looks like because after we are done it’s going to look pretty sweet. I actually ended up removing the plastic housing because removing cables from it is a complete pain, and I found a better way to hide all my cables.

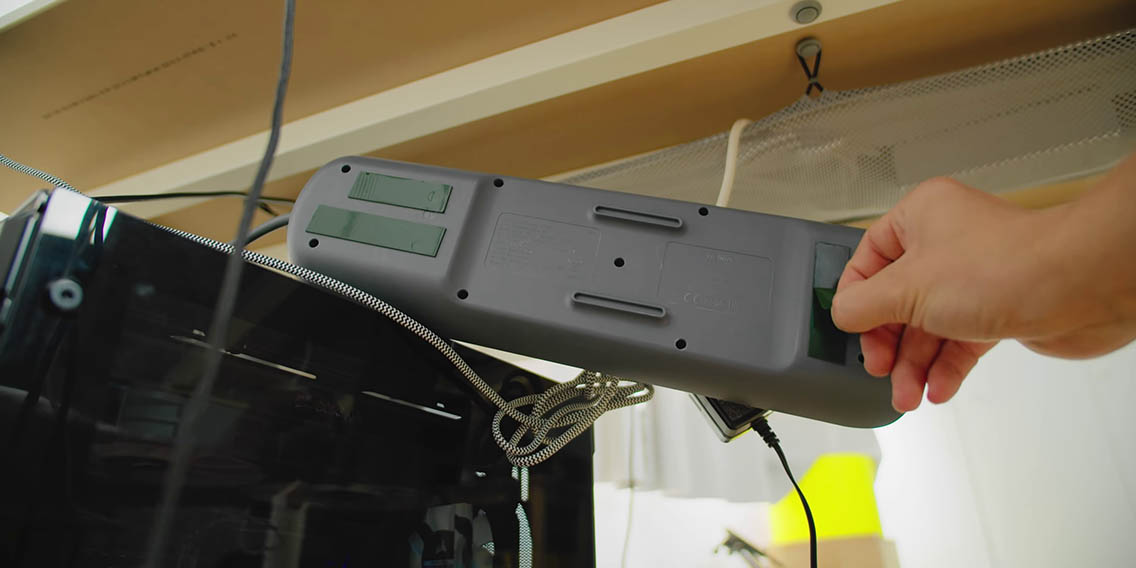
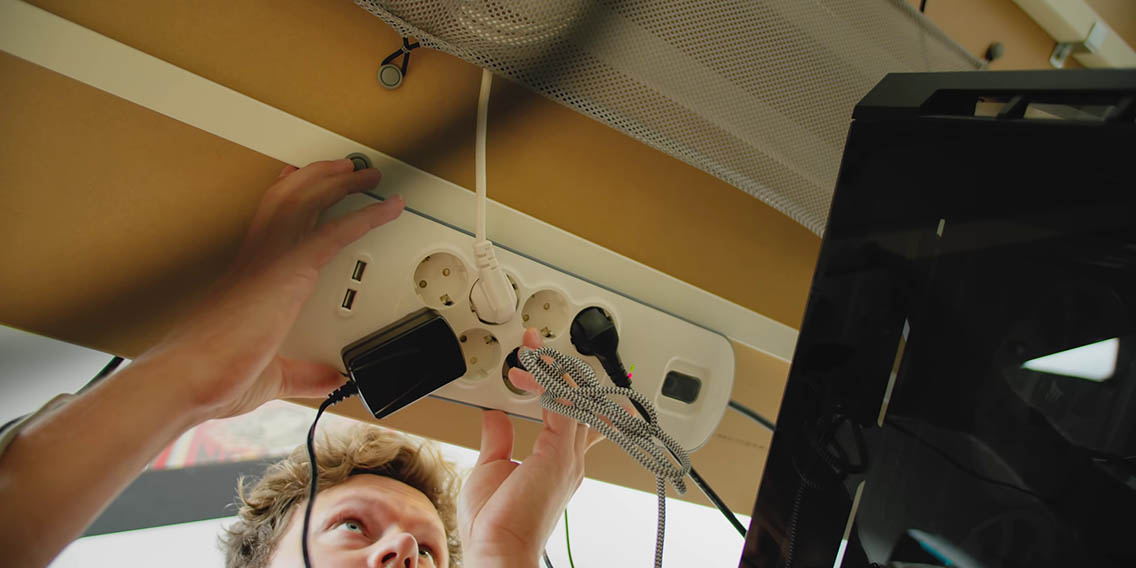
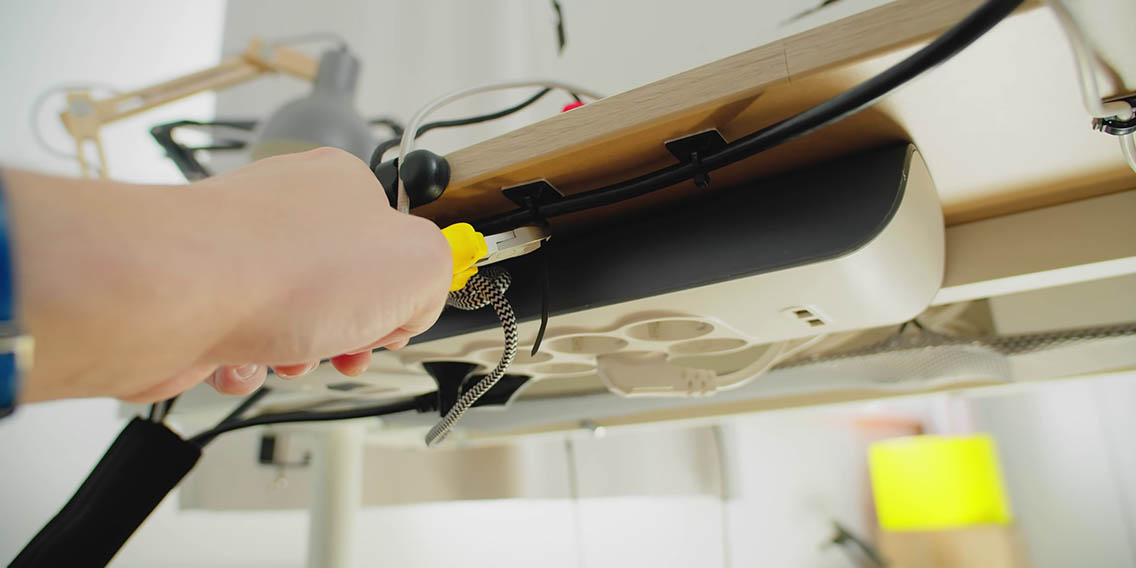
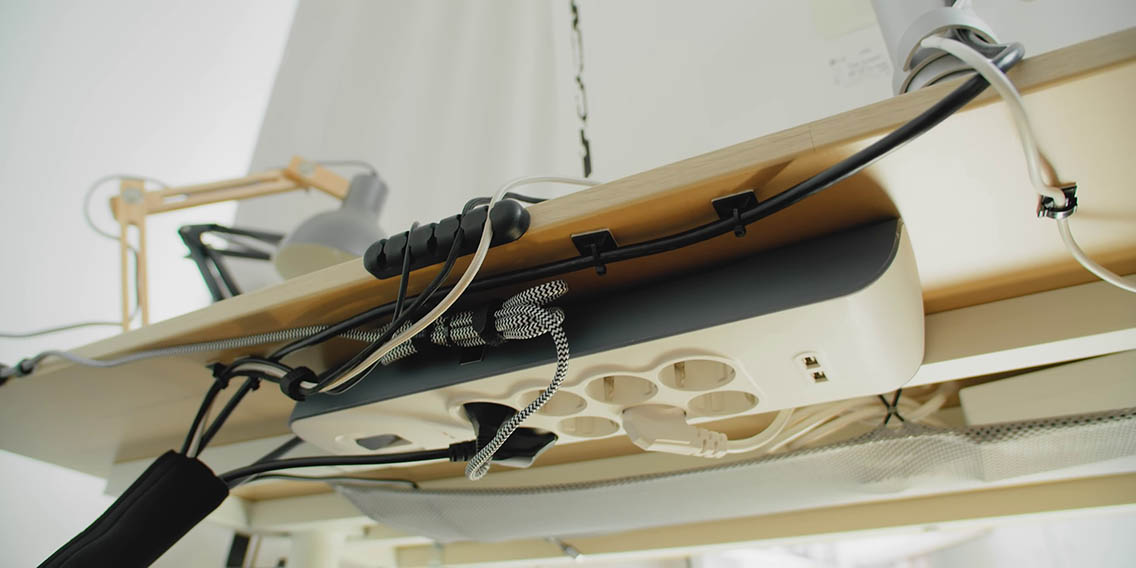
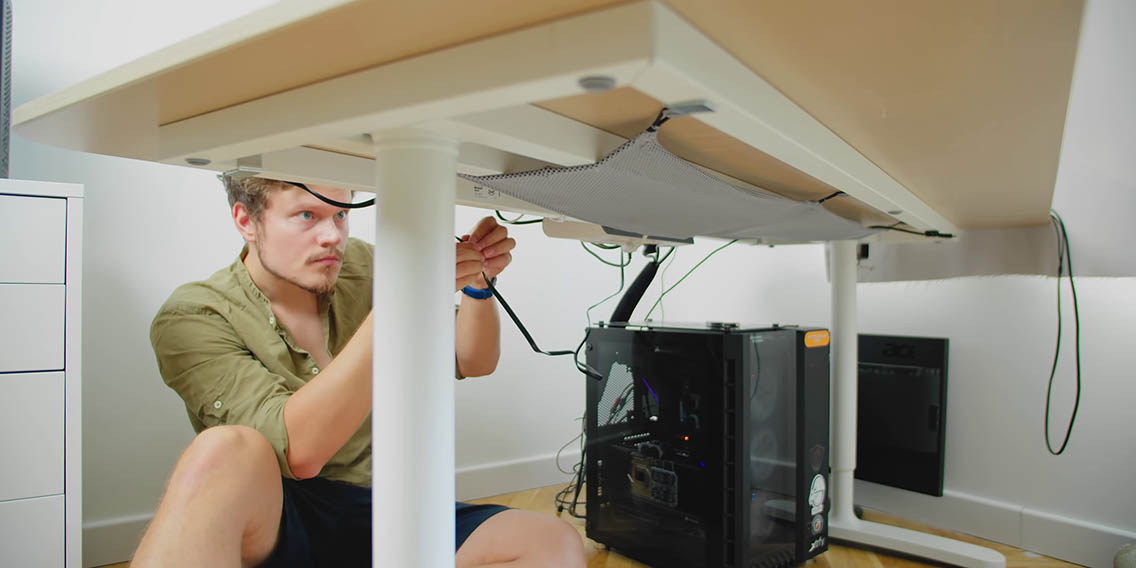
One more item I forgot to mention is double sided tape, and this stuff is your friend, especially ensuring the power strip is in the right location below your desk, so you can plug things in. One thing about this desk is that it comes with a cable management net that is right in the center, but there is also a metal frame right in the center of it so populating anything in that space is absolutely useless. Eber has the same desk, but an earlier model, which did not have the support beams in the center, which means that you can put stuff there.
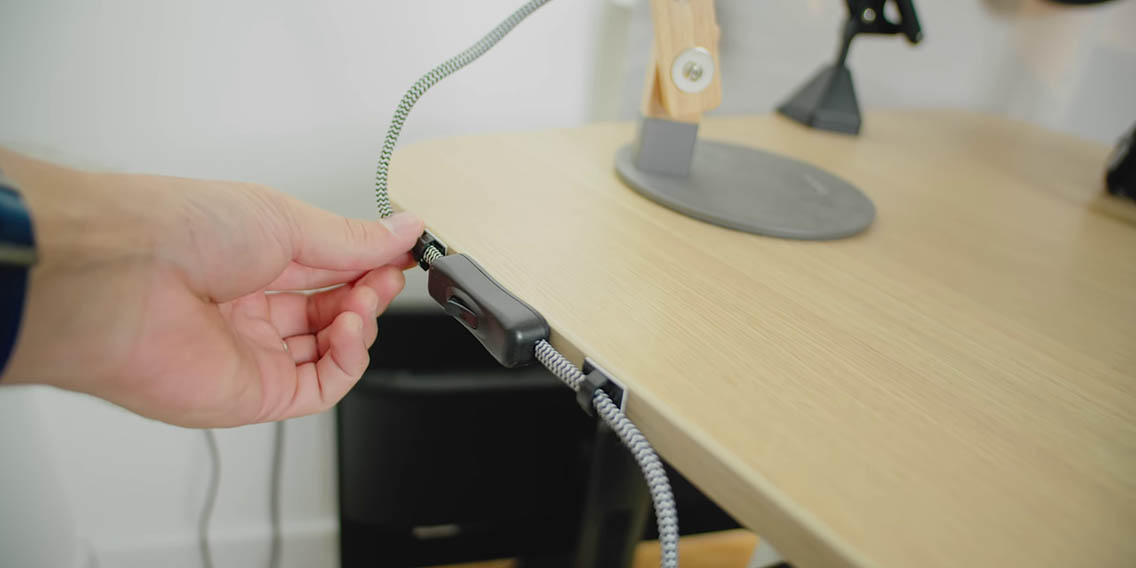

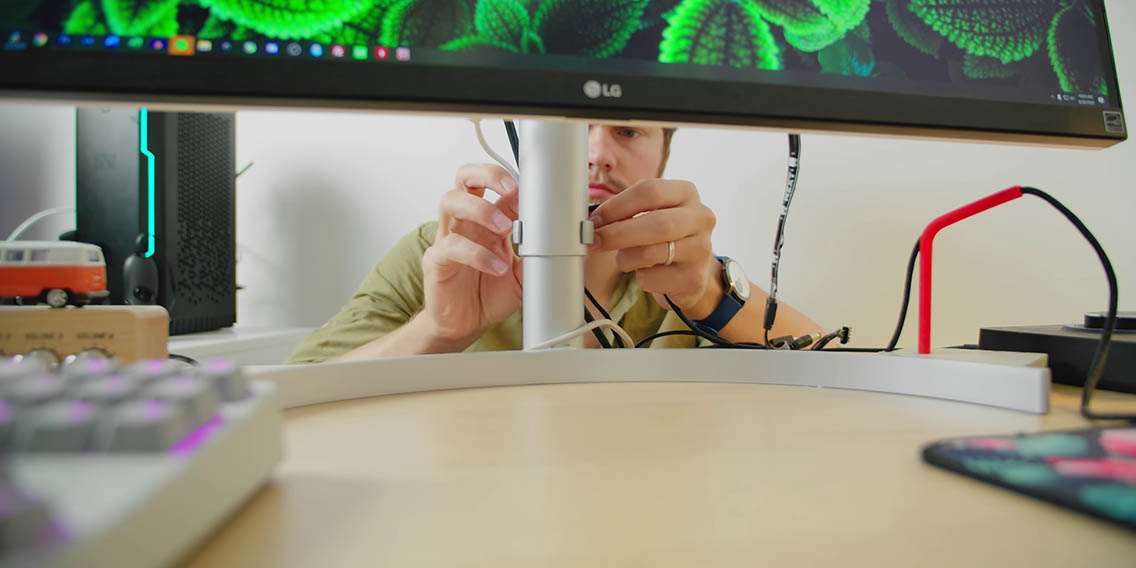
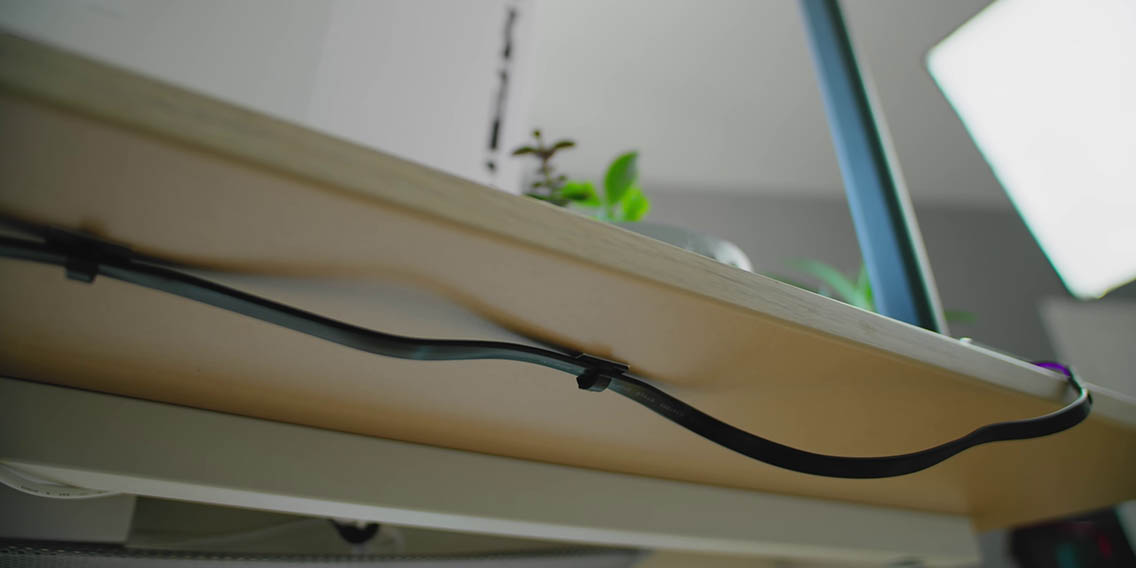
The next thing I wanted to do is secure all the cables one by one so they are properly organized, starting with my lighting cable. I wanted the power on/off switch to be in reach, so I use the adhesive clamps to secure the cable and that worked wonderfully. The only thing to keep in mind with these adhesive clamp mounts is not to put too much tension via the cable, because the adhesive might not be as strong and it will peel over time.

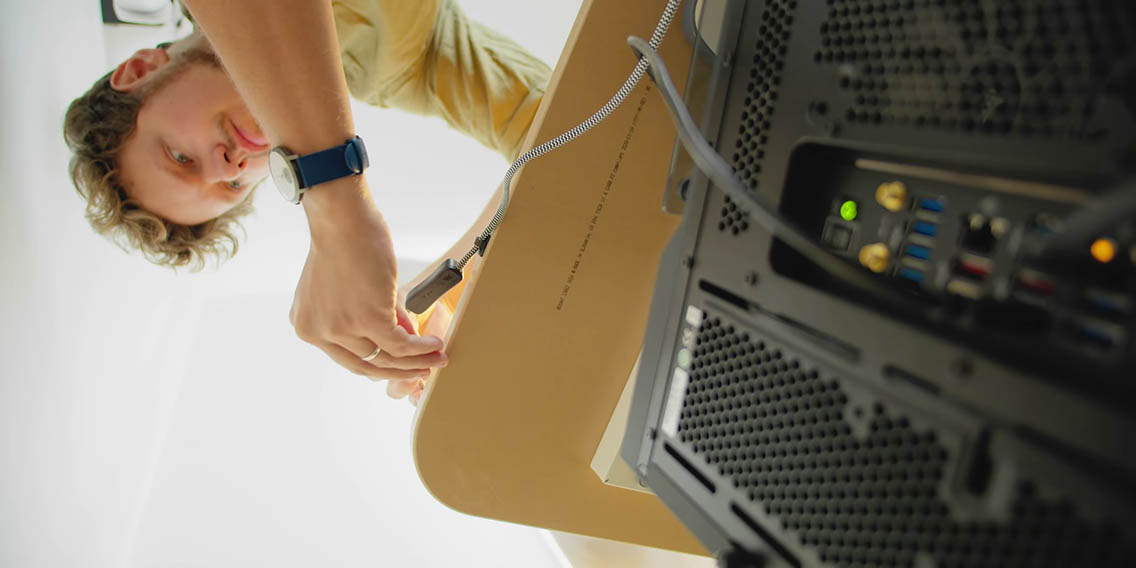
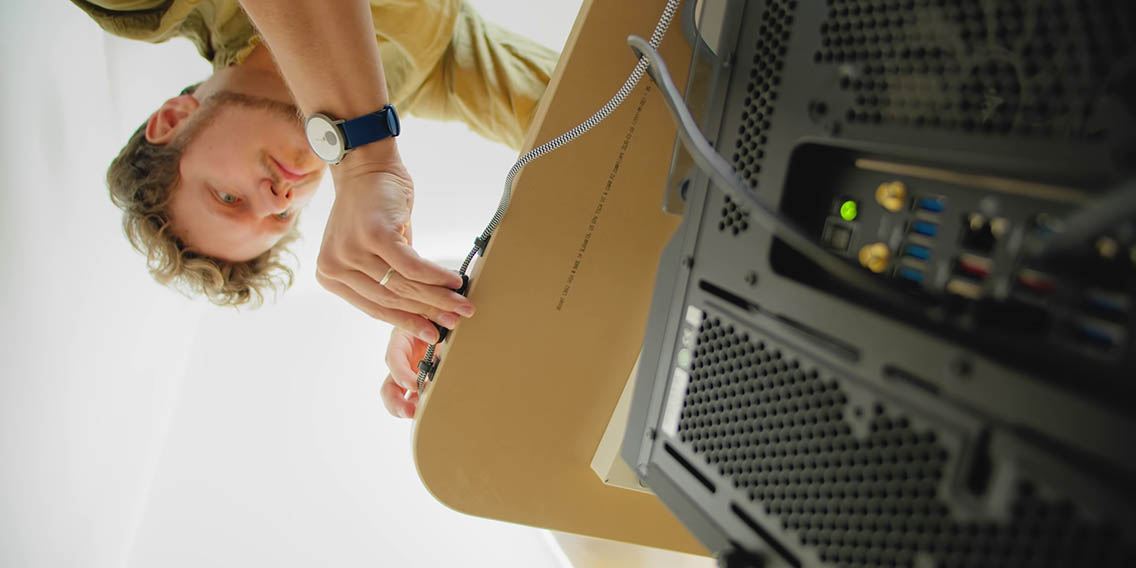
I decided against the plastic housing for smaller cables, even though it’s a great solution that will look clean, because removing when cables from that will be an absolute nightmare. I wanted everything to be accessible for when I’m swapping out my keyboard or if I’m replacing the display cable on the monitor, everything has to be individual without being too bunched into this bundle. If you are worried about really long cables from your USB accessories, always remember that you can roll up the stuff that isn’t being used.
Doing the rest of it really reminded me of doing cable management inside a computer case, but doing something with a desk is actually much more enjoyable because you have so much extra room. I’m using the space behind the power strip to hide all the cables, which helps keep everything looking clean. After cutting the tails off the zip ties I think it’s looking pretty clean, especially versus what we started with.
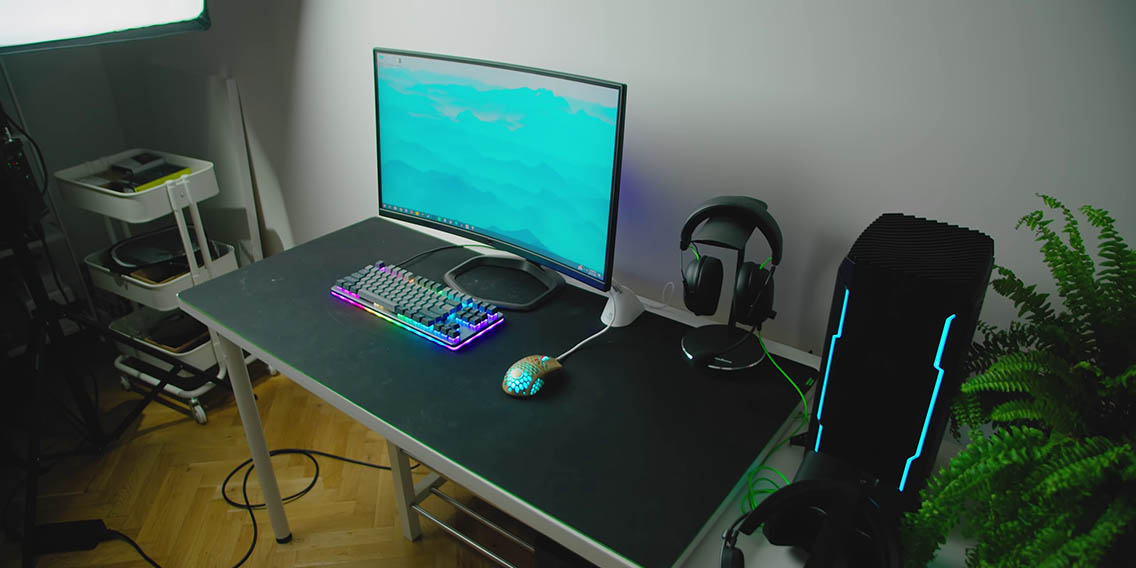
Customizing To My Workload
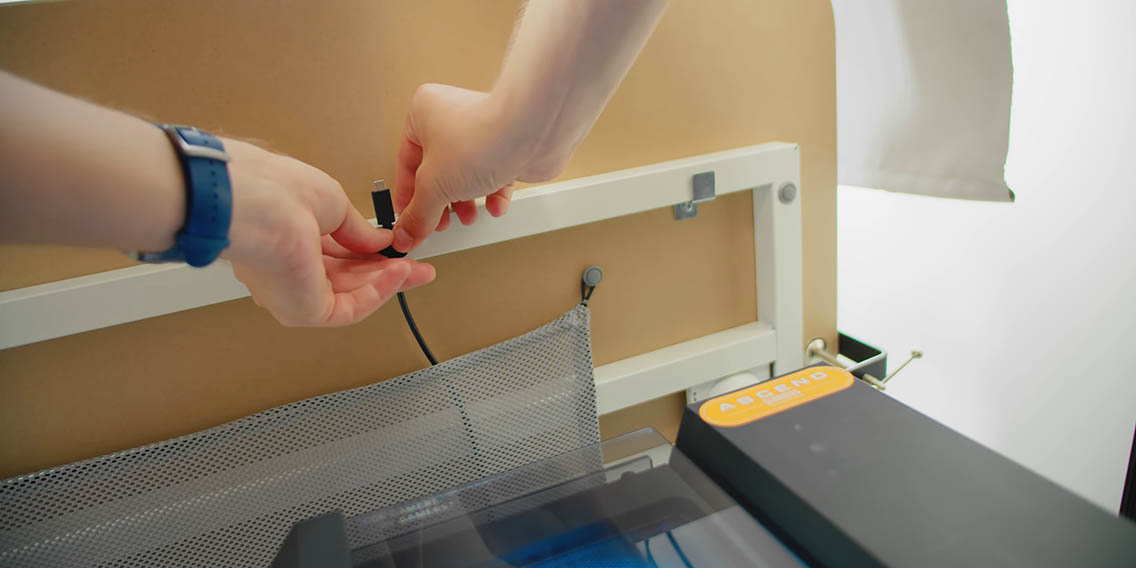
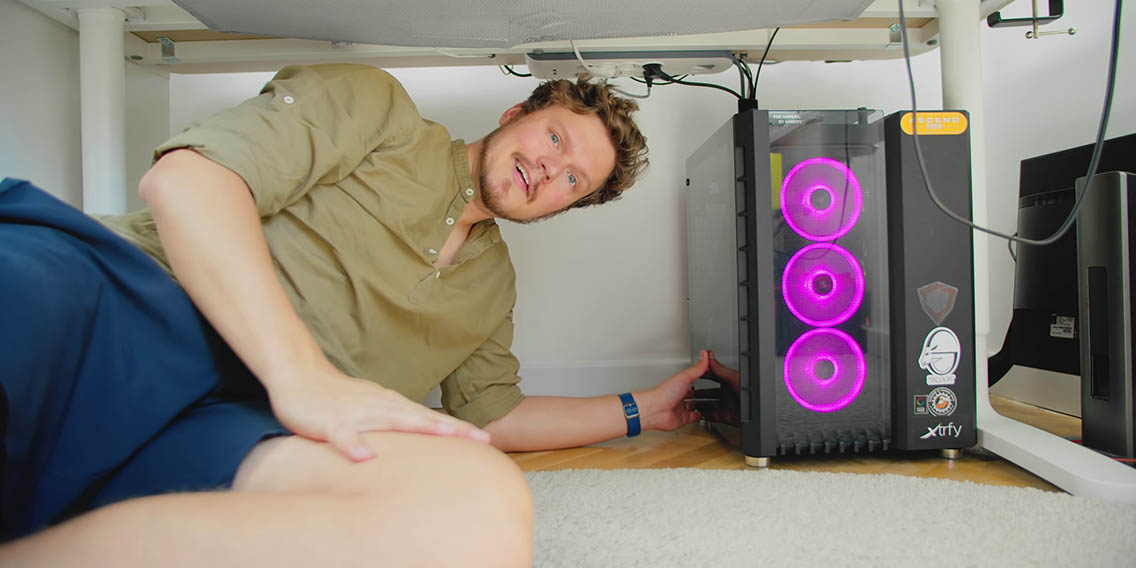
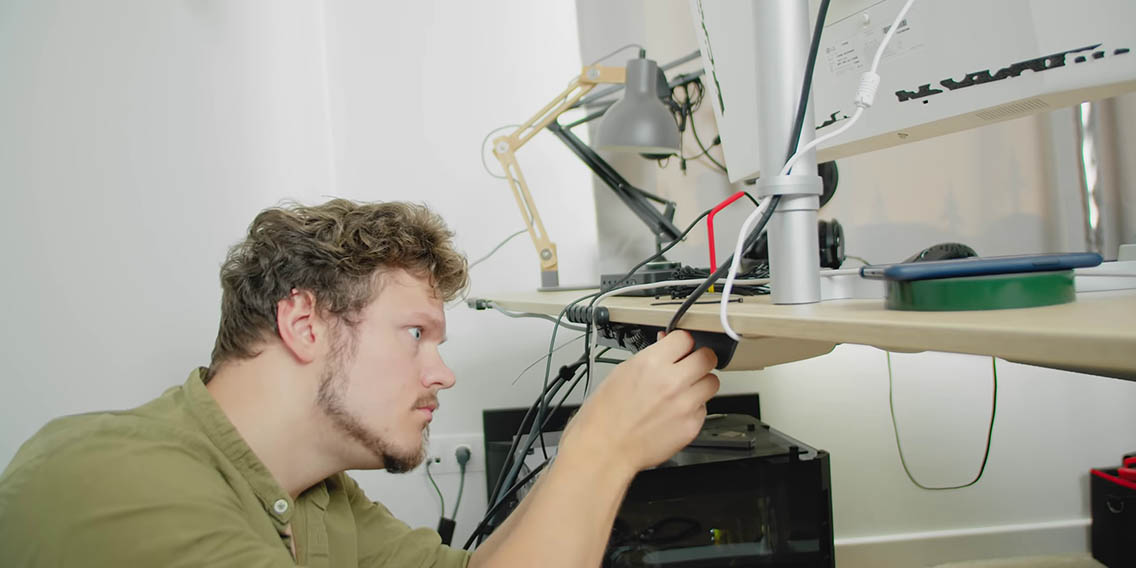
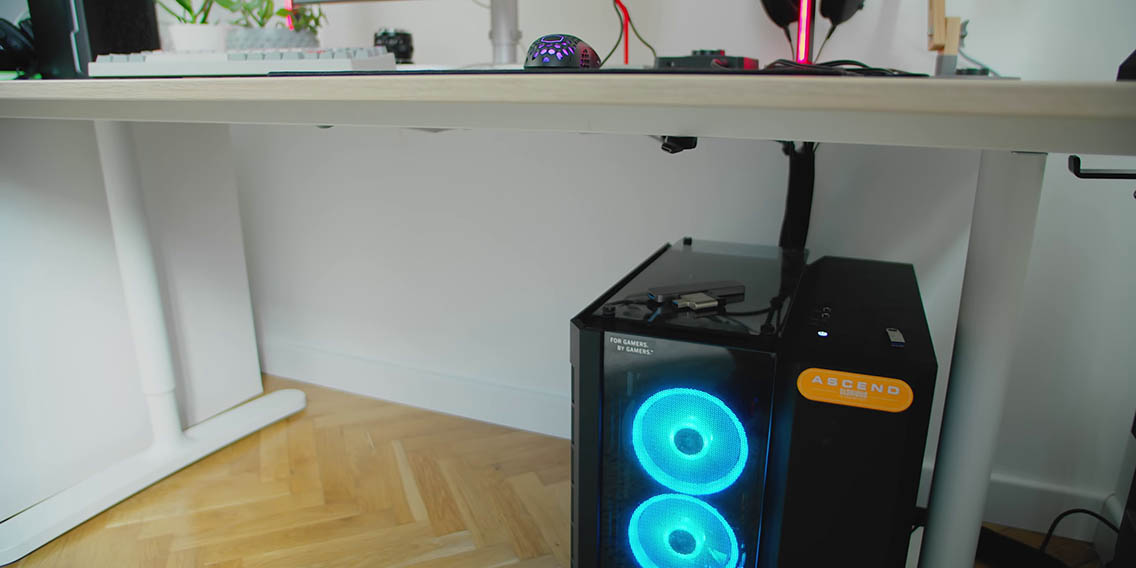
I’m using external SSDs to capture all my footage so I routed an additional USB-C cable to the front, and since I’m using one of those adhesive hook clamps I can simply remove my hard drive from the camera and plug it into the front without needing to access the back of the computer. And yes, I know it’s a sin to keep a PC of this caliber on the floor, but I just feel like it’s kind of a little bit too bulky to be sitting in the corner on my desk. I still haven’t found a good pedestal, but hopefully that will come later.
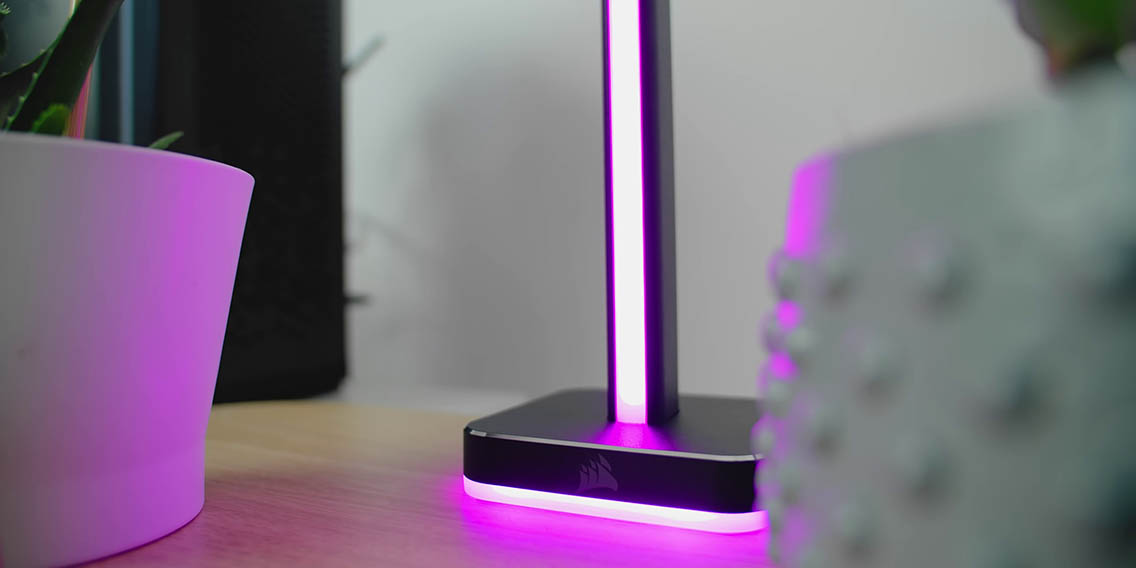

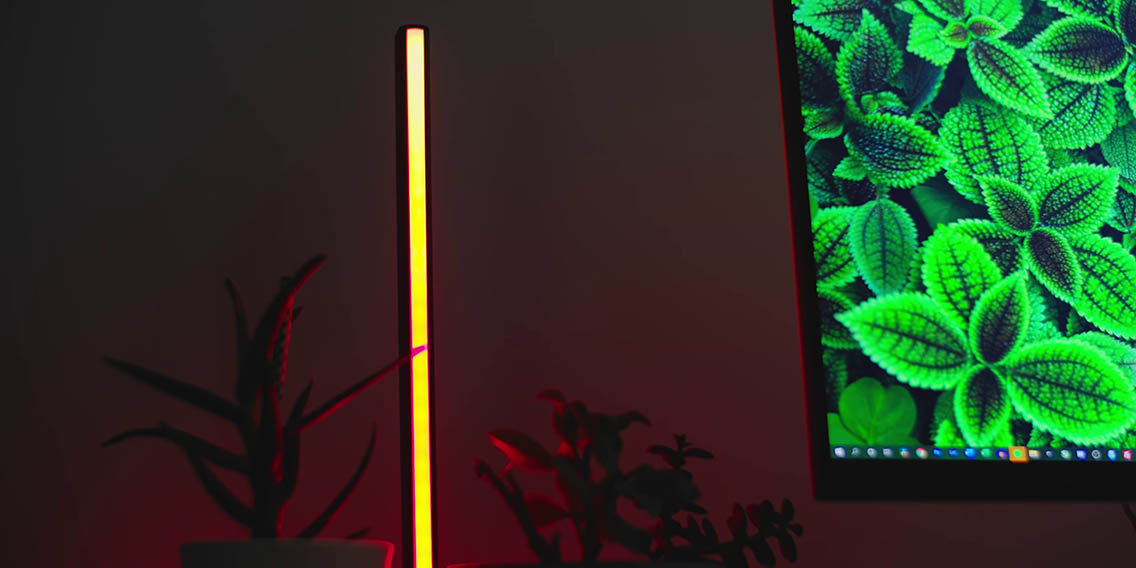
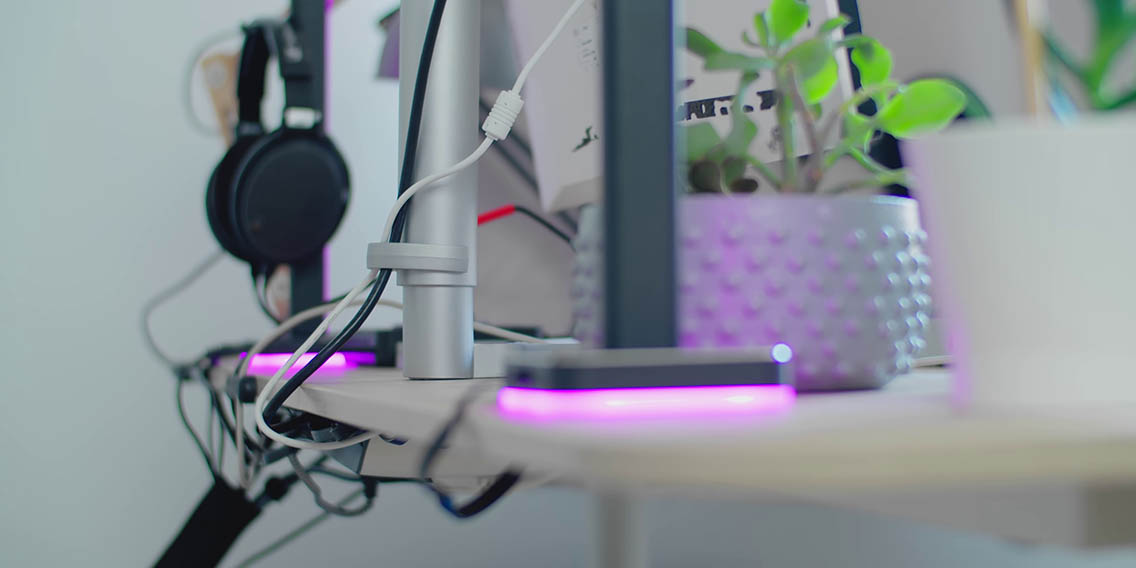
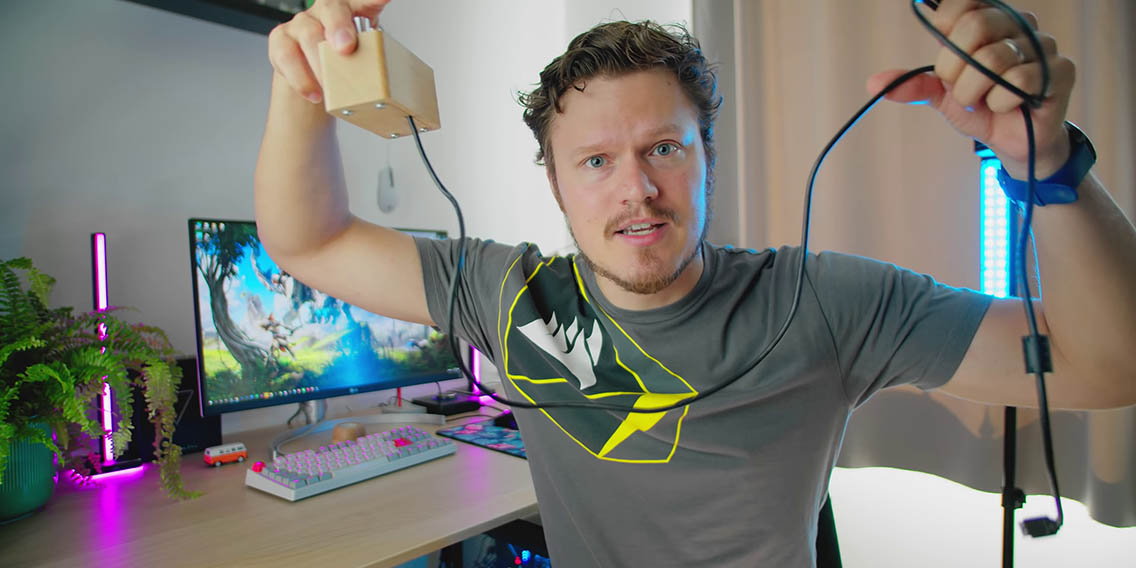
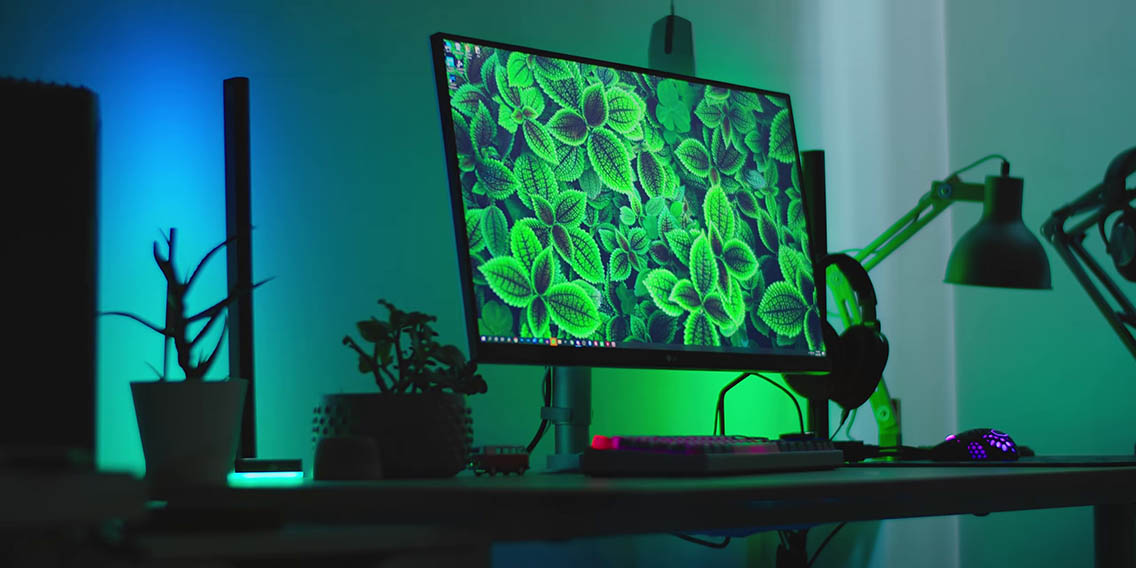
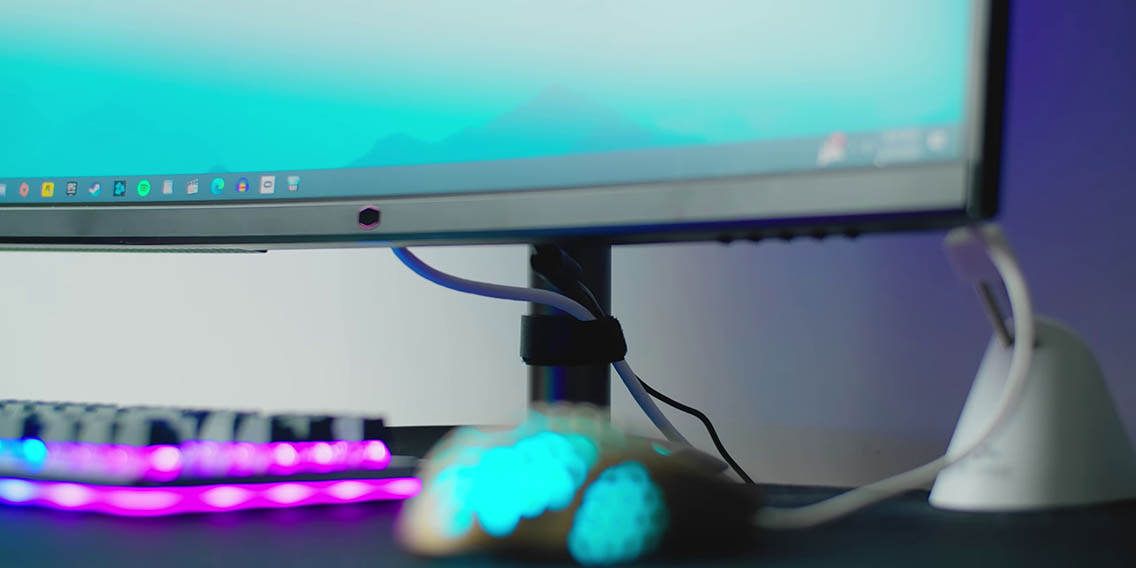
As you can probably already tell I have added additional lighting to replace my NZXT Hue 2 lighting setup. These are the Corsair iCUE LT100 light towers, they are unconventional but they look fantastic. Of course when it comes to lighting we have a power cable, we have a cable that routes both light towers, and we have a USB cable going into the PC, so I had to redo all the cable management. Thankfully, because I’m doing everything individually, it’s a super easy job. Follow the same type of technique and procedures to hide all these cables.
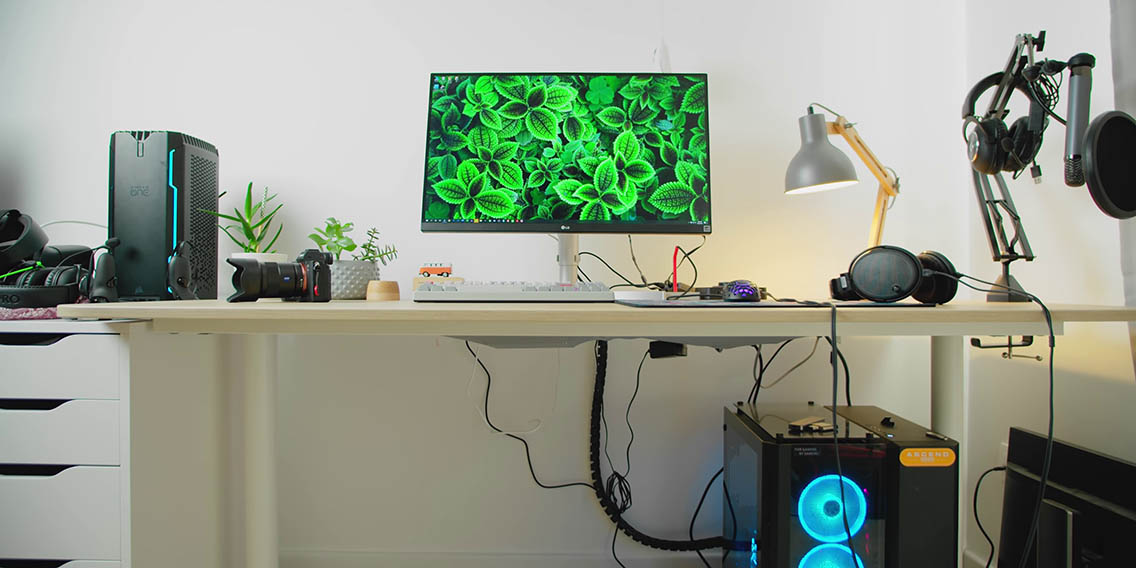
End Result
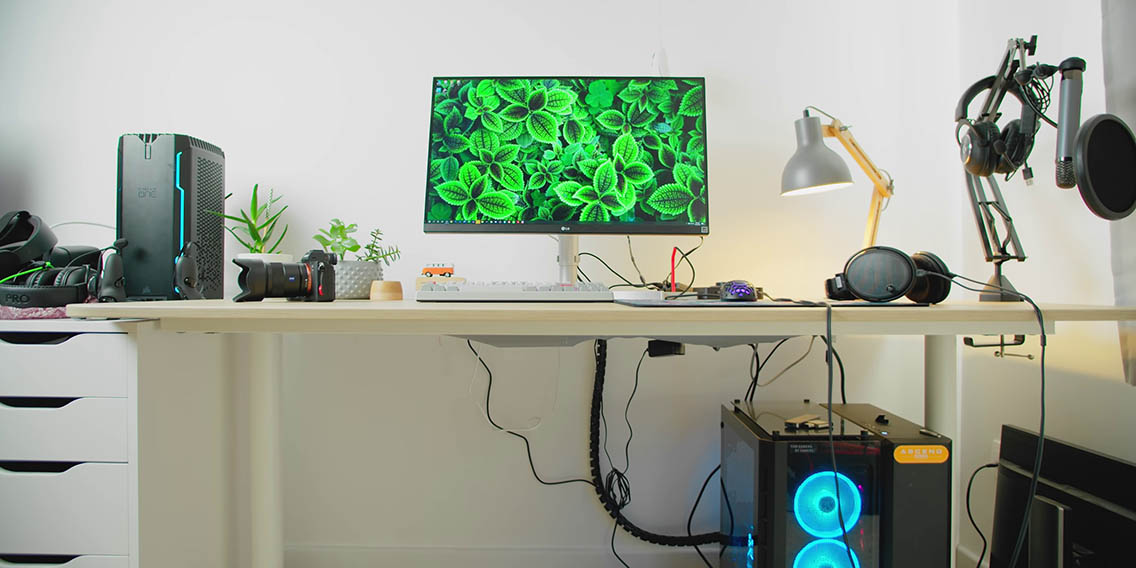
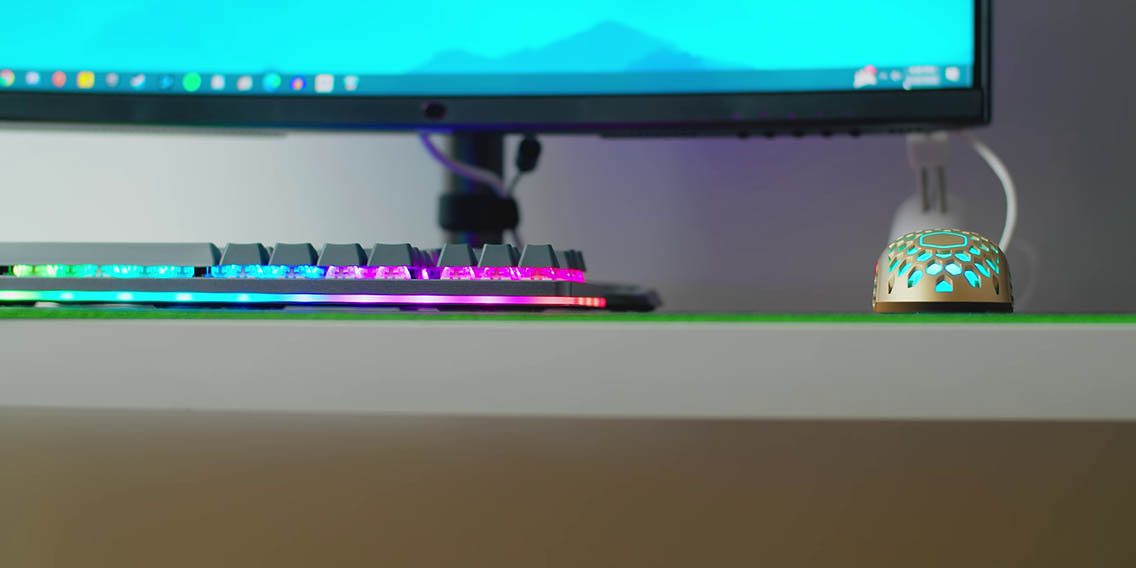
After putting in a few hours everything was cleaned and organized. Checking out the before and after shots I am very happy with how things turned out, a super clean under the table, super clean table top as well. Everything is just kind of collected and bunched up right behind the PC. What is next? For this editing station I settled on my peripherals and the only thing I might swap out later might be the light towers or maybe the monitor, so that will be an easy job to do.
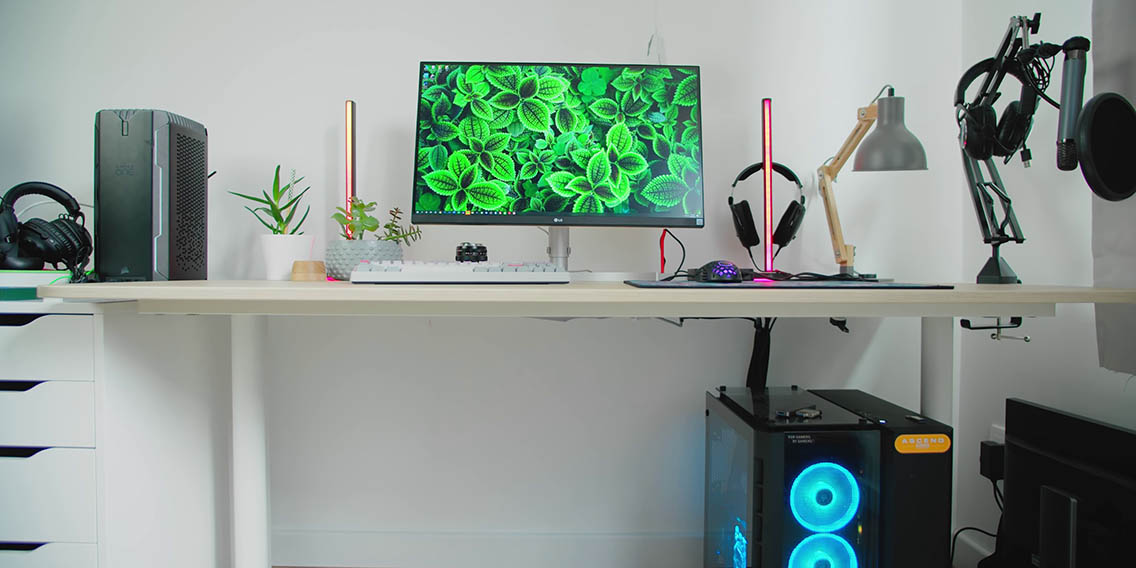
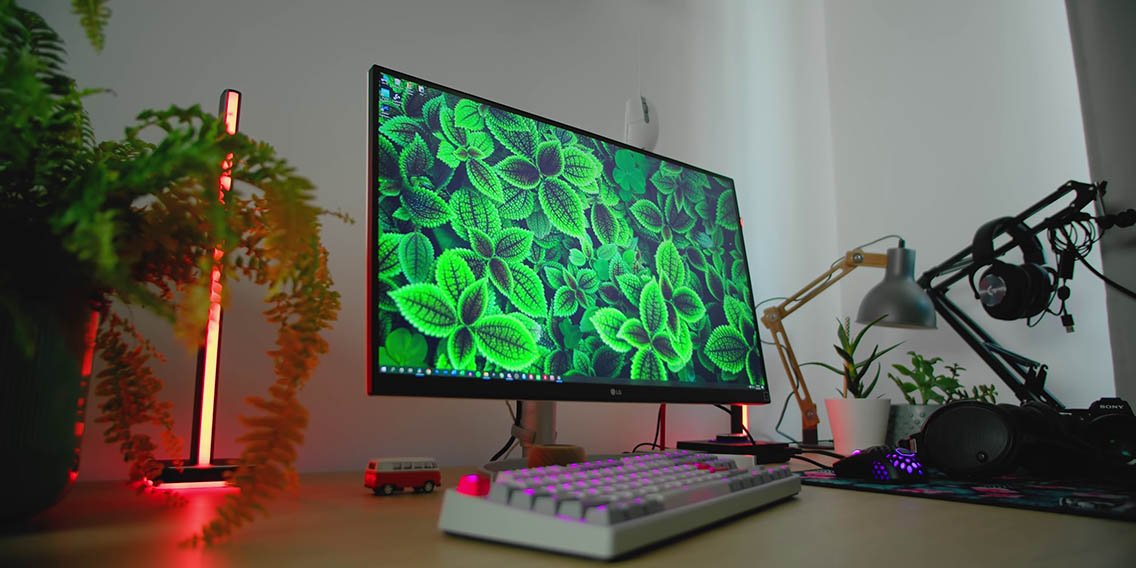
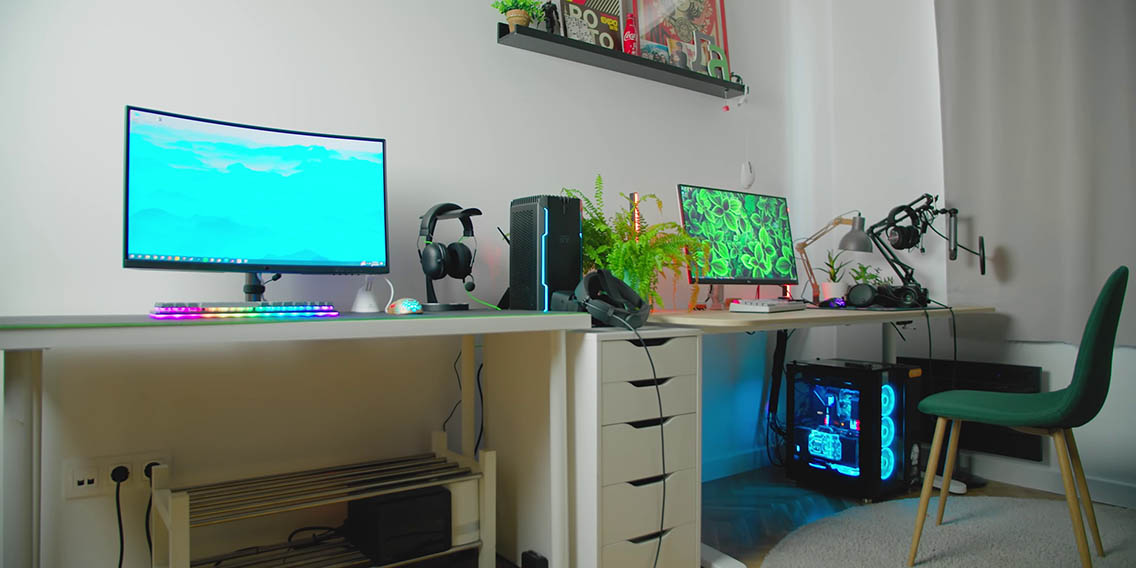
Cleaning The Gaming Station
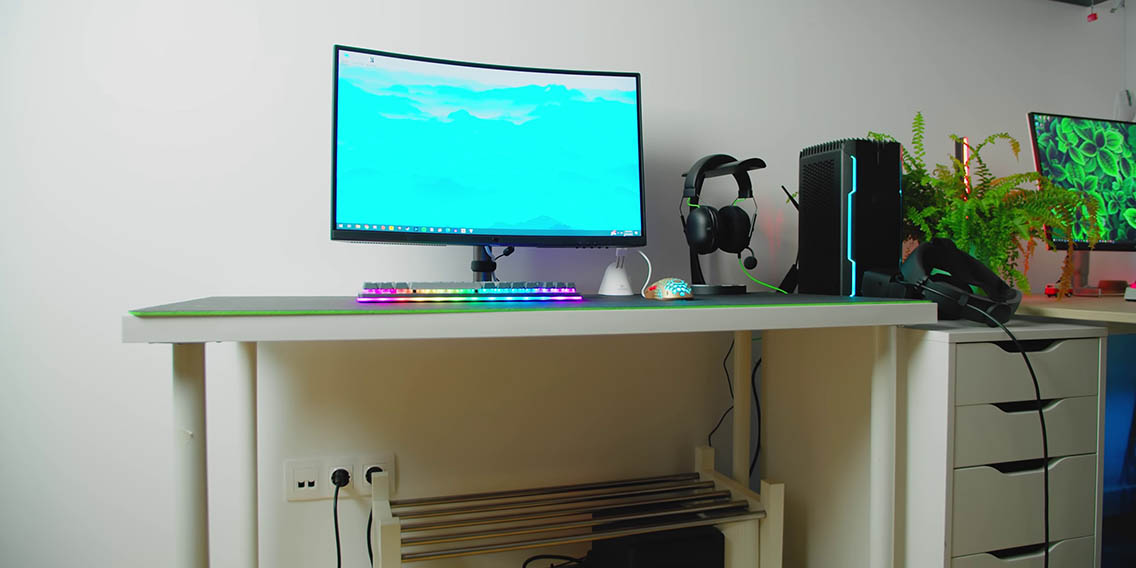
And then it was time to move on to my gaming station, and that actually was a bit more challenging because there is nothing underneath the desk and all the cables are completely exposed above and below. I use the same technique with the adhesive cable tie points and use a larger cable ties to bunch up some of the cables, so like the power cable, the display cable, and the mouse and keyboard as well. It is a more permanent solution, but if I do have to swap something out I will have to cut the cable ties. The last thing I did was use a Velcro cable tie on the monitor stand to collect the cable, so they exit right down in the middle and they are not visible to you when you are sit on the computer. The end result above and below the desk is absolutely clean, as all the cables are actually on the edge of the desk and nothing is visible below.
Conclusion

With the cable management on both stations complete and I was very happy with the results. I realized that I was projecting my frustration with cable management from working inside PC cases, but when it comes to doing setup cable management it’s a lot easier because you have so much extra room to work with. The lesson here is don’t be super intimidated, a couple of zip ties, a couple of the adhesive, some zip tie mounts and you will be fine. I will link all the products down below that you should check out if you are looking to cable manage your space as well. Let me know what you think of my first attempt at doing something proper with my setup.
Buy items in this review from Amazon at the links below:
Adhesive Cable Clips – https://geni.us/2Kjv4
Adhesive Cable Clips 2 – https://geni.us/XrZa7As
Adjustable Cable Management Clips – https://geni.us/eBhV
Zip Ties – https://geni.us/E558zc
Reusable Velcro Ties – https://geni.us/c94j
Reusable Velcro Ties 2 – https://geni.us/USCVU
Cable Raceway – https://geni.us/UfwN
J Channel Raceway – https://geni.us/5VhAf
Desktop Clips – https://geni.us/HpGx
More Desktop Clips – https://geni.us/B7yT
Cable Spiral – https://geni.us/kbFGnv
Check out the Corsair a100 – https://go.corsair.com/a100