The RX 6800 XT Build we’ve been DREAMING About!

Share:
Table of contents
Today is the day where we get to unbox AMD’s new RX 6800 series of graphics cards, but instead of just boring you with a simple unboxing video we decided to take it to a whole other level. Everyone is dreaming about having an all AMD build and what’s even cooler is featuring the best at AMD has to offer it to date. That means using the fastest Ryzen processor and the fastest Radeon graphics card that we have in our hands right now.

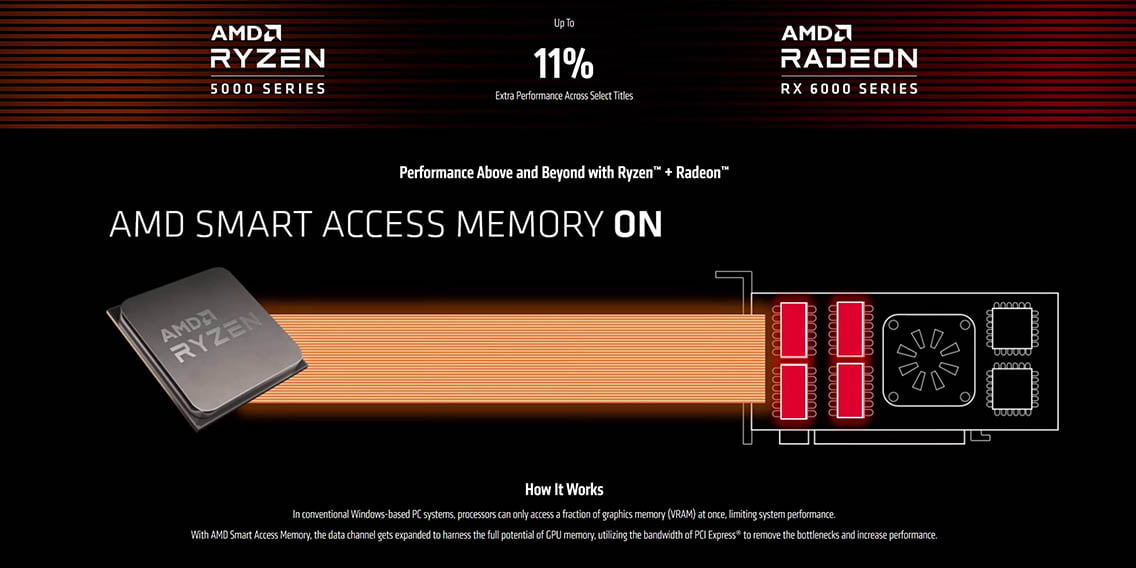
Will this combo offer the best possible gaming experience? That is what AMD is claiming… but you will have to wait until Wednesday for our full performance review of these new GPUs. With technologies like Smart Access Memory that are supposed to work really well at increasing frame rates and the amazing performance of the Ryzen 5000 series it’s really not hard to believe that AMD can pull off another win.
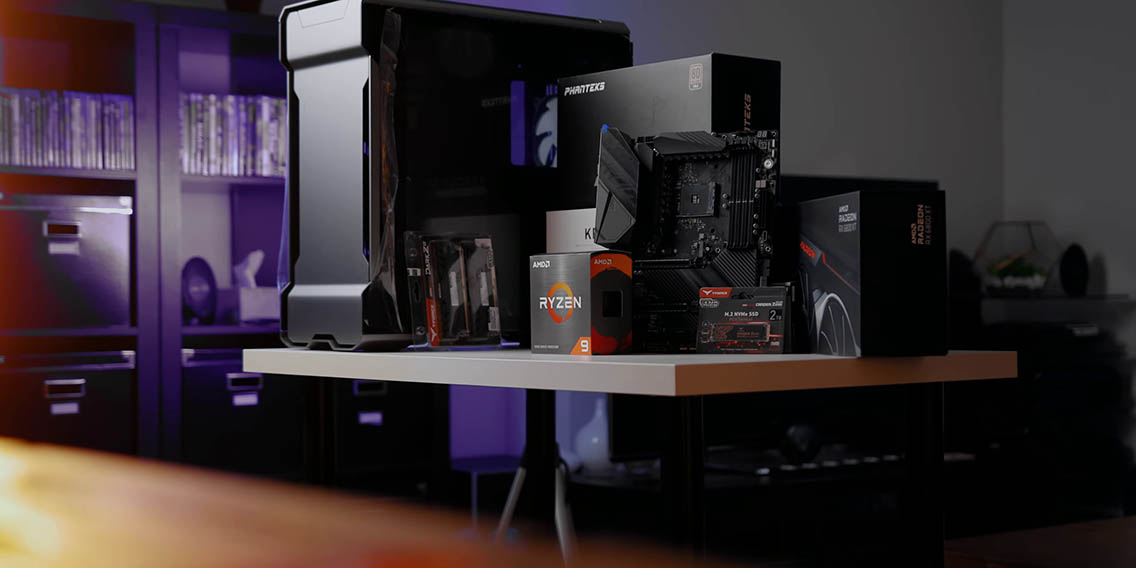
We wanted to put together a test system for air flow and temperature results, and we also decided to make it look cool as well by adding some colour elements to it without adding too much RGB into the build. Trust me, it’s going to look really, really cool. It has a bunch of components that are in short supply, but there is nothing new about new products being in short supply after launch, or at least I can’t remember a time when that didn’t happen.
The Radeon RX 6800 XT
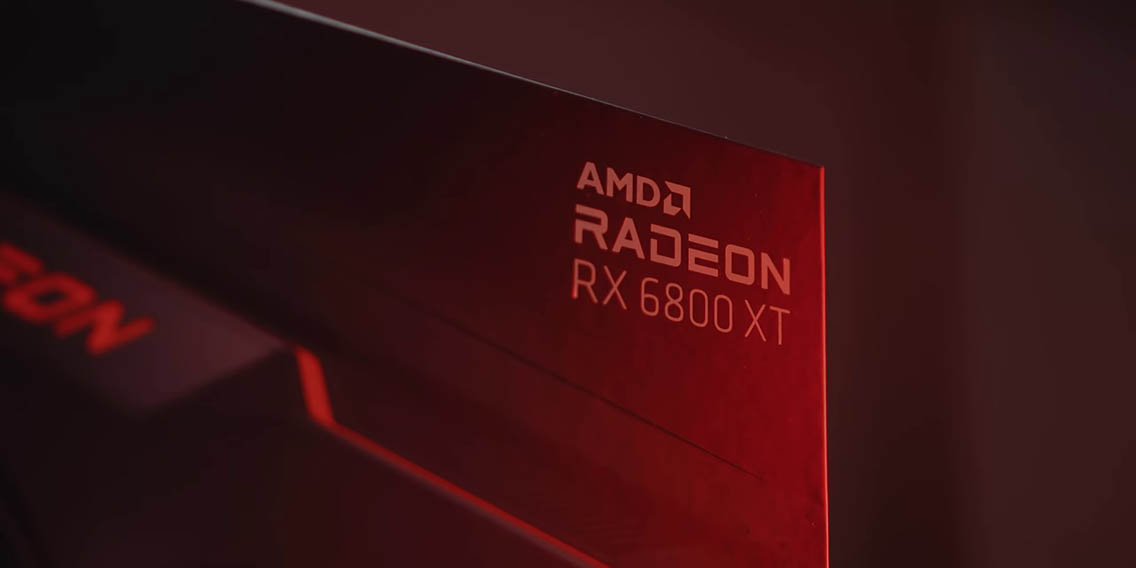
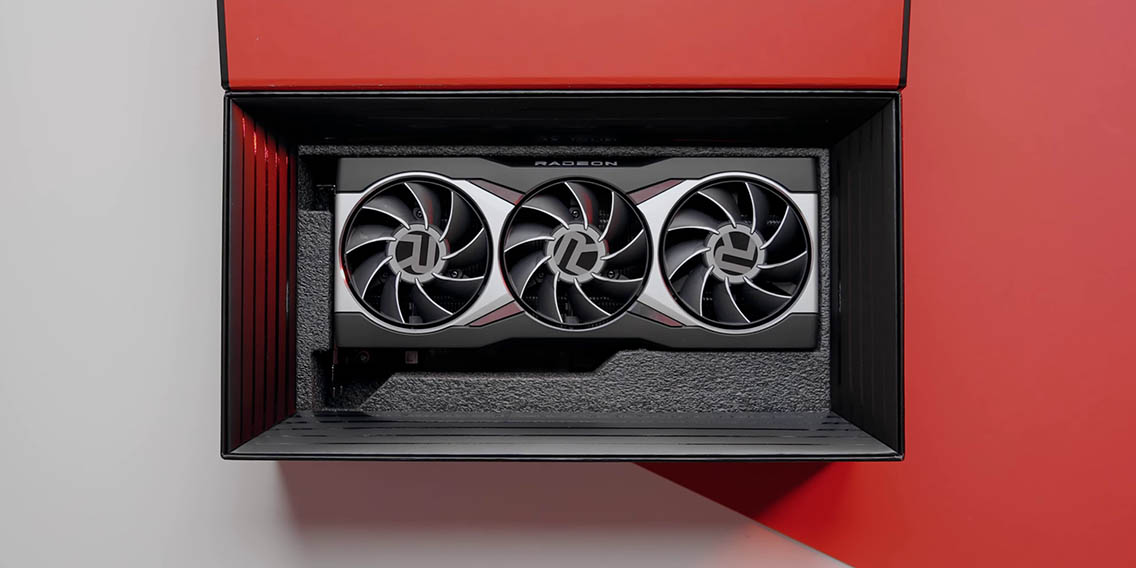

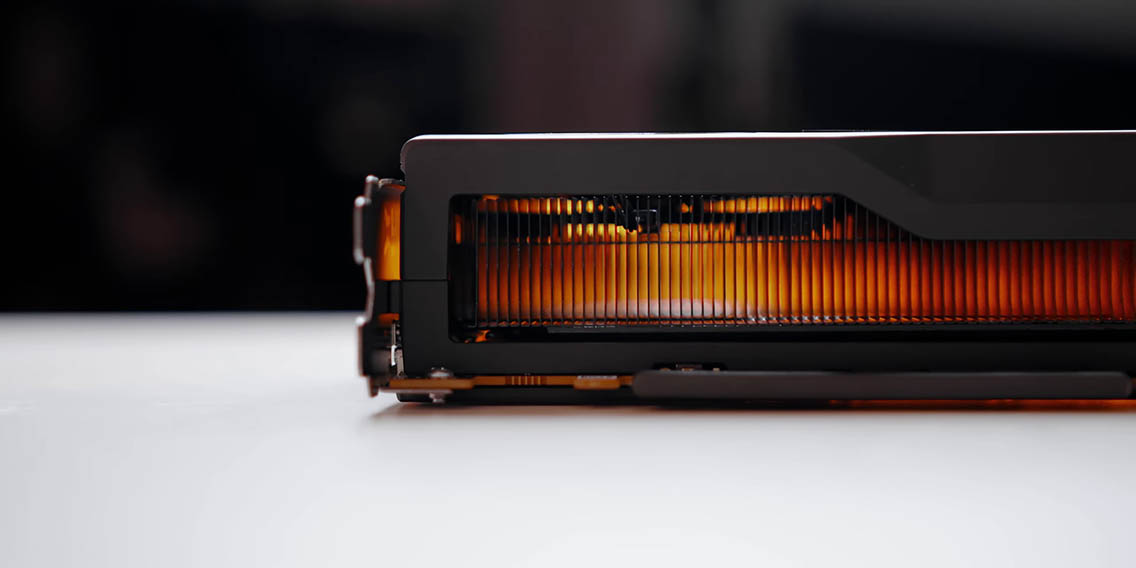
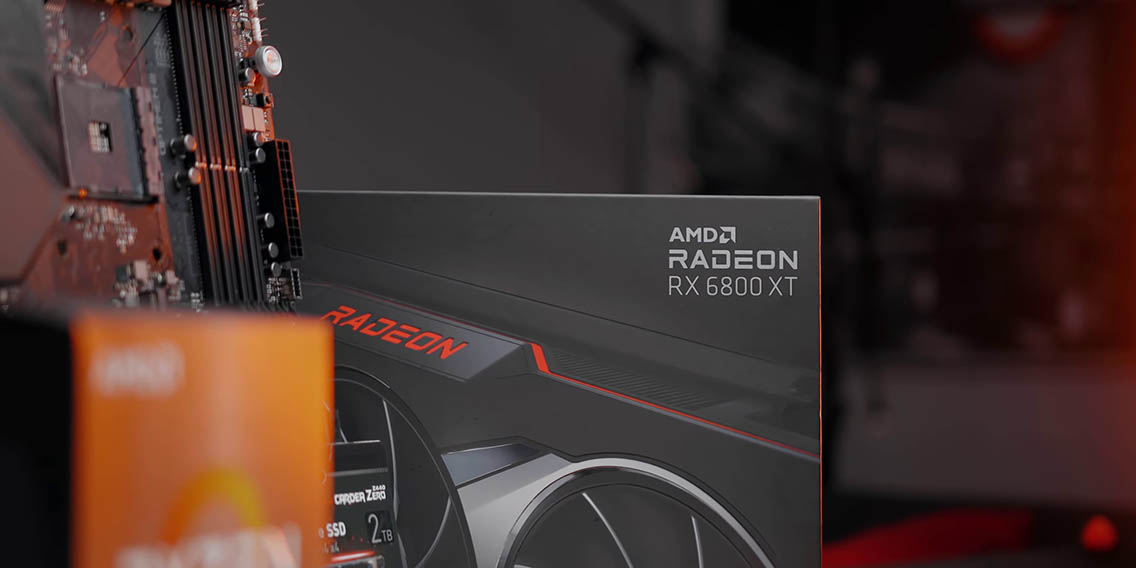
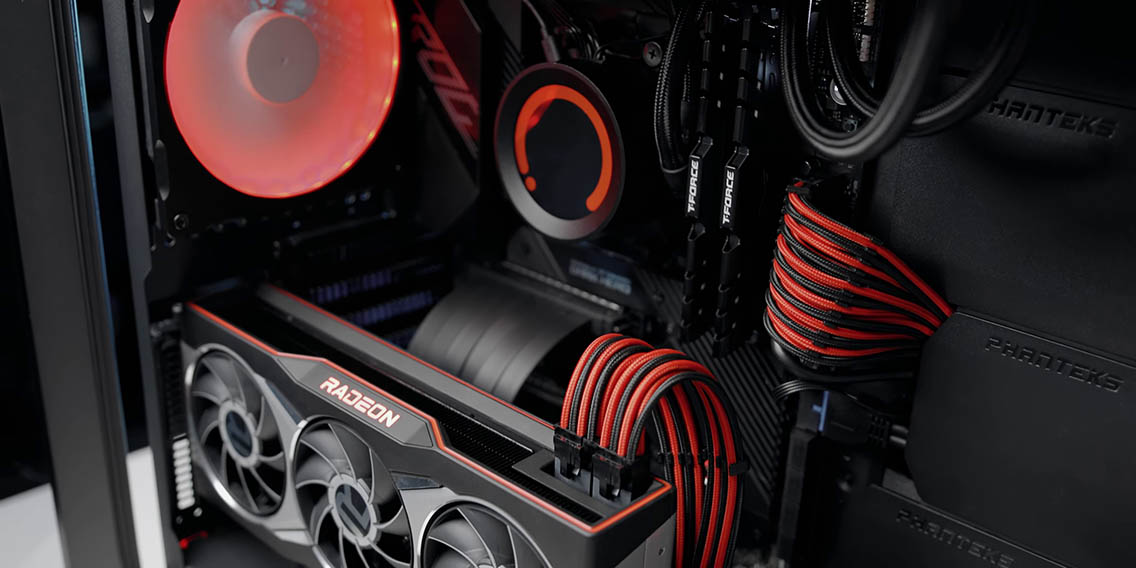
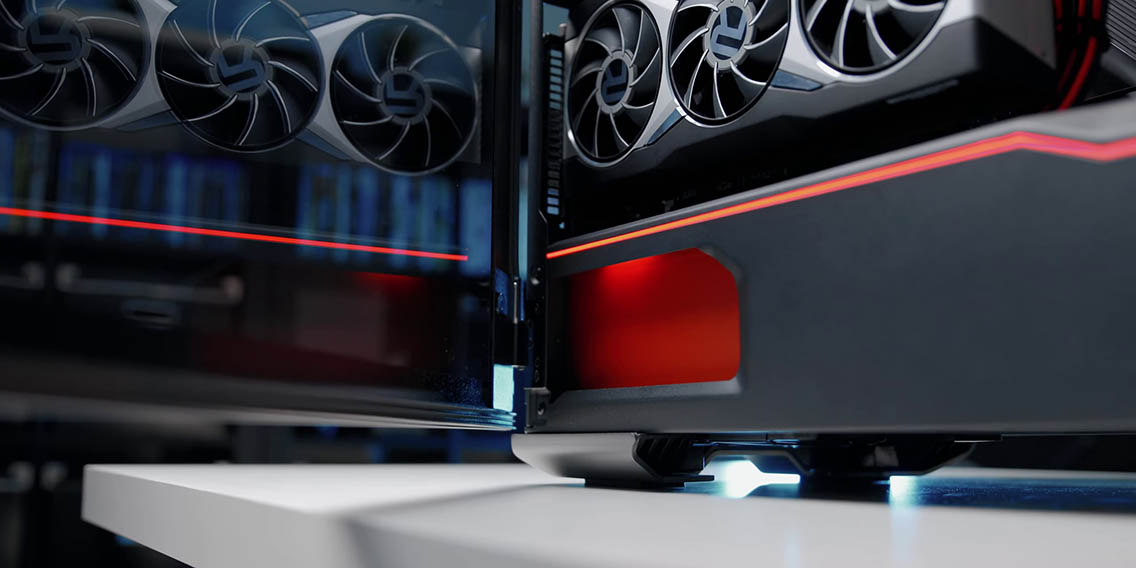
Let’s talk about the components that are going into this PC. The main star of the show is the Radeon RX 6800 XT and the RX 6800. Unfortunately we can’t talk about clock speeds, temperatures or performance – you will have to wait until Wednesday for that – but what we can do is talk about the exterior design, because this is by far the best looking GPU that AMD has launched. It features a downdraft-style triple fan design, with a mix of matte black and chrome accents around the shroud. What I really love is the red outline on the side, it just yells AMD. Honestly from every angle it also kind of looks fake, like as if I’m holding a 3D rendered object, but it’s very real. The massive heatsink that you see over exhaust hot air all-around. This could be a huge advantage if mounted vertically, which is what we will be doing this build.

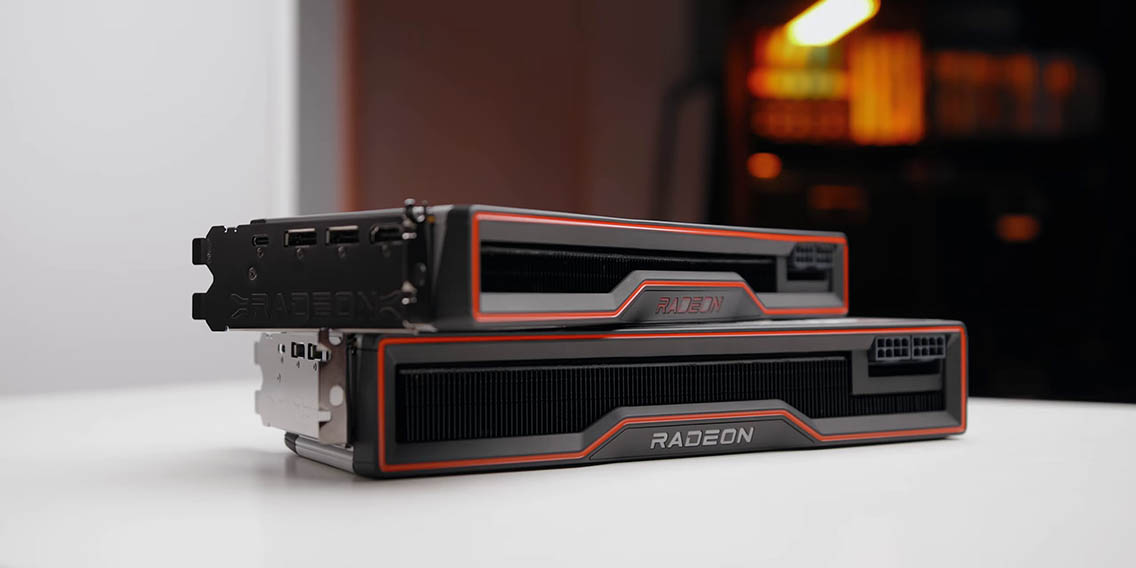
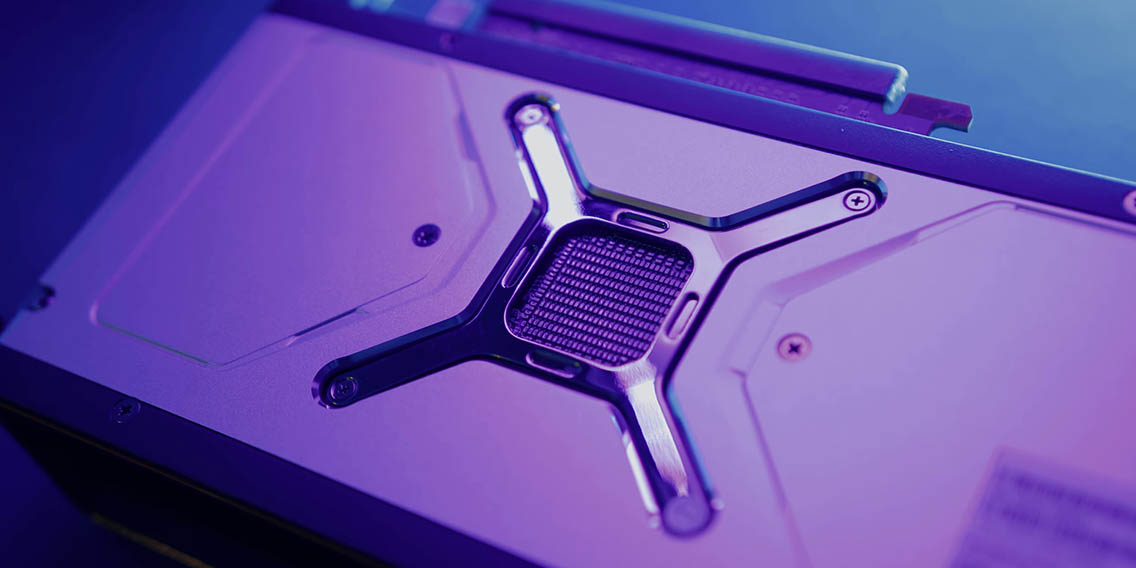
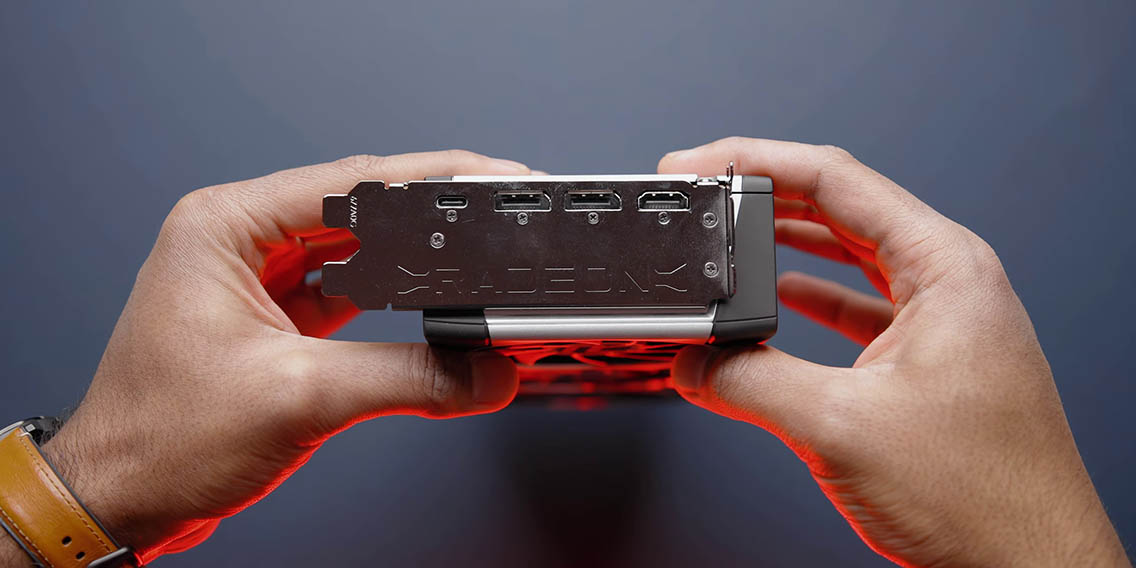
As for size, it’s 10.5-inches long, so it’s a little bit shorter than the RTX 3080 Founder’s Edition, but it’s definitely longer than the RTX 3070. This is also a 2.5-slot card, but keep in mind that the lower-end RX 6800 is a thinner dual slot card. For power both these GPU’s take dual 8-pins, so that makes cable writing so much easier. If we take a look at the back plane well it’s just a back plane, I’m not huge fan of the silver look, but that’s just me. I won’t have to worry about that in this build because we are mounting it vertically. Now if you take a look at the I/O, you get a USB-C port, HDMI 2.1, and a couple of DisplayPort 1.4 ports. Interestingly, there is no exhaust around the I/O shield – like what is found on the RTX Founder’s Edition – but we will have to wait and see what temperatures look like.
CPU / Cooling / Motherboard
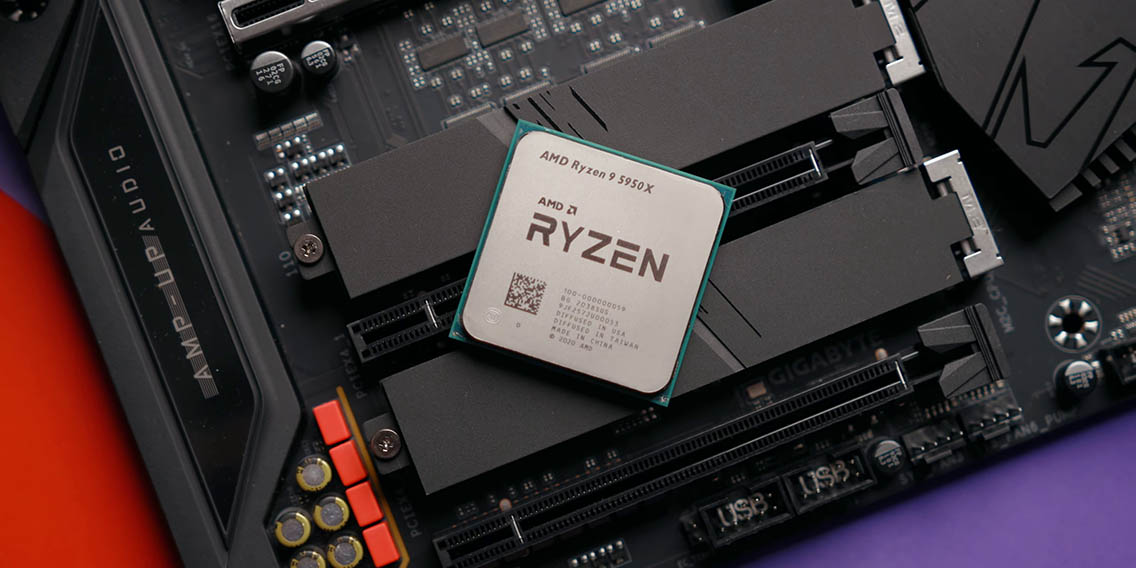
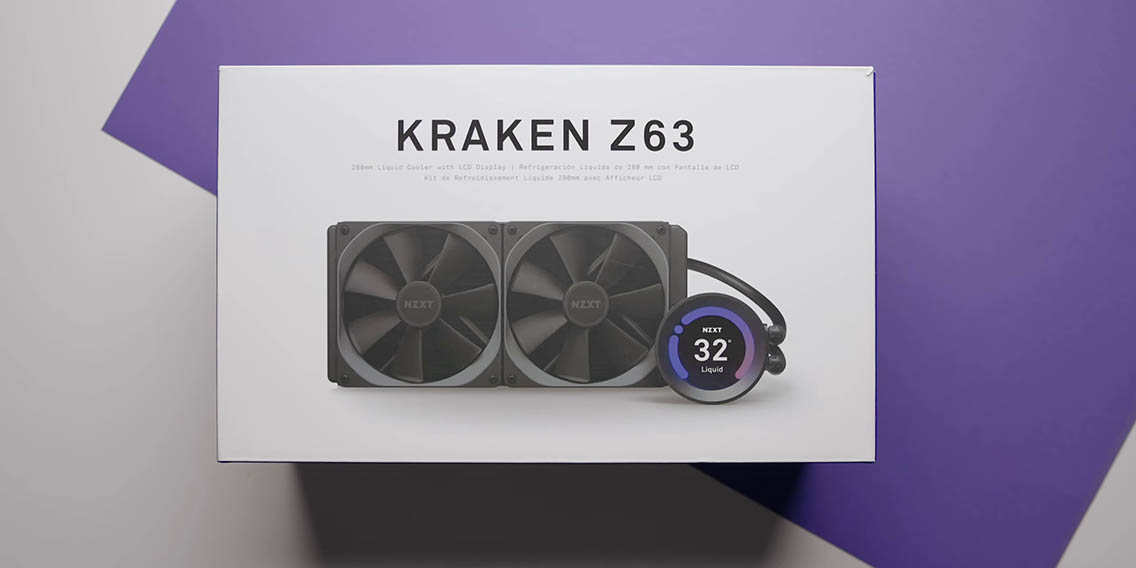
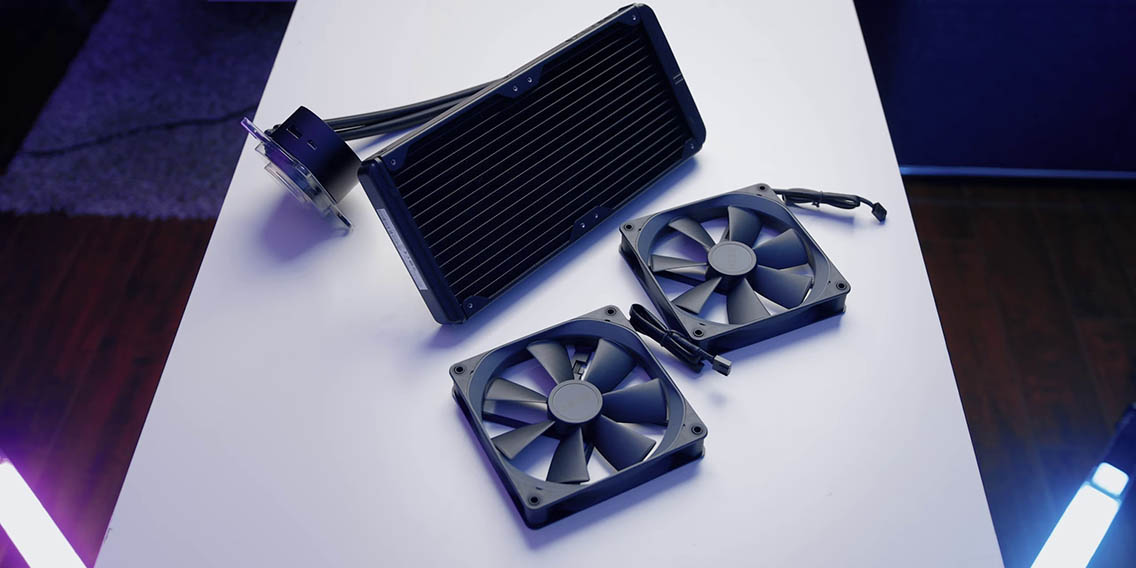
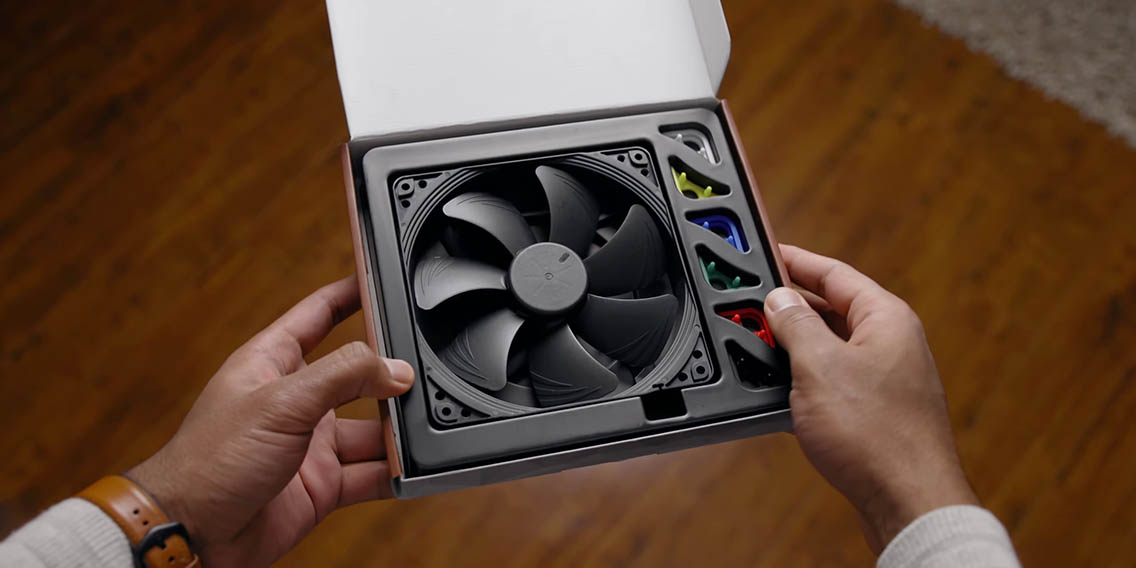
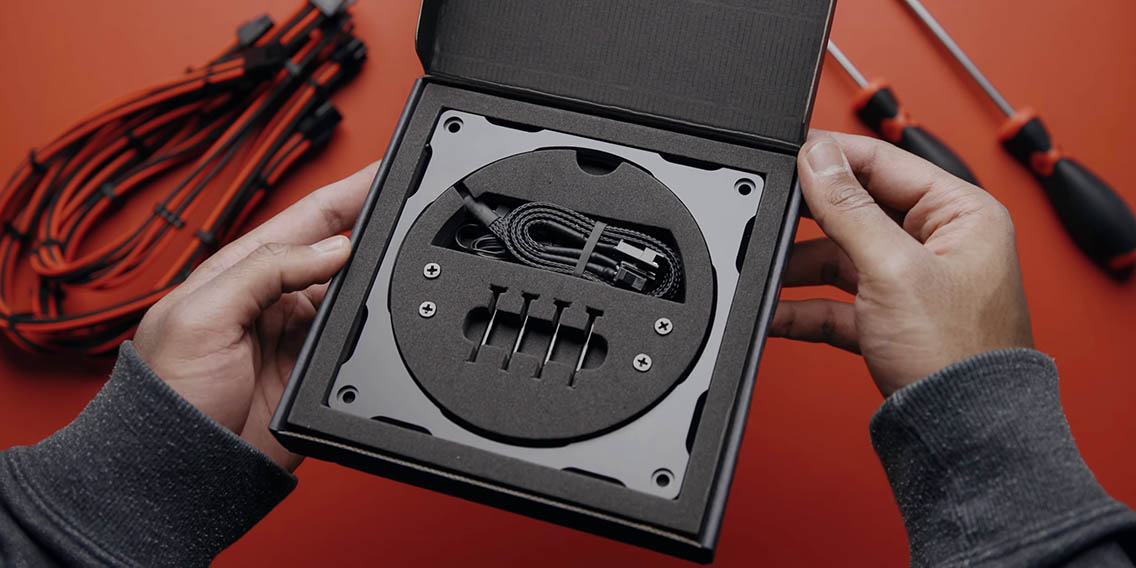
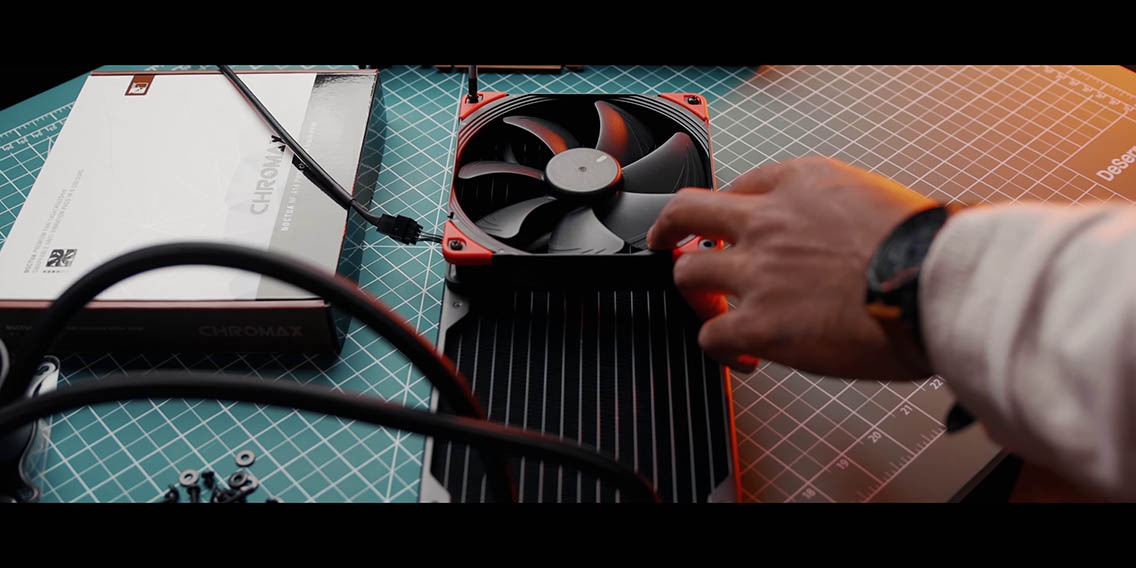
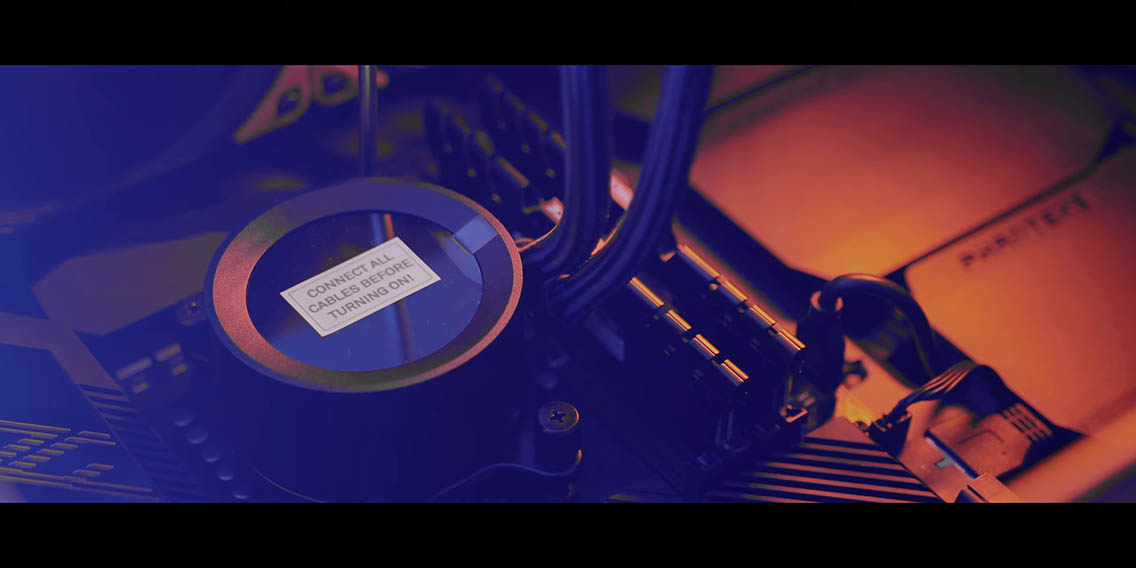
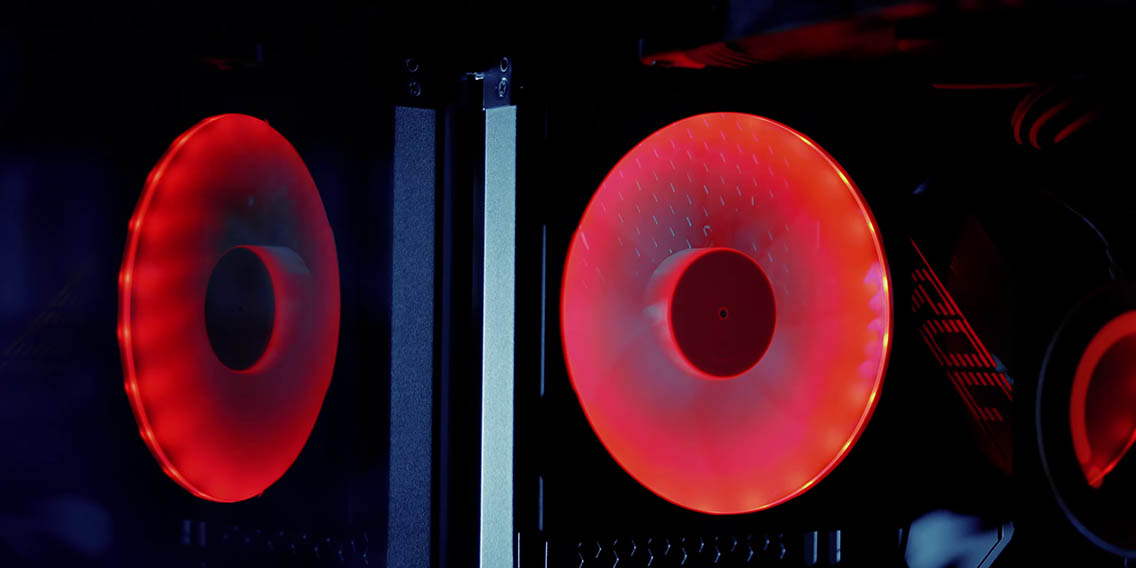
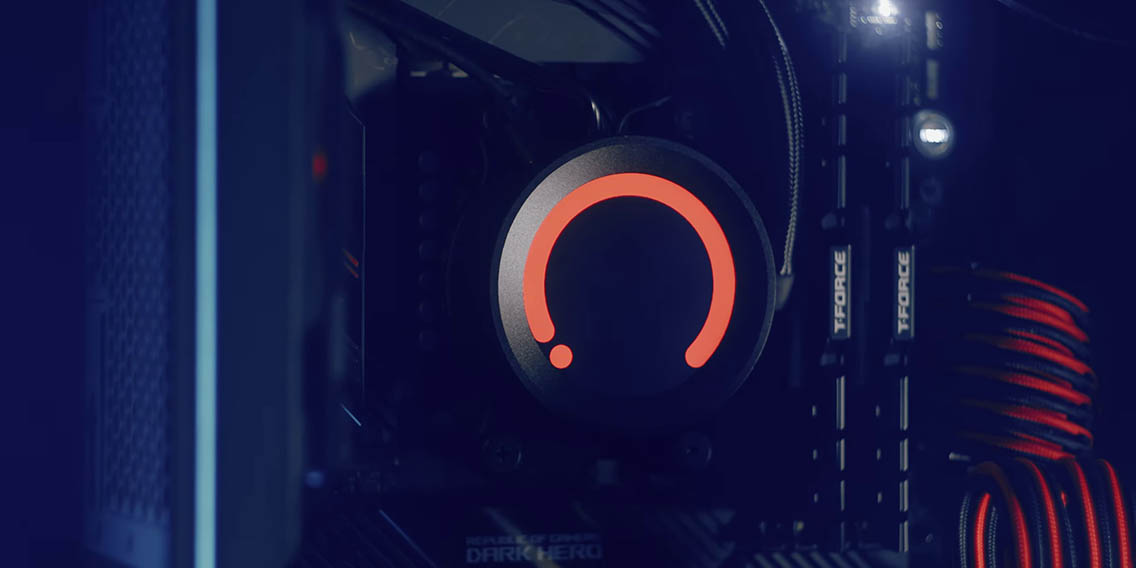
The CPU of choice for this build is the Ryzen 9 5950X. With boost clocks of up to 4.9GHz this is the fastest Zen 3 CPU that AMD has launched, and it also features the most processing power thanks to 16 cores and 32 threads. To cool this beast we chose the NZXT Z63 280mm AIO liquid cooler. I have been waiting to get my hands on one of these just because it features an awesome looking LCD display, and they have made some improvements to the pump compared to the previous X series. That being said, I will be replacing the stock fans with Noctua’s NF-A14 Chromax 140mm fans. They are going to perform great, and I’m going to install the included red vibration pads.
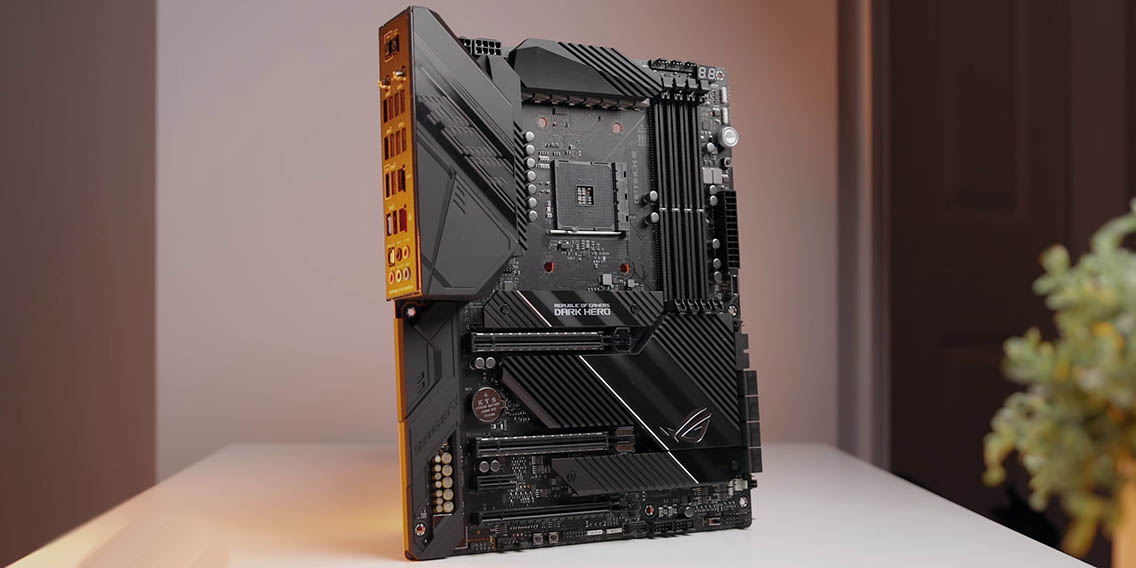
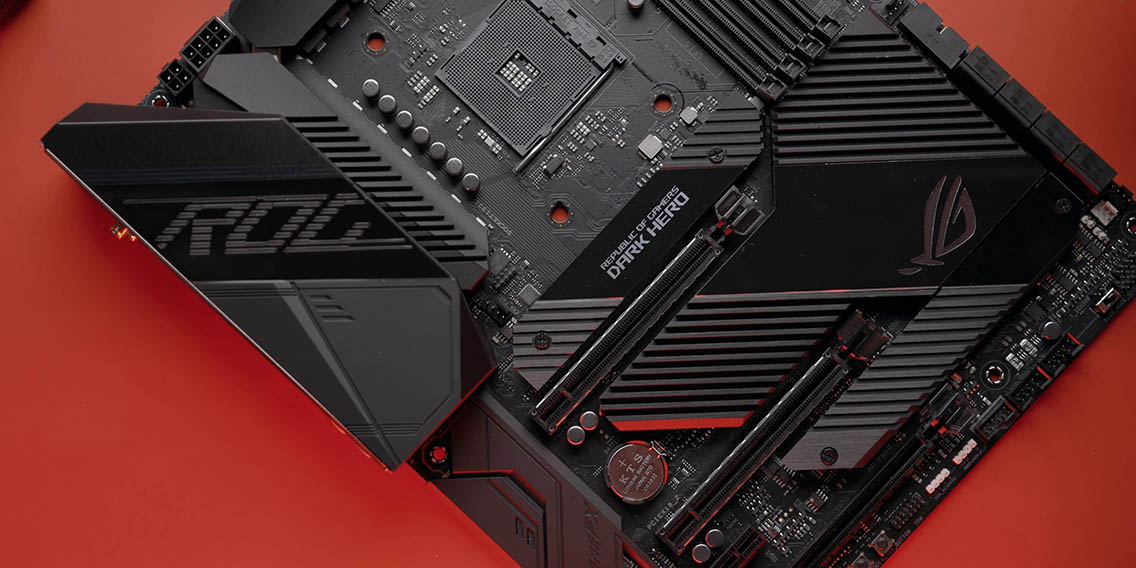
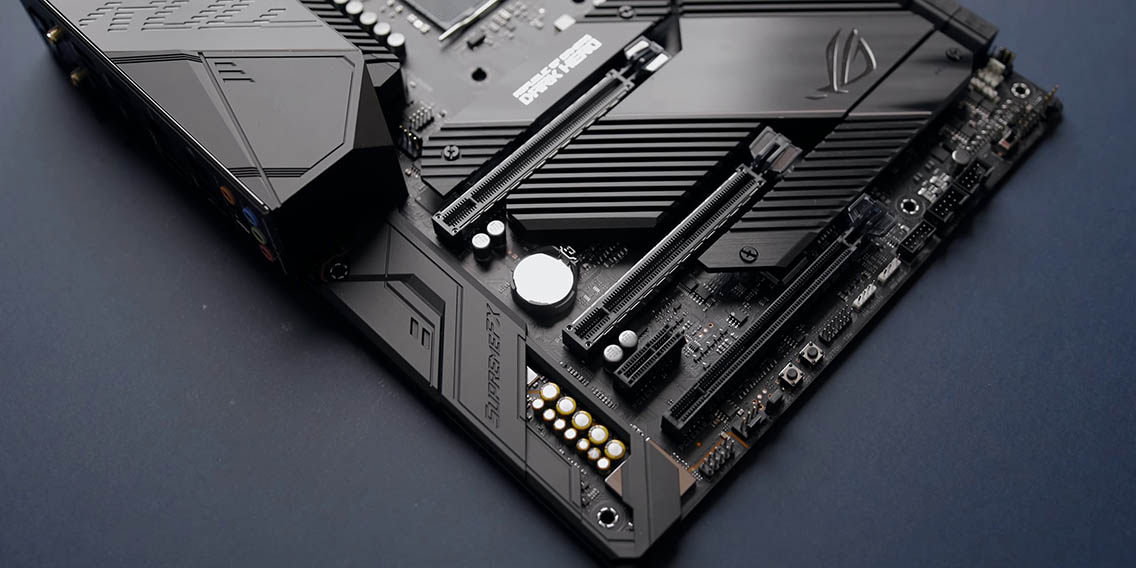
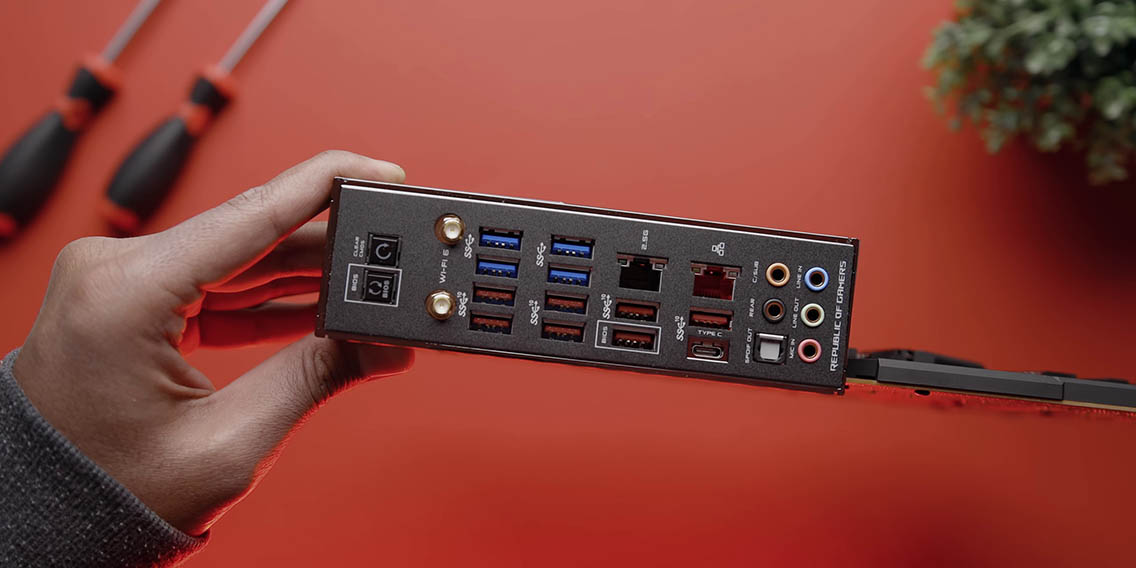
Powering the Ryzen 5950X is the ASUS ROG crosshair VIII Dark Hero. This is one of ROG’s newest X570 motherboards and it looks like it’s ready for some insane overclocking, which is primarily what this board is designed for. I love the subtle looks of this board with these clean lines and the heatsink over the PCB. The chipset is passively cooled and ASUS did this by implementing larger and more robust heatsinks around that area. The I/O is loaded, you can just tell by looking at it. It has built-in Wi-Fi 6 support, two M.2 slots, a 14+2 phase power delivery, I just can’t wait to start overclocking the 5950X because this thing it looks like it can handle it no problem.
RAM & SSD
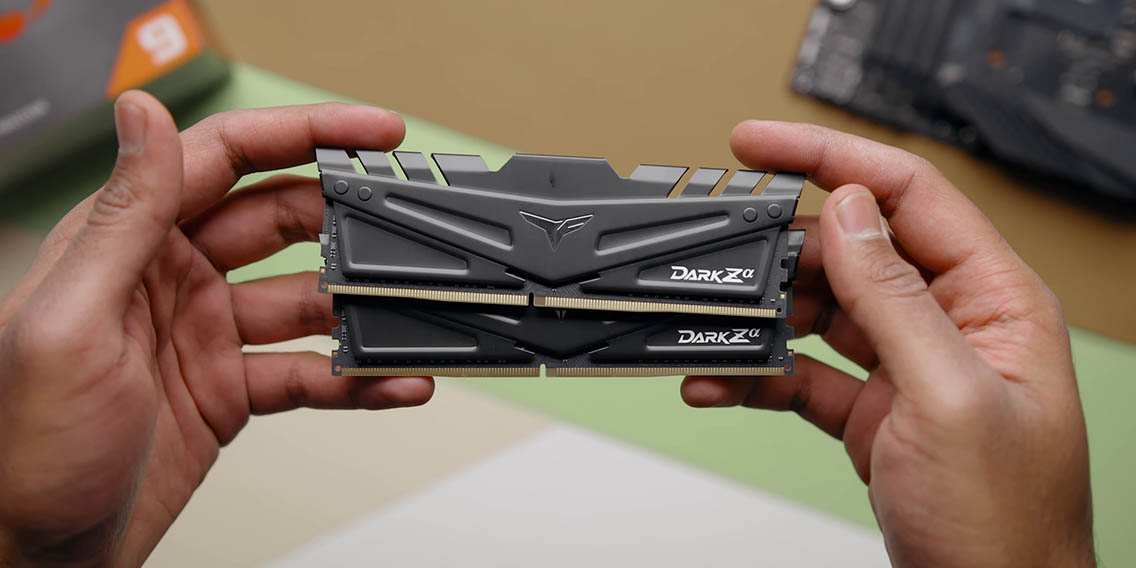
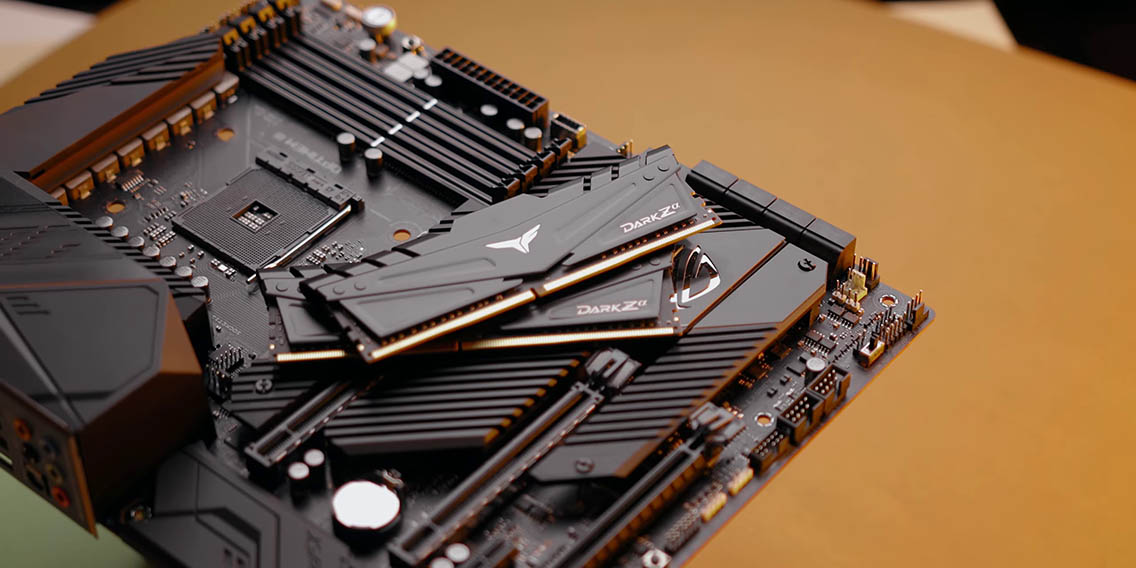
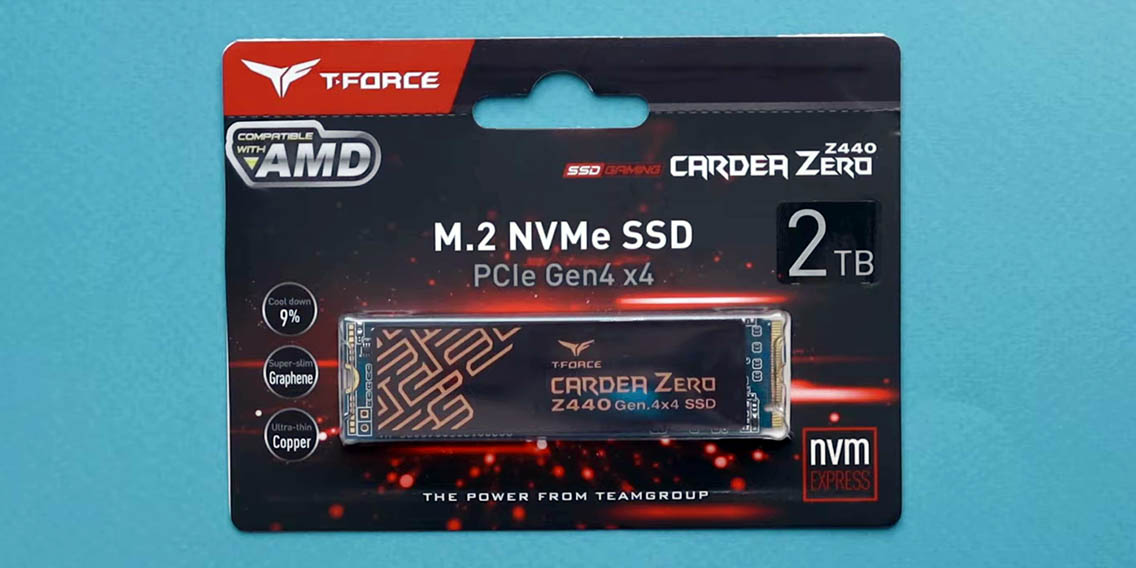
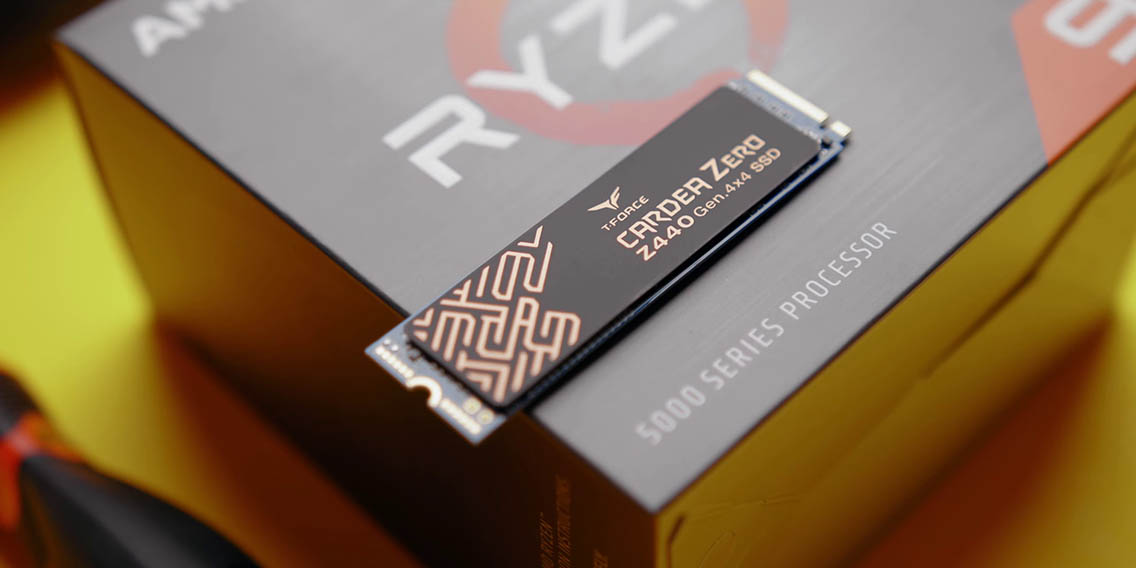
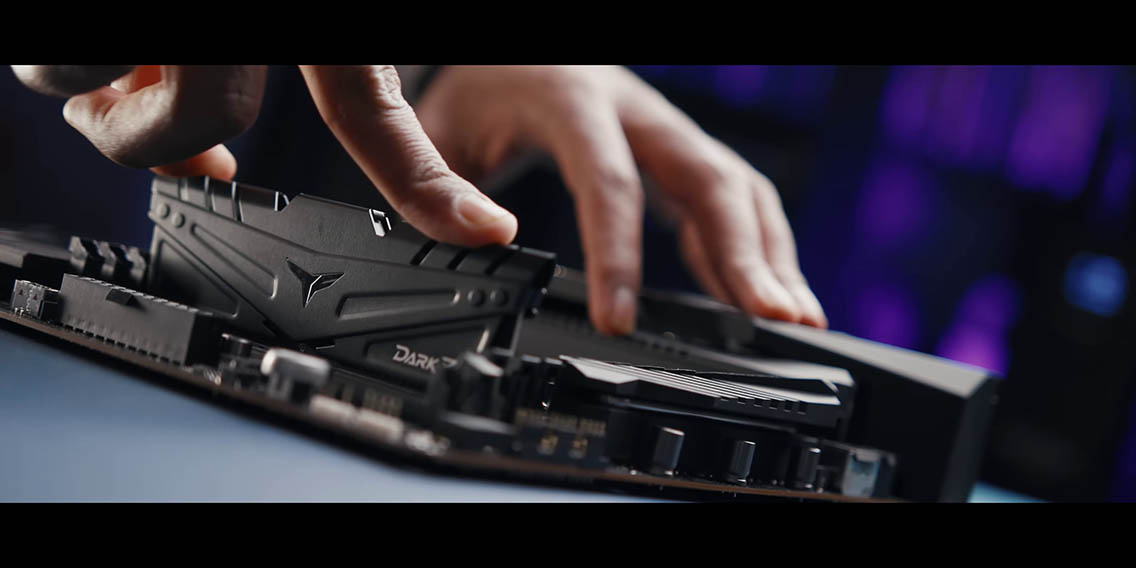
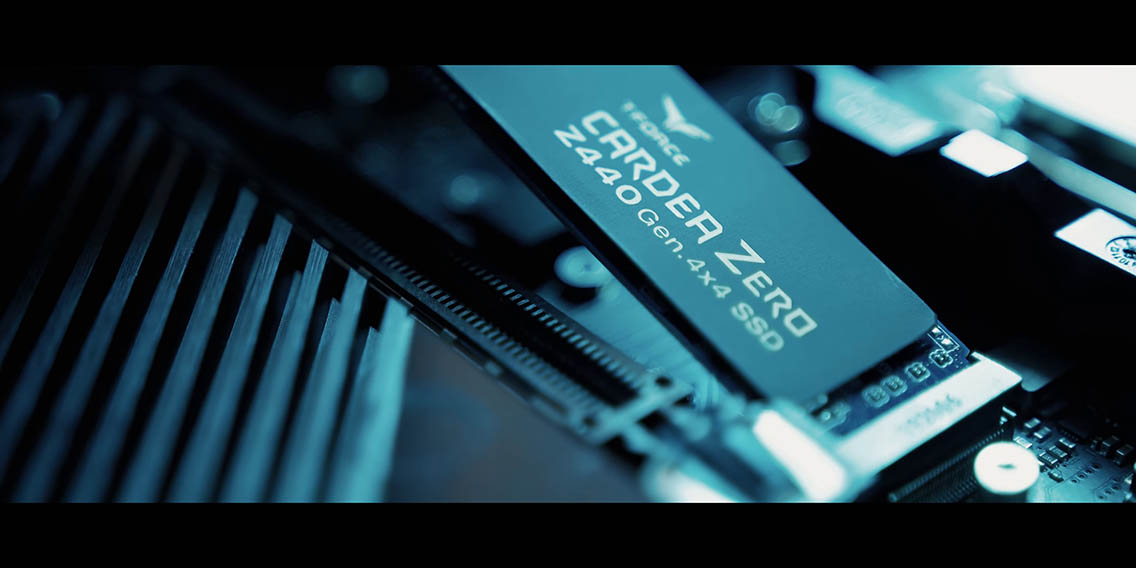
For memory TeamGroup hooked us up with their T-Force Dark Z Alpha 32GB kit clocked at DDR4-3600. This kit is optimized specifically for Ryzen CPUs, and I love the aggressive styling on the heatspreaders. They blend in with the motherboard really well, and I didn’t want an RGB kit so this works out just fine. Now for storage we are going with TeamGroup’s Cardea Zero Z440 2TB NVMe SSD. This is one of their new PCIe Gen4 drives, and the read speeds go up to 5Gbps, plus it comes with a 5-year warranty which is always welcome. This doesn’t look all that different from other PCIe Gen4 drives on the market, but the small heatspreader uses a combination of graphene and copper. Supposedly it can provide the same type of cooling as larger solutions, and since it’s 0.2 millimeters thick it avoids interference during installation and you can just pop the motherboards heatsink right over it.
Power Supply & Case
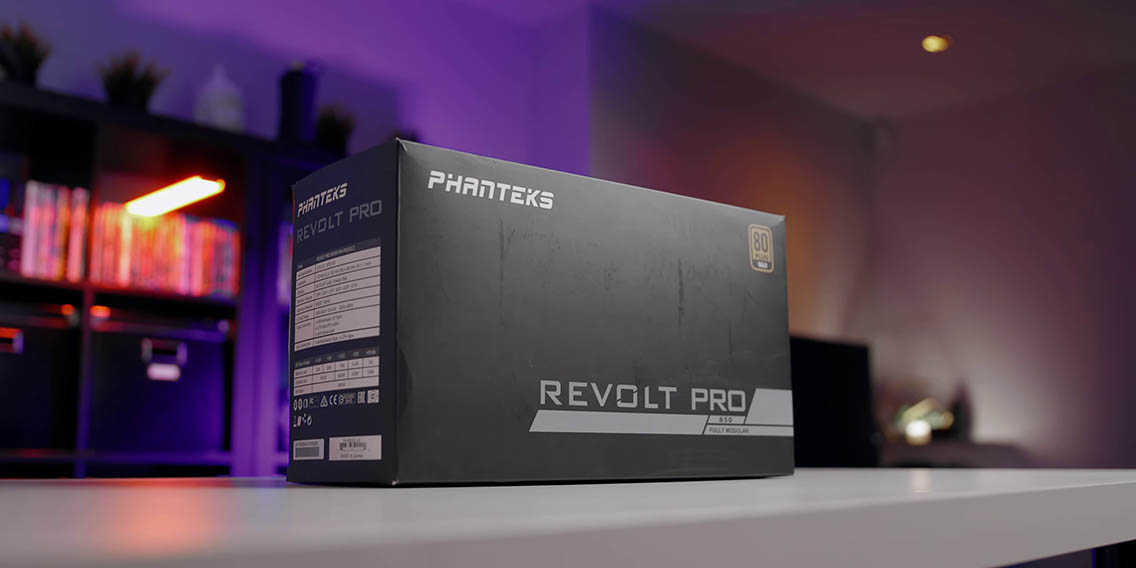
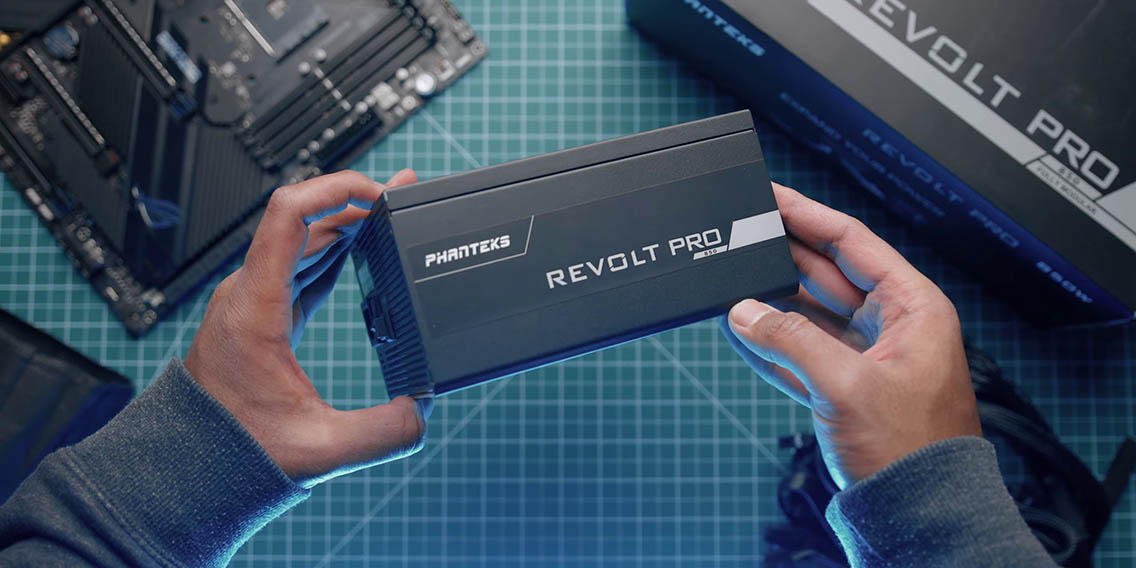

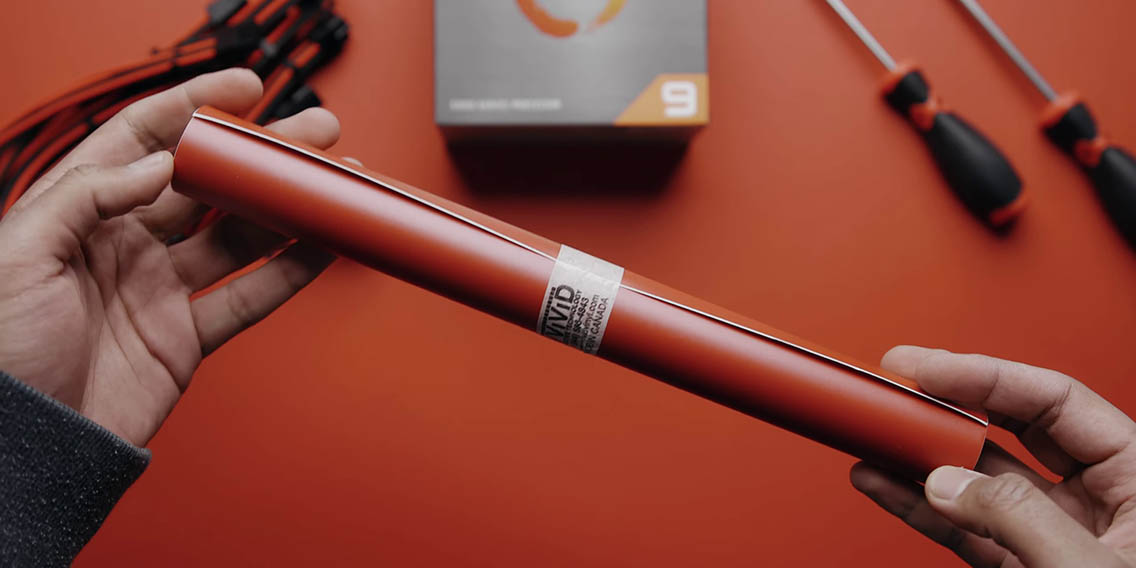
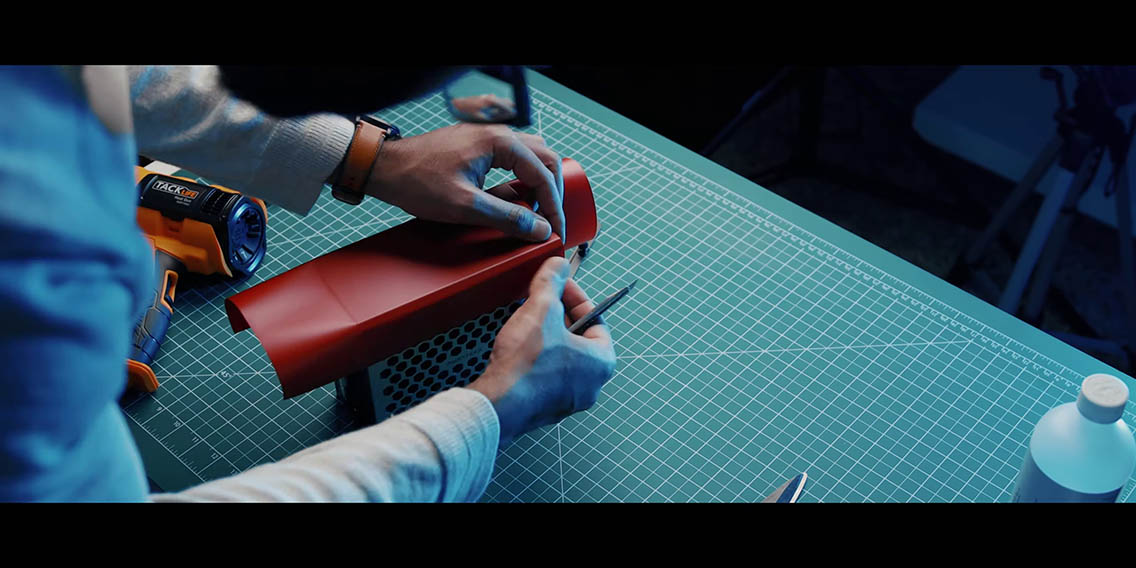
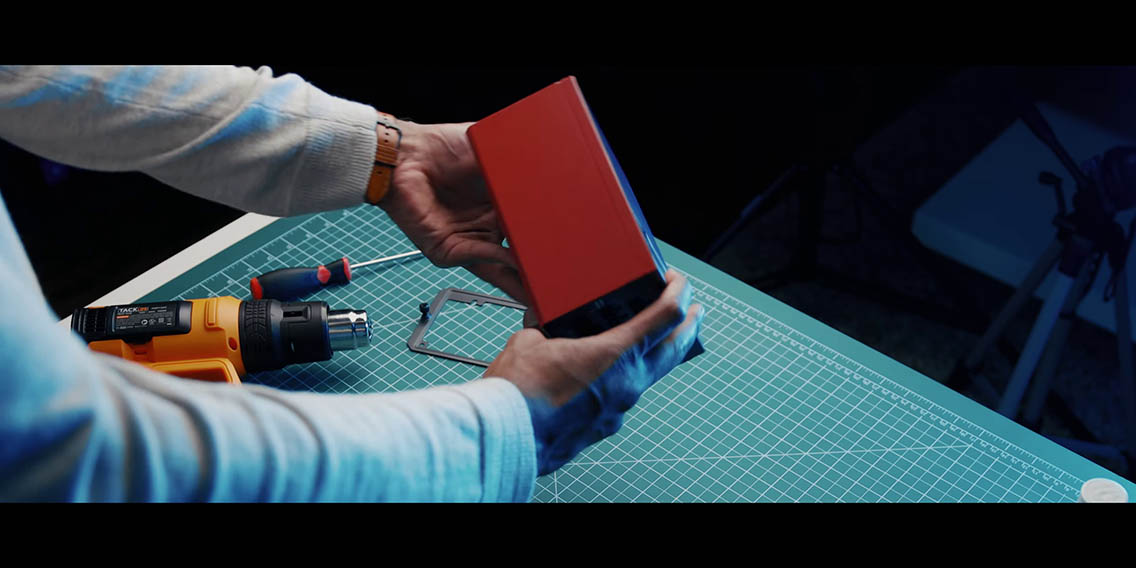
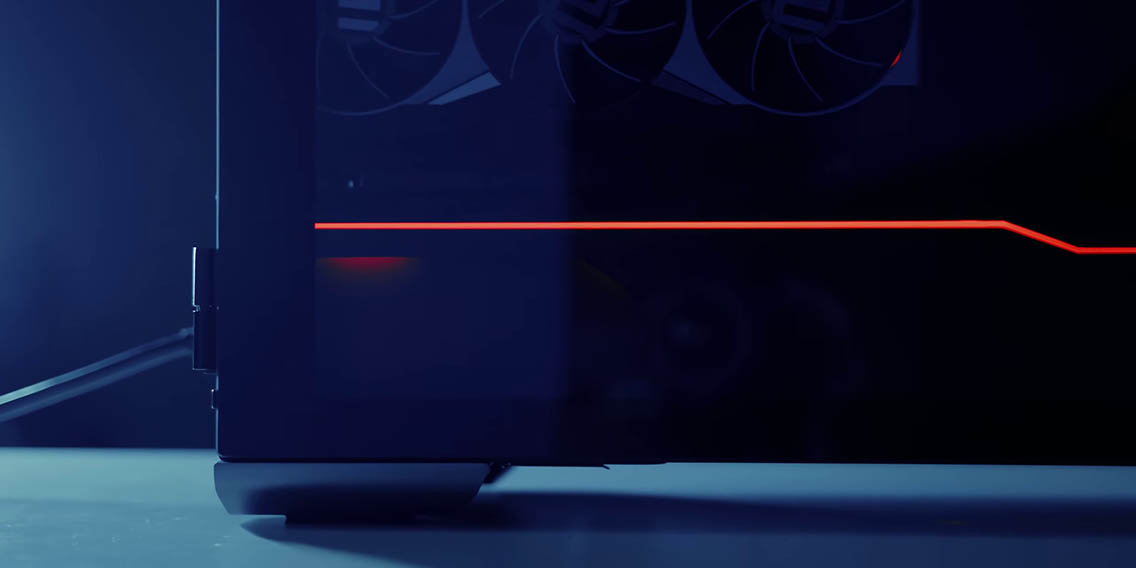
Powering the whole build is the Revolt Pro 850W 80+ Gold certified power supply from Phanteks. It is fully modular, so that should help with cable management, and it has plenty of juice to power the 5950X and the RX 6800 XT. I’m not a huge fan of the stock cables, so instead of going with an entire custom set I picked up these sleeved red and black extension cables from Amazon. The quality of these cables are amazing for the price. While we are doing a whole red and black theme build, I also picked up this matte red vinyl wrap. I had an idea to wrap the side of the PSU because the case that we are going with a feature is a small cut-out on the power supply shroud, and so this should really add a nice accent complimenting the rest of the build. We will see if it works out, but I’m just excited to try it out for the first time.
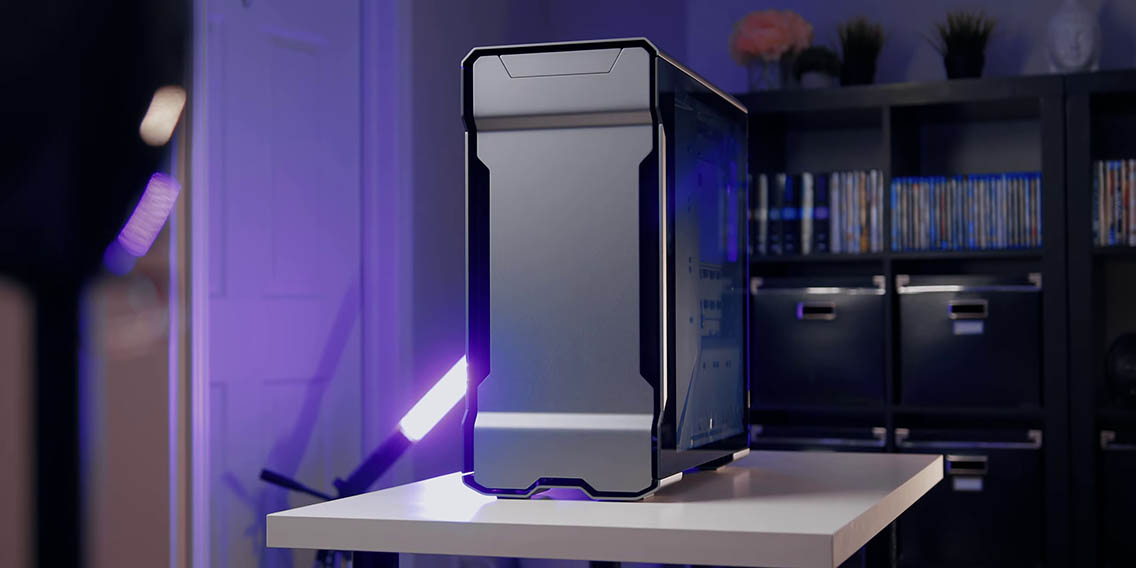
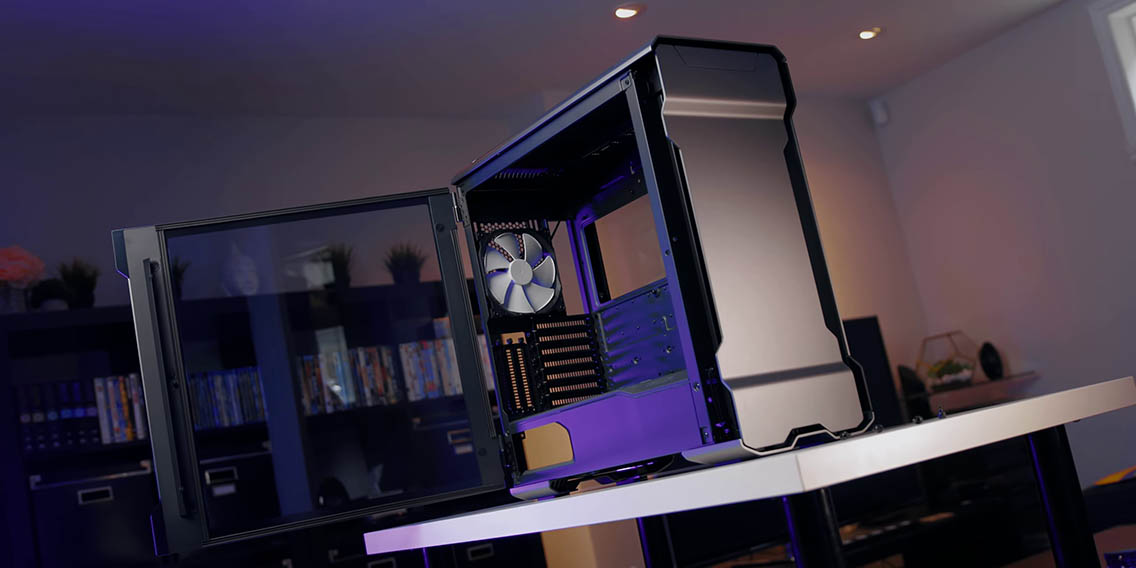
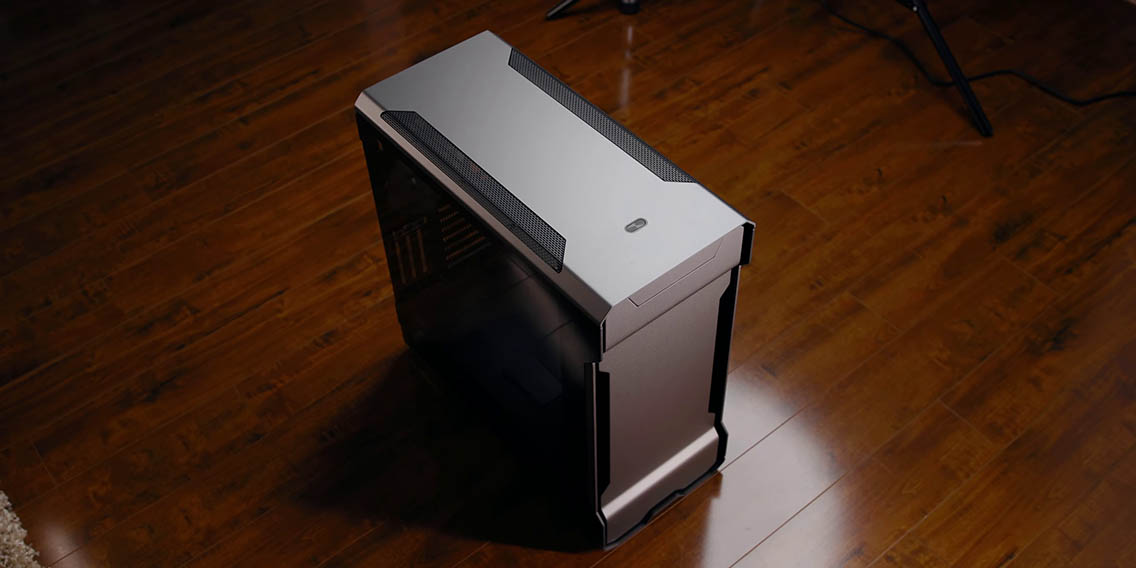
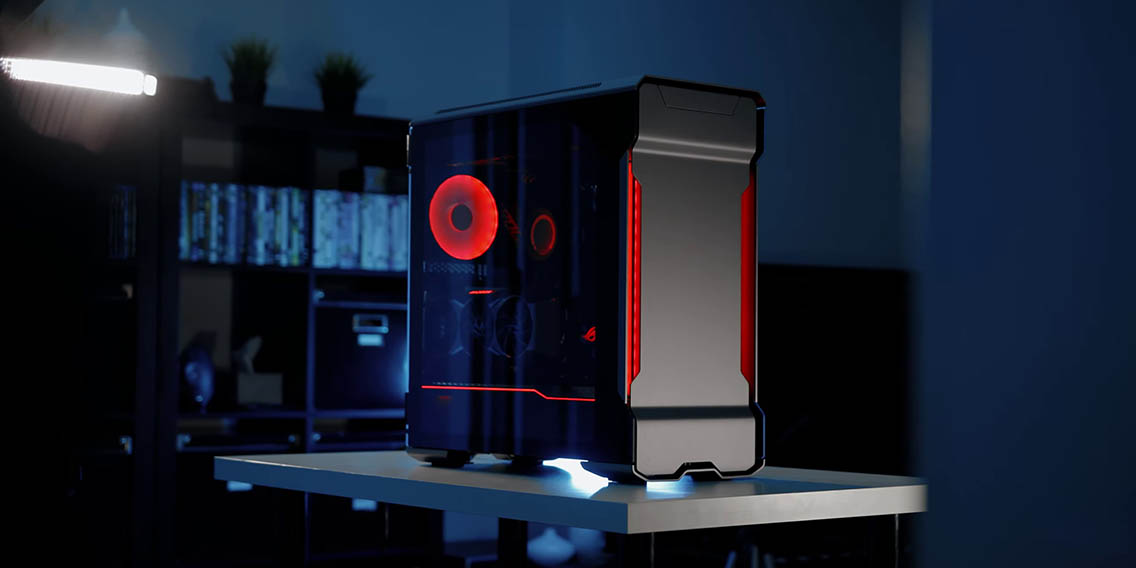
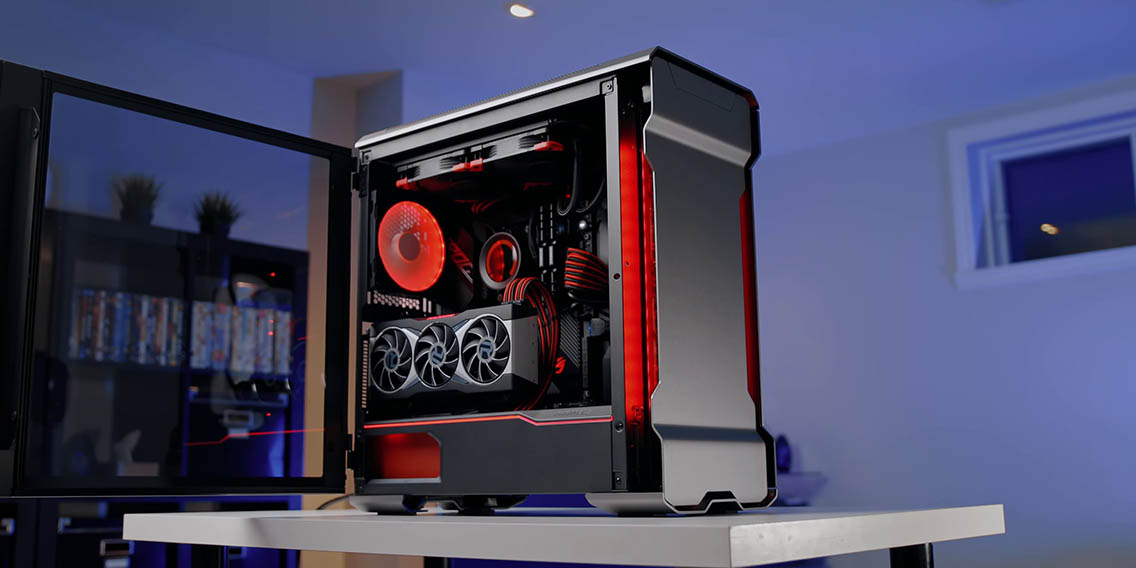
Speaking of the case, we are putting together all of these components inside the Evolv X from Phanteks. This is one of the best looking ATX enclosures that I have ever come across. I have had the previous version of the Evolv and I have loved it, but with the X model Phanteks has made some major improvements for airflow and the RGB integration is just brilliant. If you are interested in our full review, you can check it out right over here. We are also going to be adding a Phanteks Halos Lux digital RGB frame on the rear 140mm fan that comes with the case, so that should really add a nice red glow and it should really compliment the rest of the build.
The Build
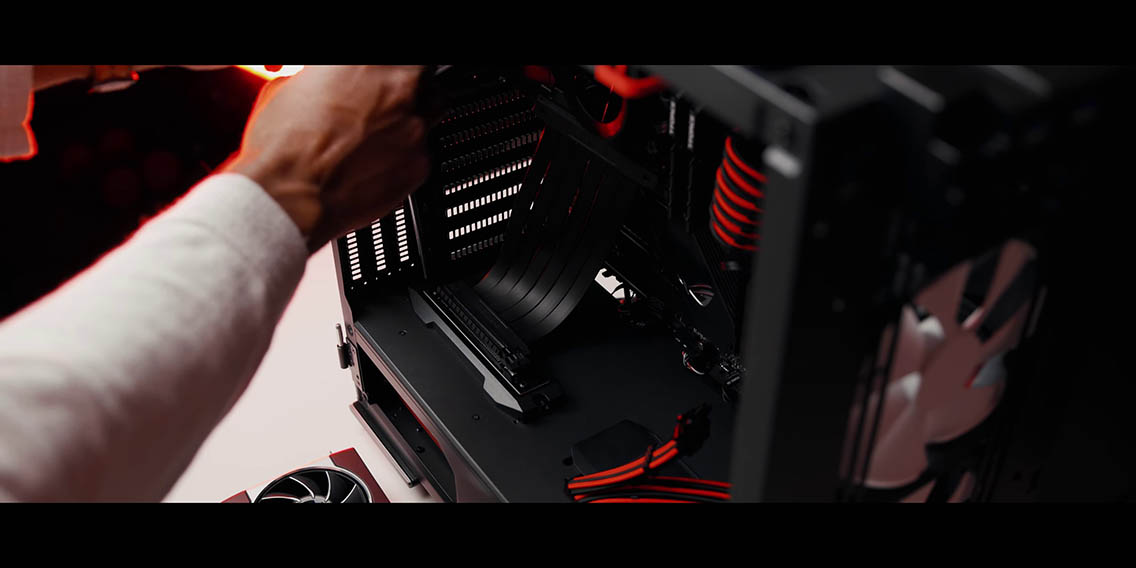
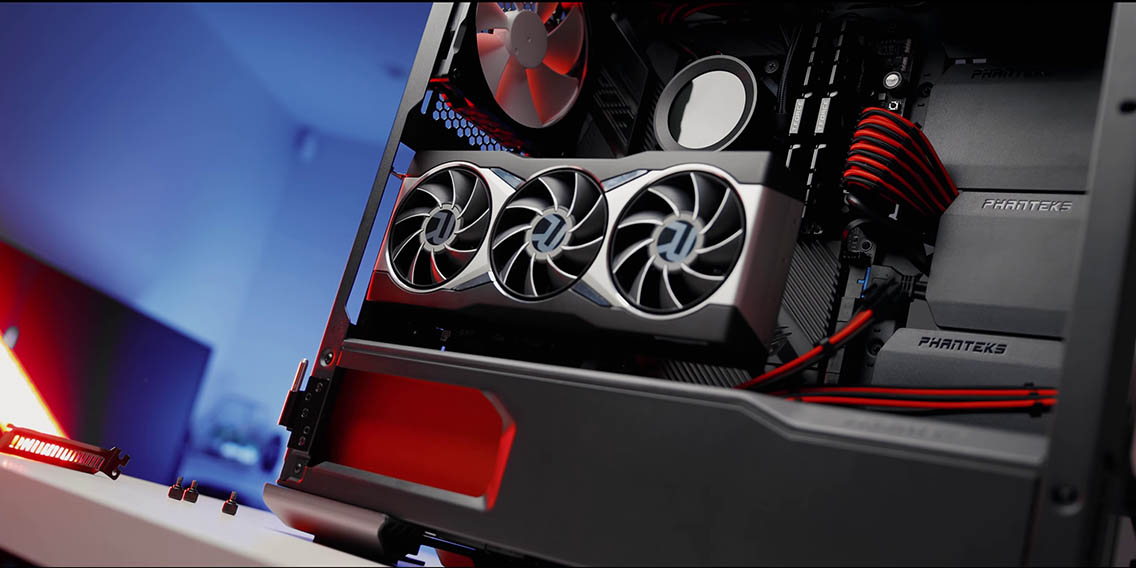
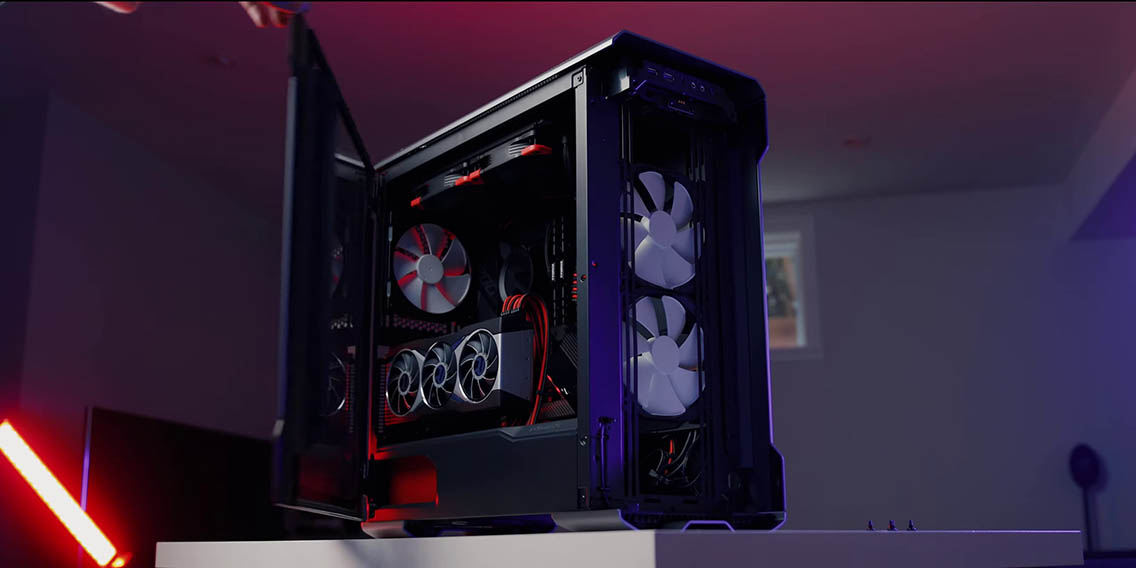
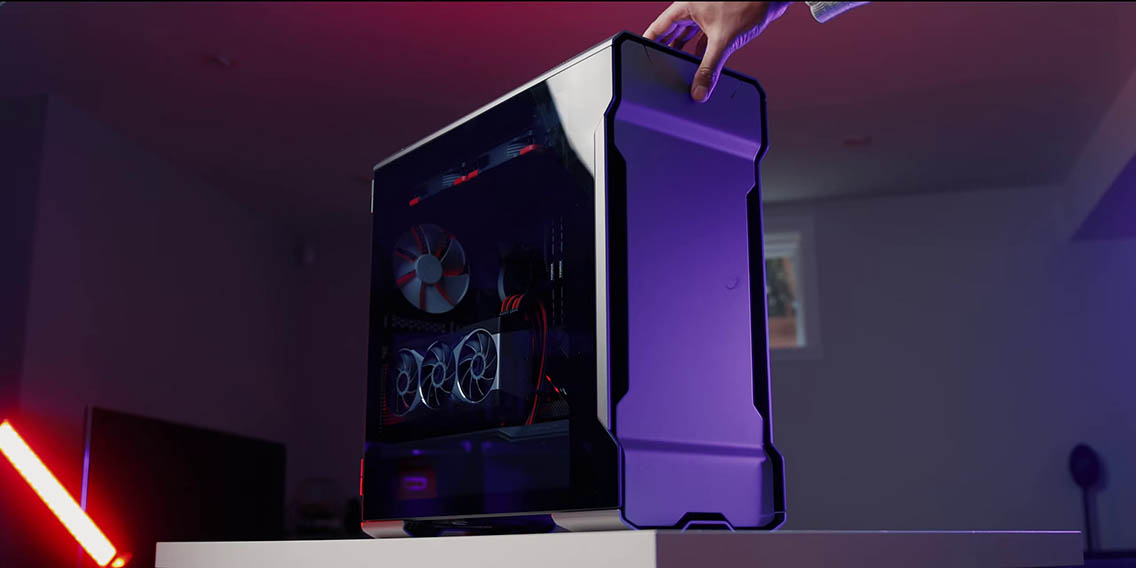

Now that you know exactly what is going inside this all AMD build, it was time this beast together. I have to be honest I am absolutely in love with the end result, this build looks phenomenal from every possible angle. I just can’t stop looking at it, it’s so cool. The subtle LED accents throughout the case compliments the rest of the components really well, including the Radeon logo on the RX 6800 XT. The Halos Lux frame looks gorgeous and the LCD display on that Z63 cooler is super fun, I can spend hours playing around with that thing because it’s an LCD display and you can actually load it up with GIFs from the internet. Honestly, it’s a lot of fun. There are also a lot of other things that you can add to that LCD display, like monitoring your CPU and GPU temperatures, your clock speeds, etc. The customization options are countless and I love the way it looks.
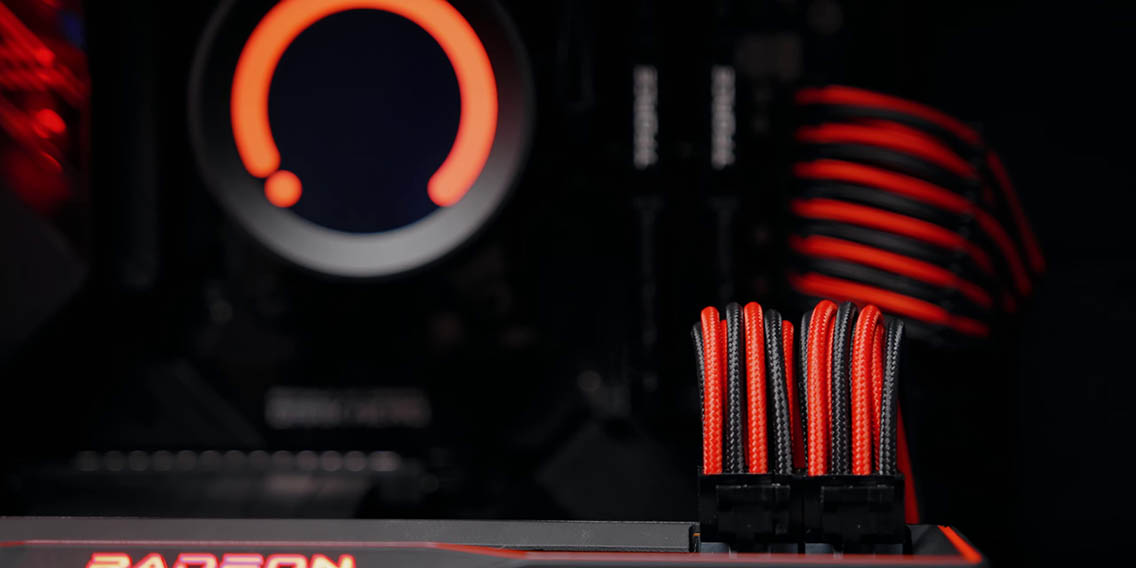
The red and black sleeked cables look amazing, and honestly because this thing looks so gorgeous I actually don’t want to switch to my small form factor workstation PC that I built. This new build looks way better, and I actually don’t mind that huge size. I mean, yes, it’s not an SFF build, but just looking at it convinces me that sometimes size matters.
Conclusion
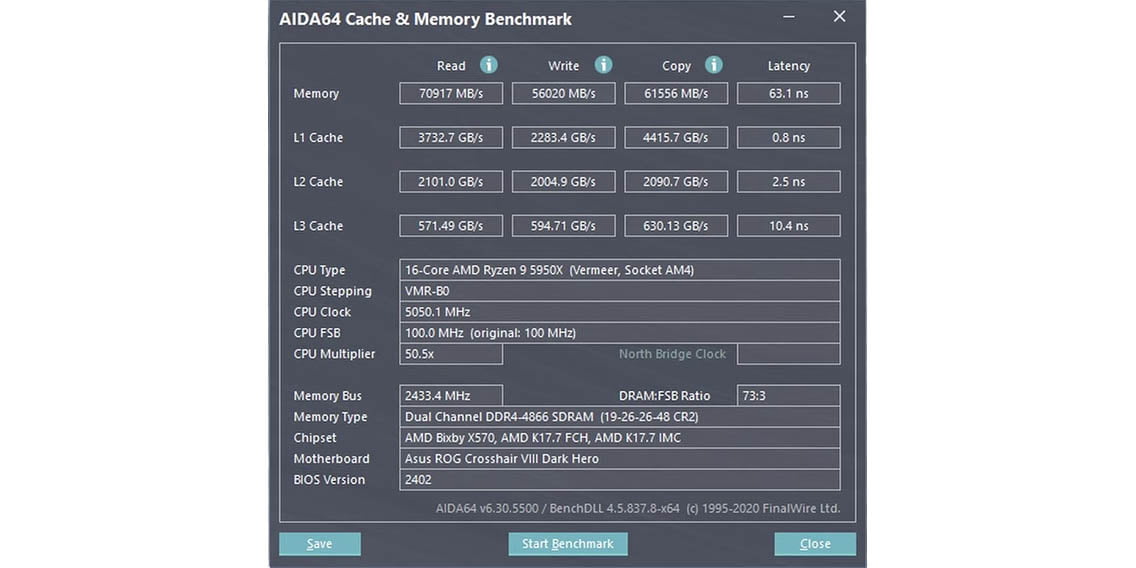

Now as I mentioned earlier we did choose to mount the RX 6800 XT vertically, and we were worried about it being closer to the tempered glass side panel, but it turns out there is a lot of room for the GPU to breathe. We are going to start running our temperature test right after I wrap up this article, but I also want to quickly mention that I was able to overclock the memory DDR4-4866 at CL19, which is very impressive. Honestly, I just can’t wait to fool around with the 5950X as well. There is just a lot more that needs to be done in terms of tweaking and just making sure that the system runs at its optimal configuration. Definitely stay tuned for our full review of the Radeon RX 6800 XT and the RX 6800 on Wednesday, but until then let us know what you think about this build. I’m really excited about it, and I’m just debating whether or not I should switch to this as my workstation PC or my other SFF build.
Buy items in this article from Amazon at the links below:
Ryzen 9 5950X – https://geni.us/R95950X
RX 6800 XT – Releasing Wednesday!
RoG X570 Dark Hero – Coming Soon!
Team Group Dark Z Alpha – https://geni.us/DARKZ32
Team Group Cardea Zero SSD – https://geni.us/CARDEAZERO
Phanteks Revolt Pro – https://geni.us/REVOLTPRO
Phanteks Evolv X – https://geni.us/EVOLVX
Phanteks Halos RGB Fan Shroud – https://geni.us/HALOSLX
NZXT Kraken Z63 – https://geni.us/NZXTZ63
Linkup Cable Extensions – https://geni.us/PSUEXTEND
Noctua NF-A14 Chromax – https://geni.us/NFA14