The WORST Things About Building a PC!

Share:
Table of contents
Building a computer can be an incredibly rewarding experience if it boots just fine, if there isn’t any DOA hardware or compatibility issues in general, and if cable management ease easy… but let’s be real. If anything our training has taught us is that being prepared for the worst is the better way to go in terms of ease of mind and knowing how to solve certain issues. In this article let’s talk about the worst parts of building a computer and how to solve them. Most of them anyways because the current situation with stock is just incredibly frustrating, and when it comes to prices whatever is available is just insanely high because both scalpers and retailers are taking advantage of the increased demand.
Connectors

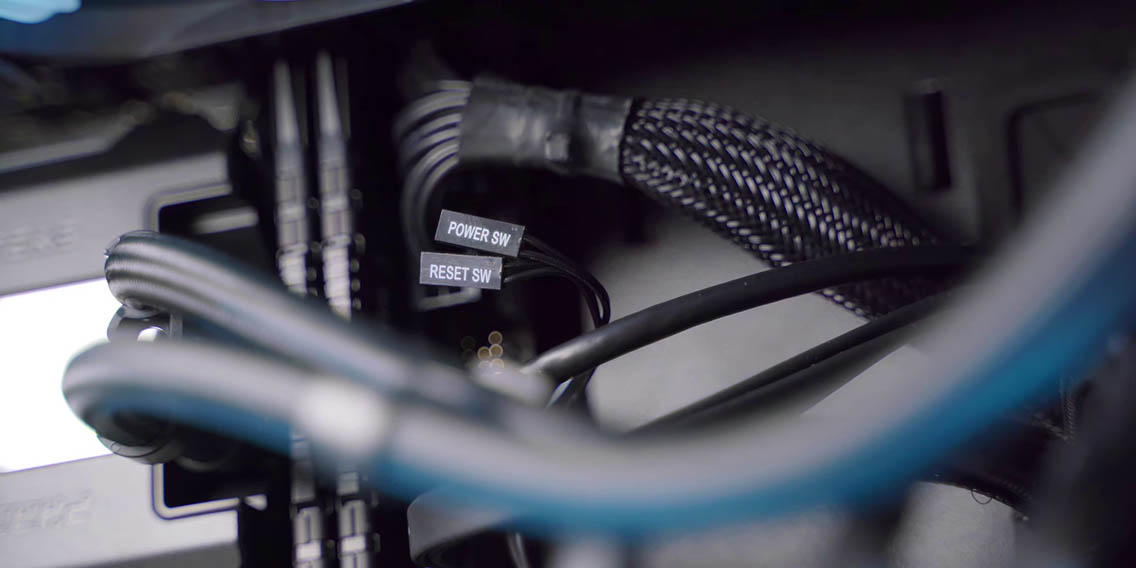
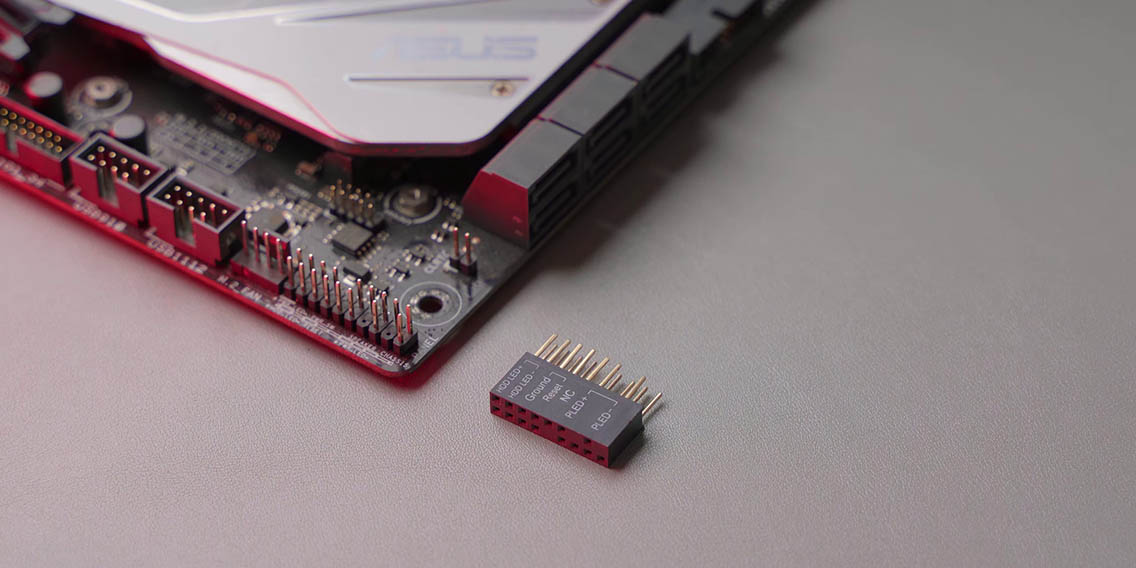
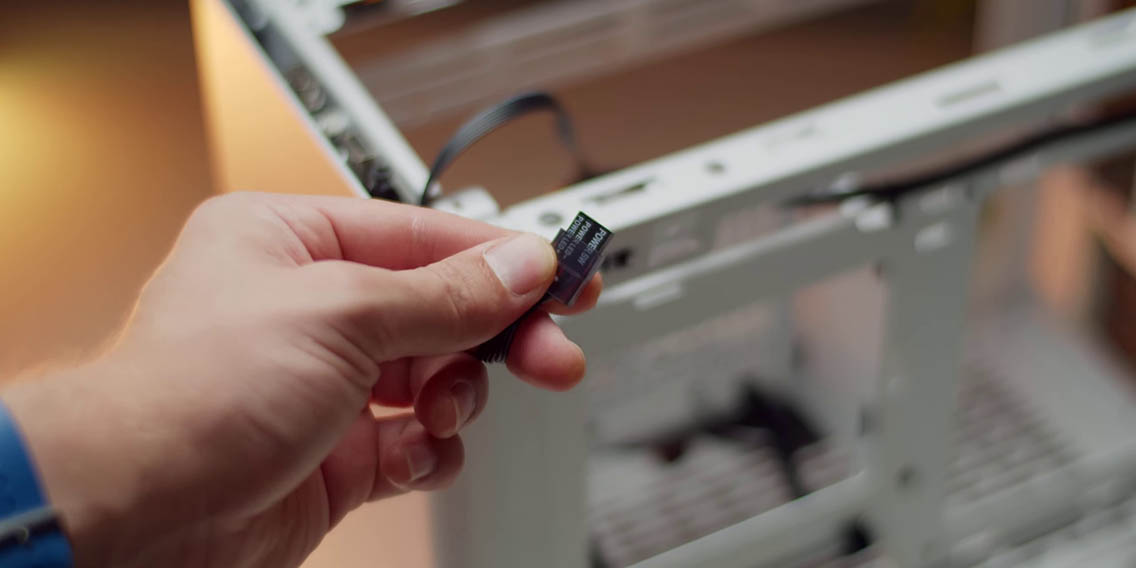
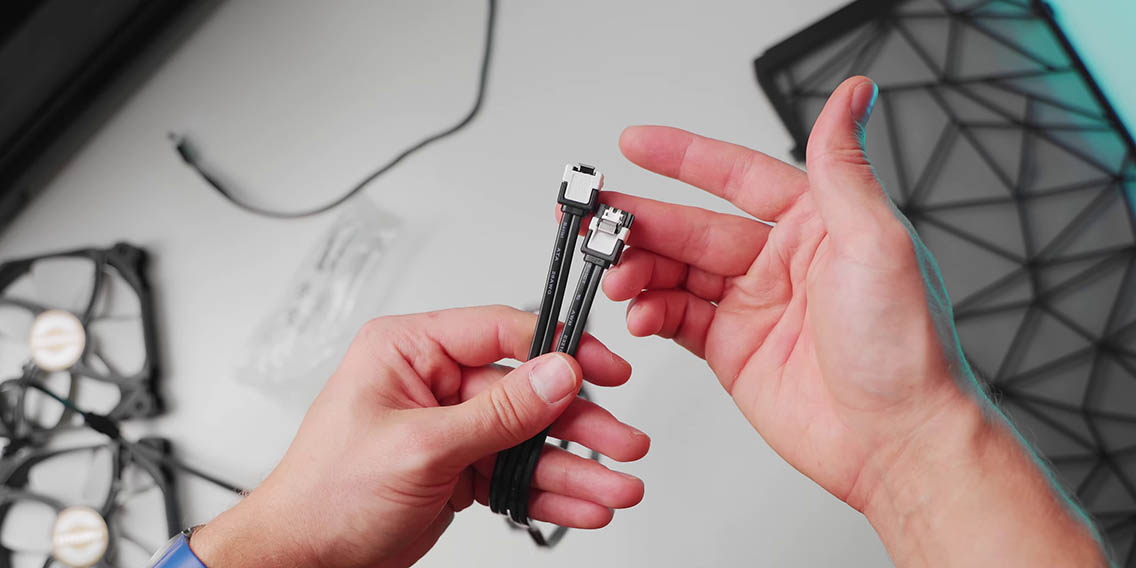
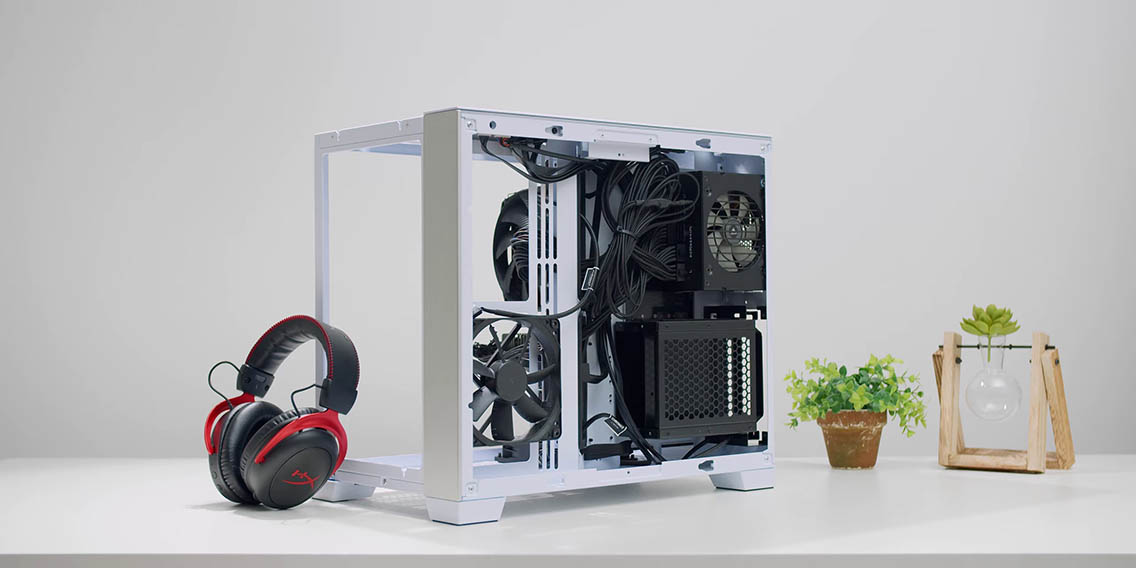
First let’s start with the little things like the front panel connector, because there are numerous small connectors and they are pain in the butt in wire. They are flimsy pins and the small writing makes it easy to get wrong. It’s actually the very first thing I cable manage because accessing the front I/O port on the motherboard is not easy once the GPU installed. A solution to this would be to remember how the cables align on the motherboard by reading the manual, using a flashlight and going carefully. Also don’t swap the reset and power switches, because that will anxiety trying to understand why the computer is not starting. Some motherboards used to include the front-panel Q-Connector, like on ASUS motherboards, but I haven’t seen it recently. Thankfully there is maybe hope from the case side because on my Cooler Master NR200 the front I/O cables are bunched together in this plastic housing, which makes installation so much easier.
Boxes
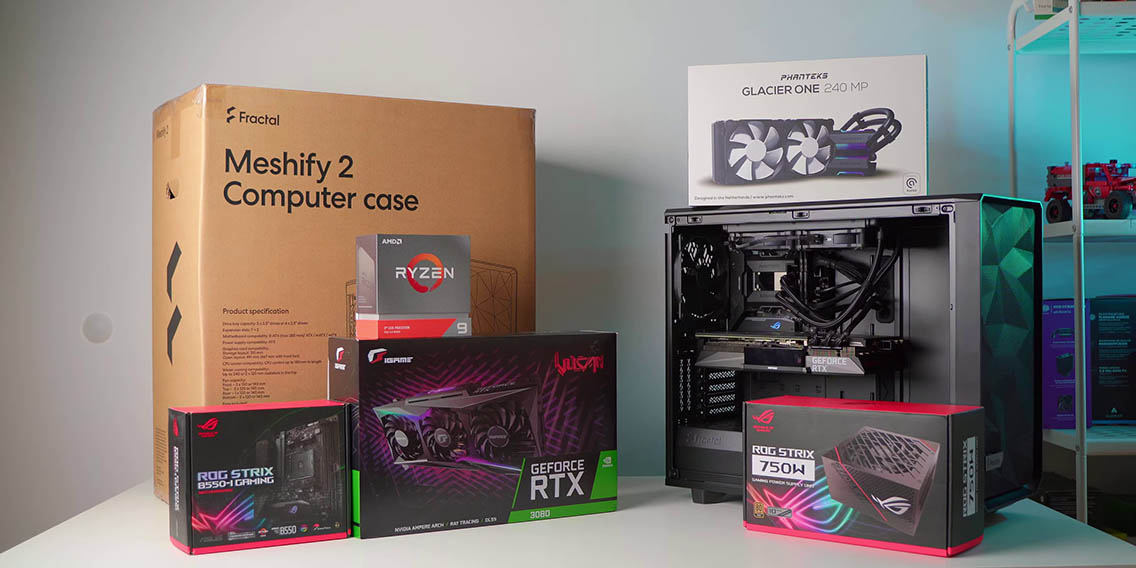

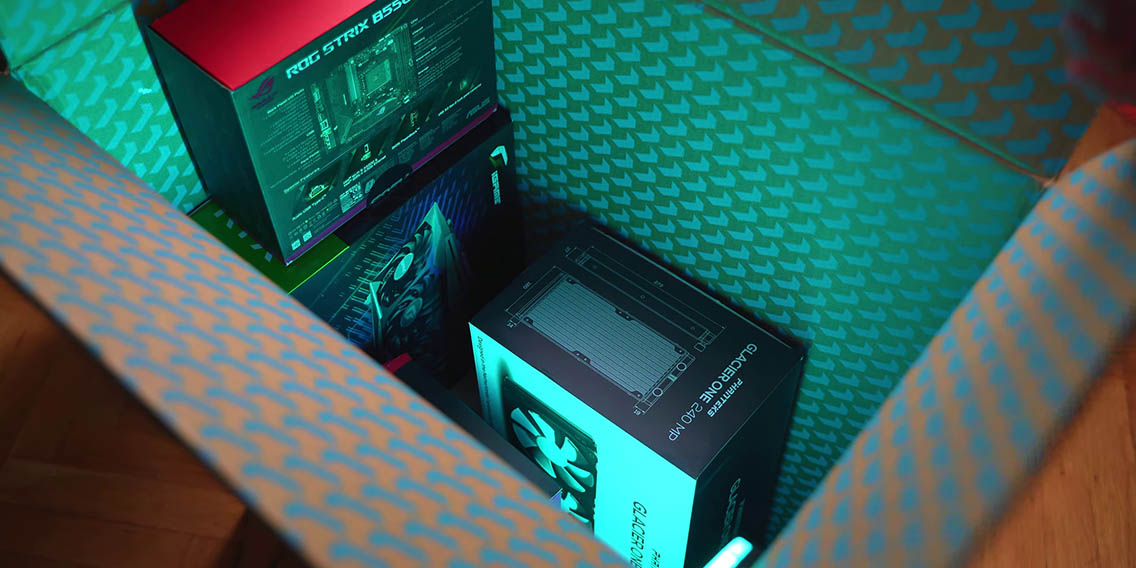
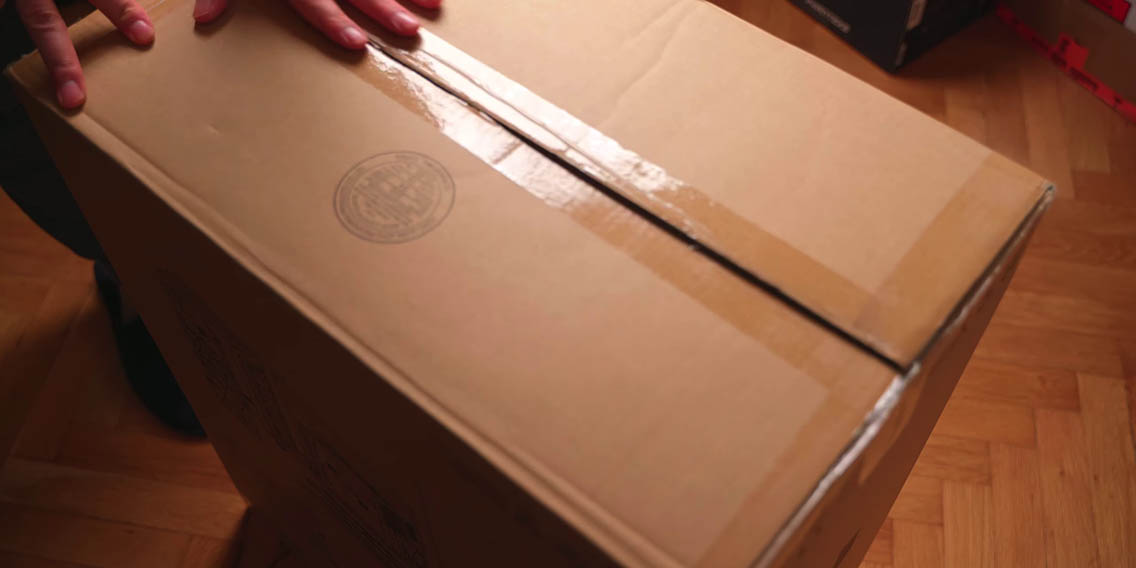
Second is displaying all your hardware boxes. We have all done it on our first build, on our second build, even I still have so many boxes around here because it’s kind of a cool thing to display your coolest hardware. However, let’s be honest, it is a privilege to be able to display so many boxes because they occupy a lot of space. A solution to this is to use the case box as storage to place all the hardware boxes inside of that for the build, so if you have to access a manual or an accessory you can go back into the case box.
Small Issues
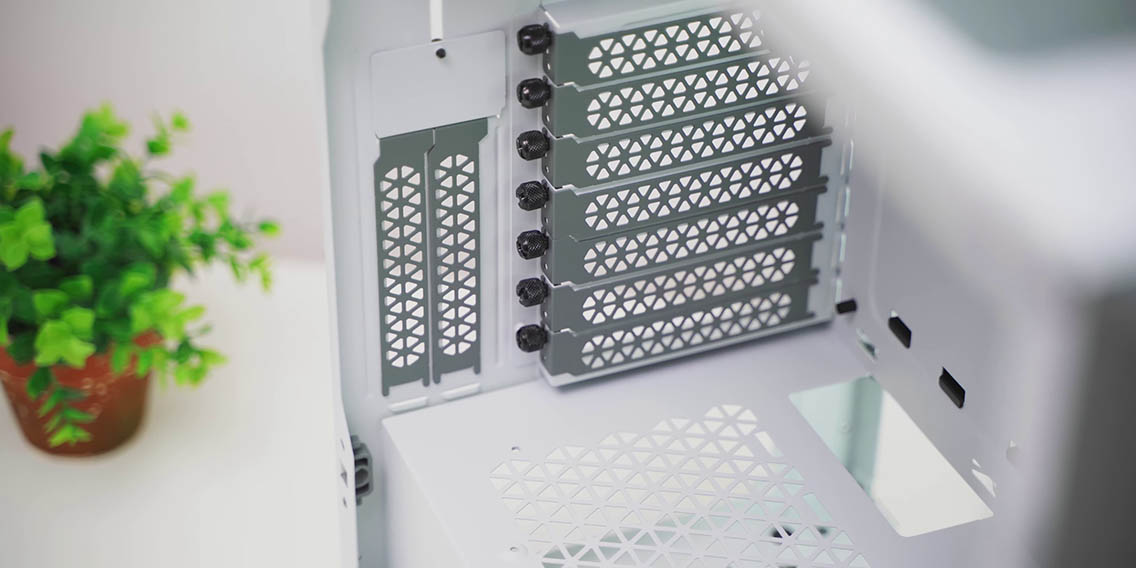
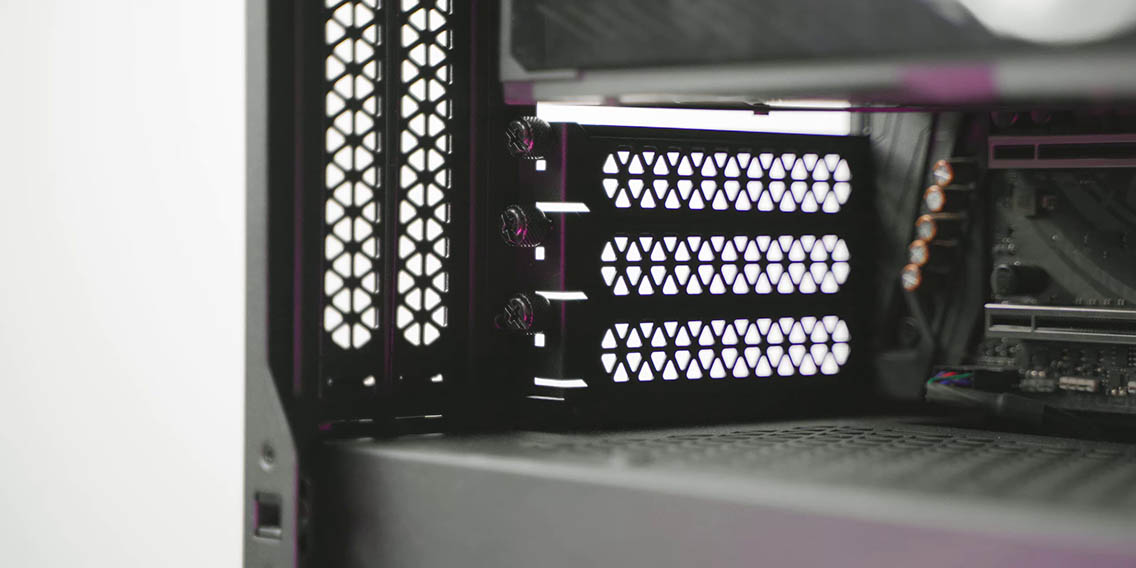
This leads me to the many quality of life improvements that we have seen the rollout over the years in terms of case design, in terms of cooler design, but they still have not been standardized. For example, frame cutouts around the PCIe slots for easier mount and the removal of GPU screws is not on all cases. This makes it unnecessarily difficult securing a GPU even with a screwdriver. Why are SATA cables always so flat and stiff? I hate routing these cables because they are not easy to bend and they always clutter your limited space.
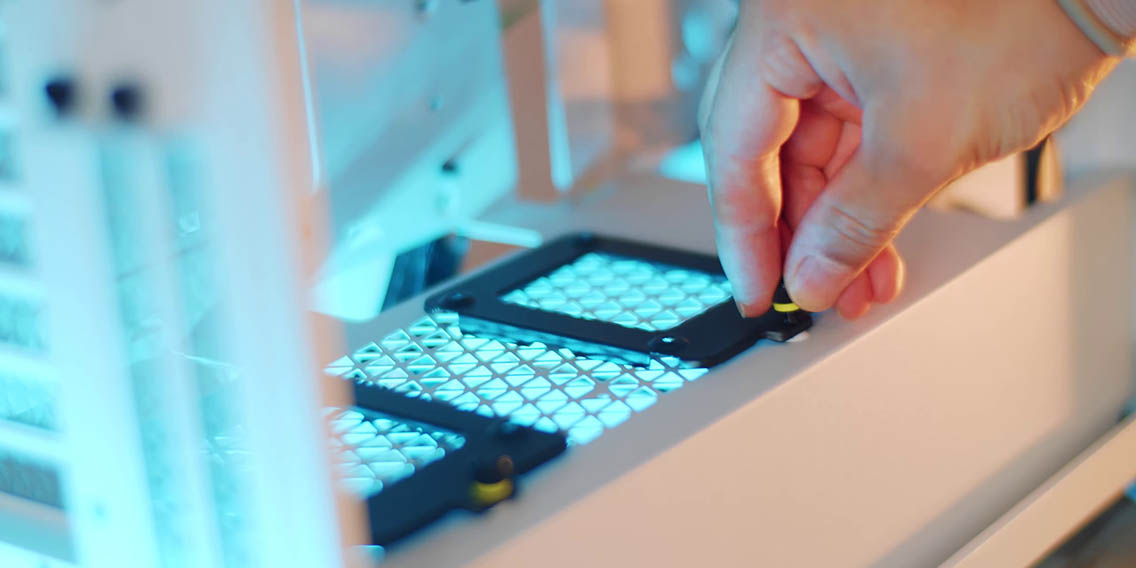
Front Panel
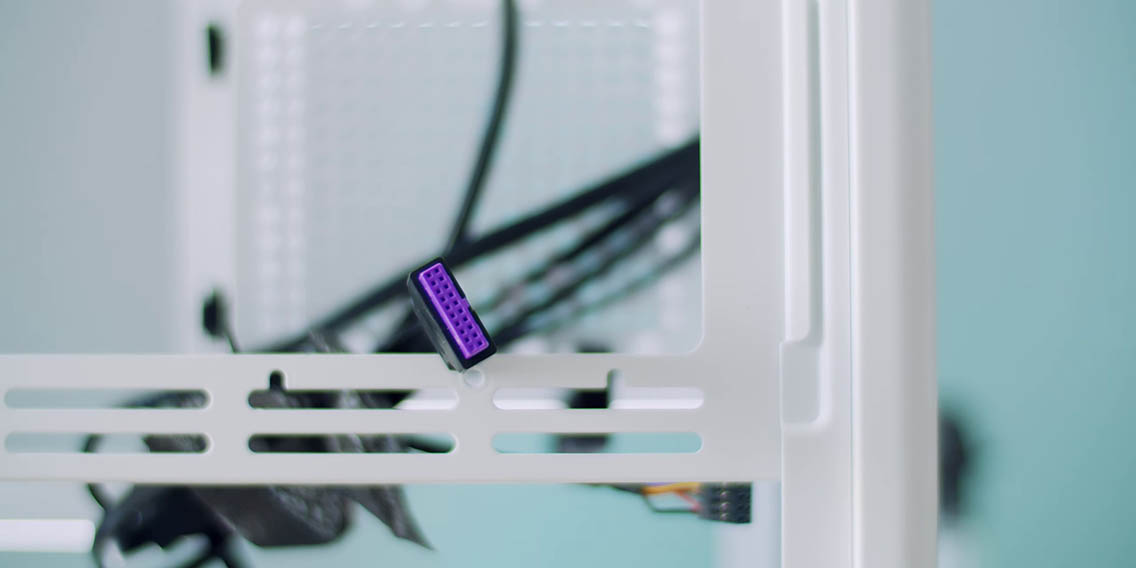
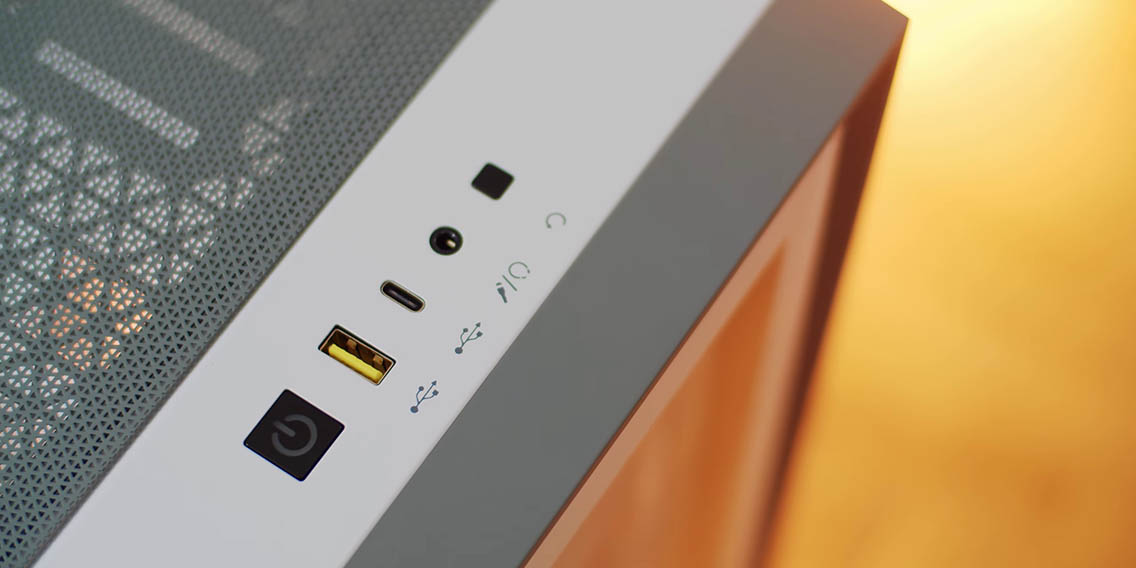
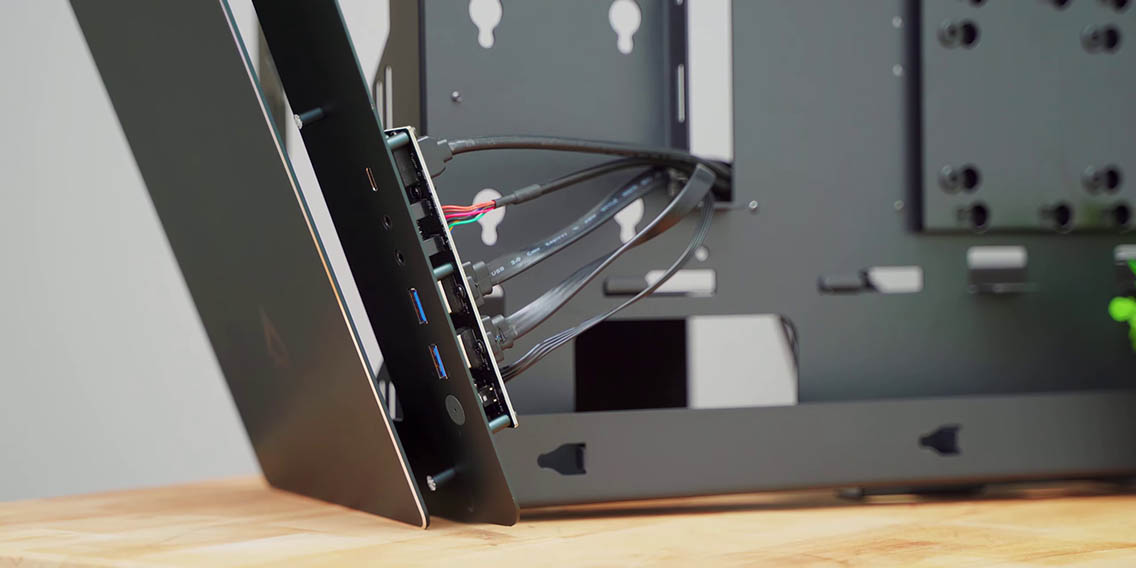

If you have ever had to remove the 9-pin USB 3.0 cable from your motherboard, why does it feel like it is a one-time use cable that has been glued into the connector. Also cases that have moved to a single USB 3.0 ports for the case I/O still use that chunky cable. I hate it when I remove the front panel of a case only to find the I/O attached to that front panel. Move the I/O to the frame to simplify installation. Some cases like my Corsair 680X don’t even have easily removable front panels for dust cleaning and accessing the fans. I love the case for water cooling, but my gosh every time I need to clean the dust filter there are screws in the back of the front panel that I cannot access because of my hard line tubing so I’m kind of stuck.
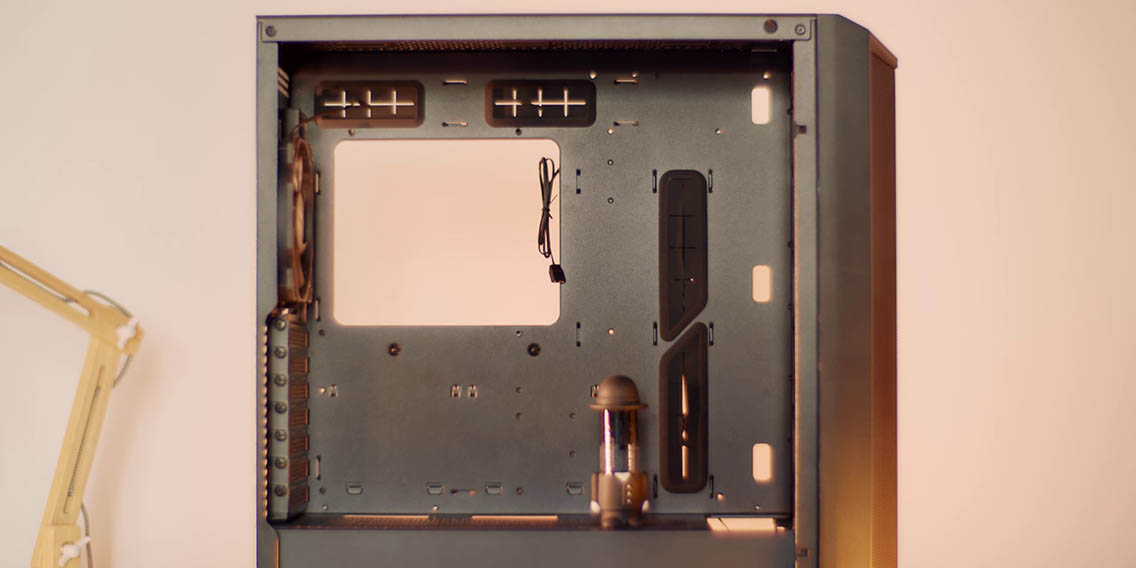
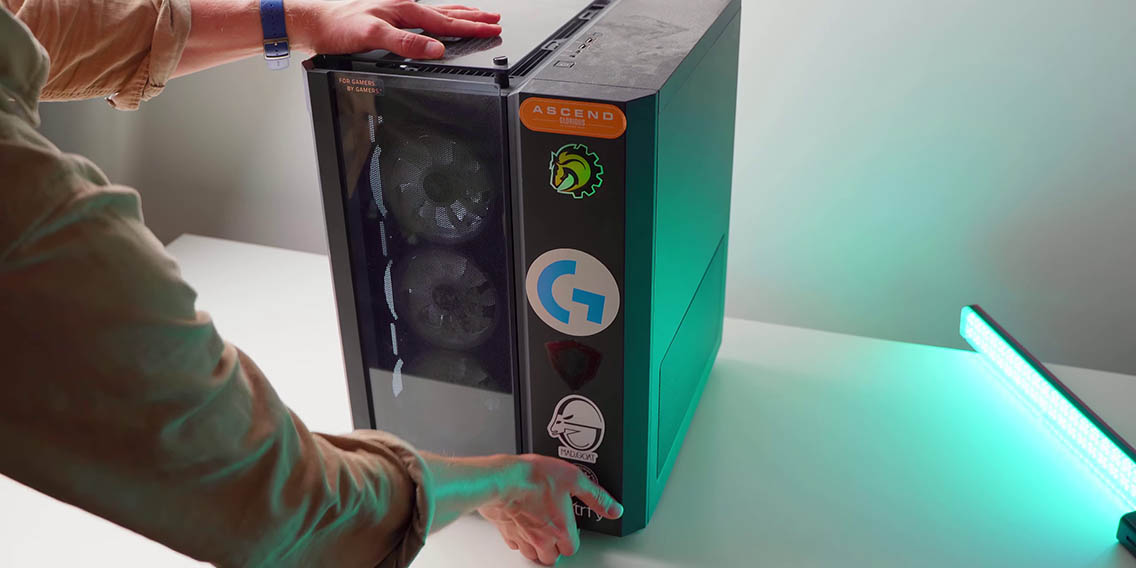
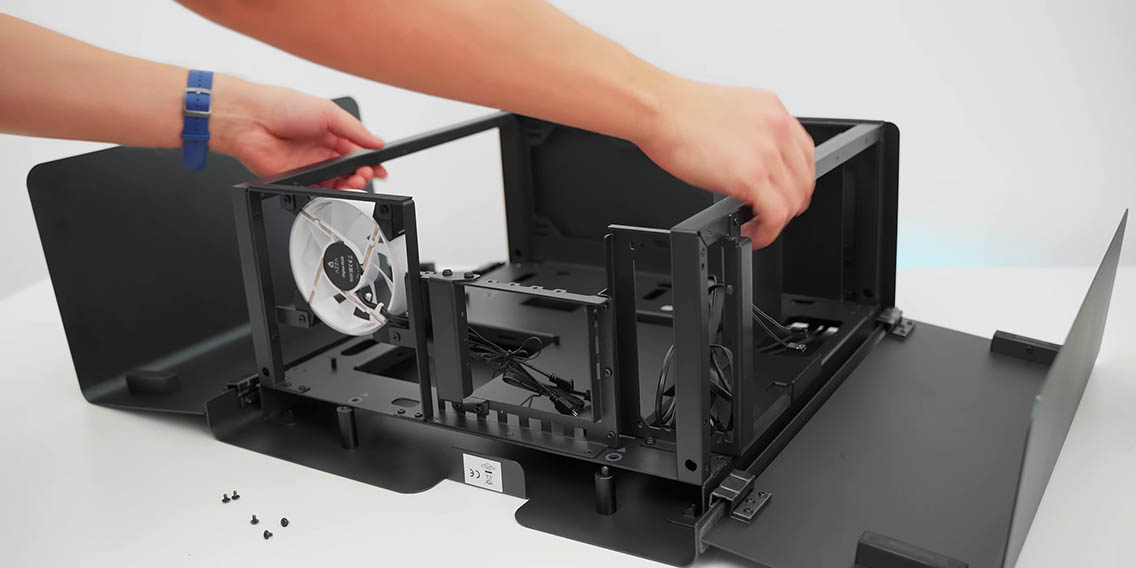
Internals
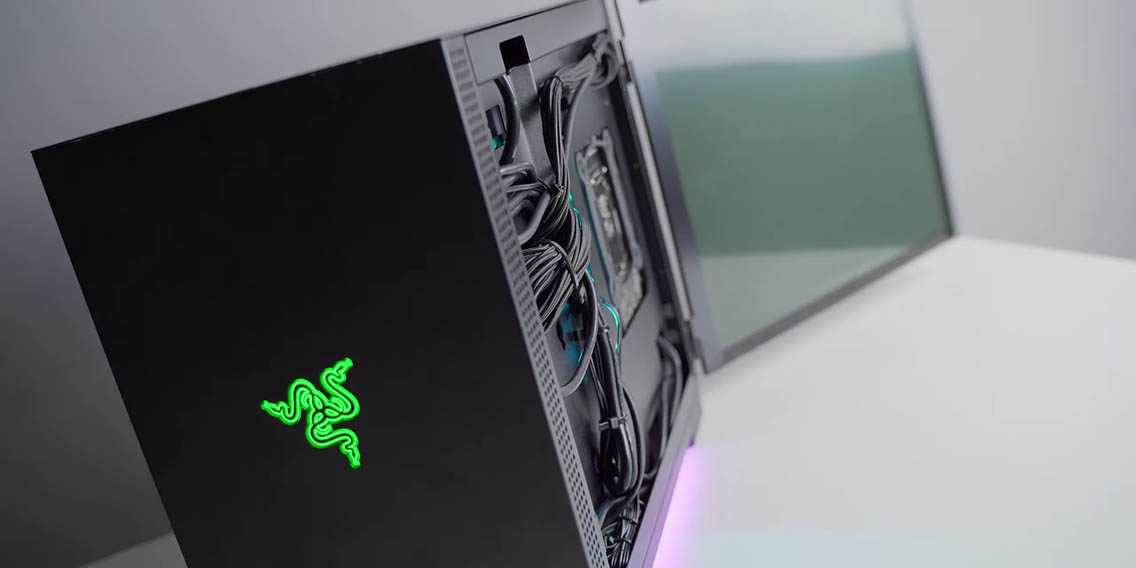
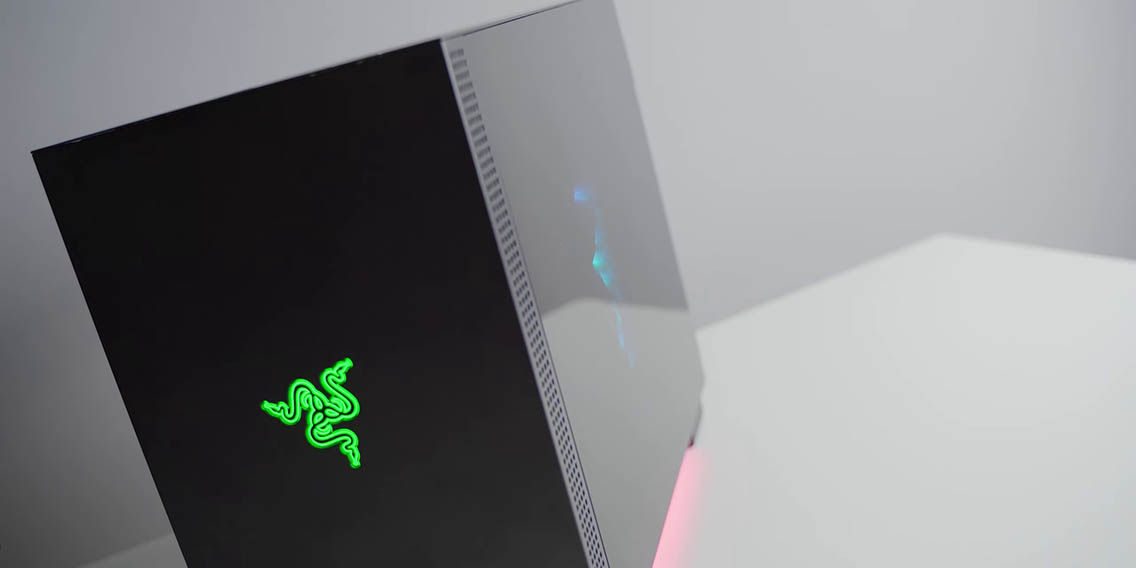
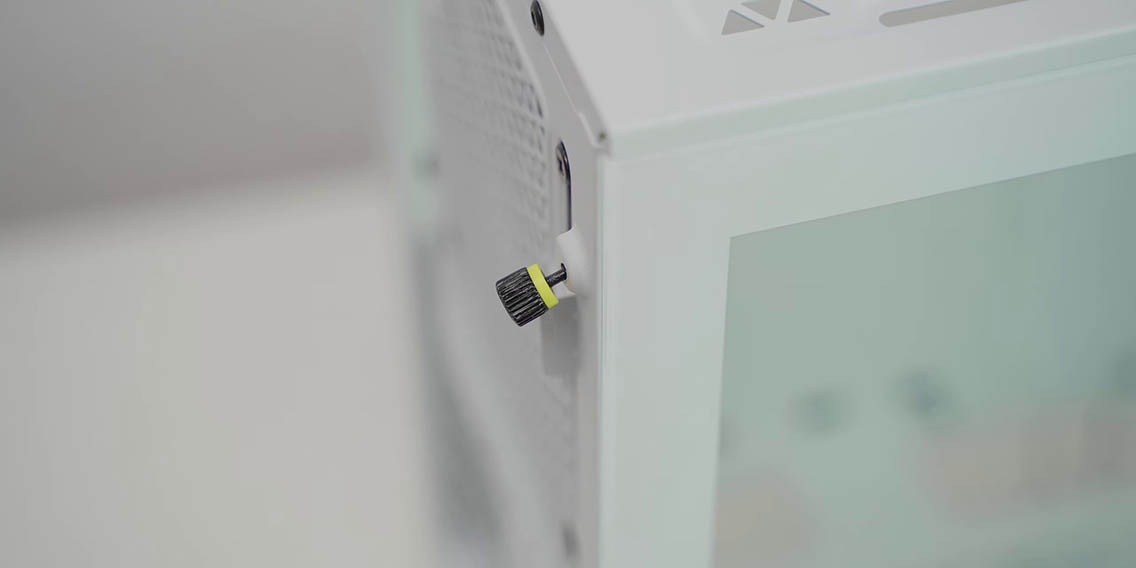
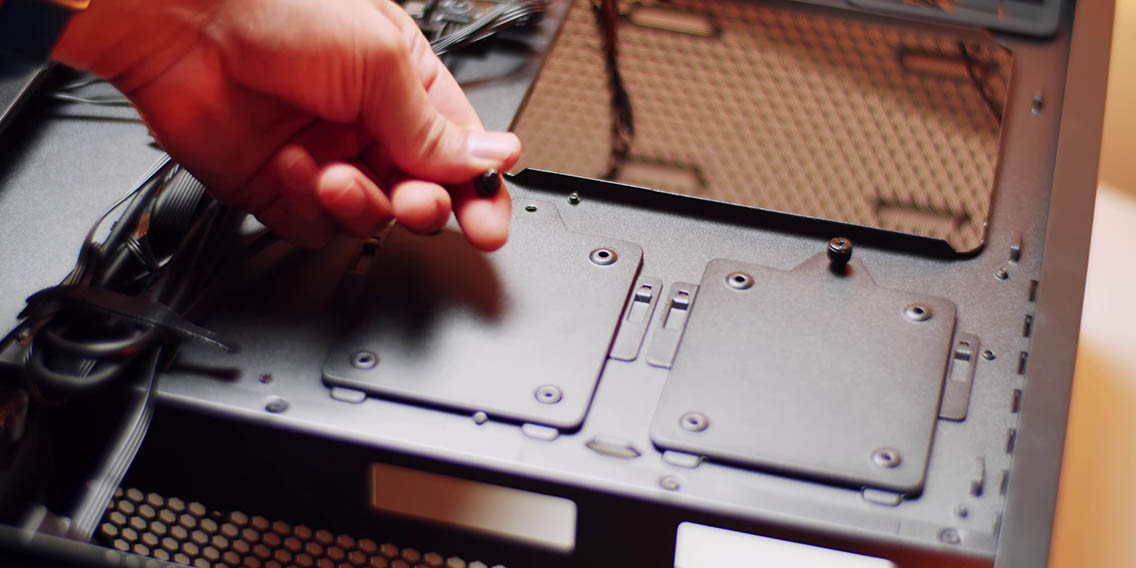
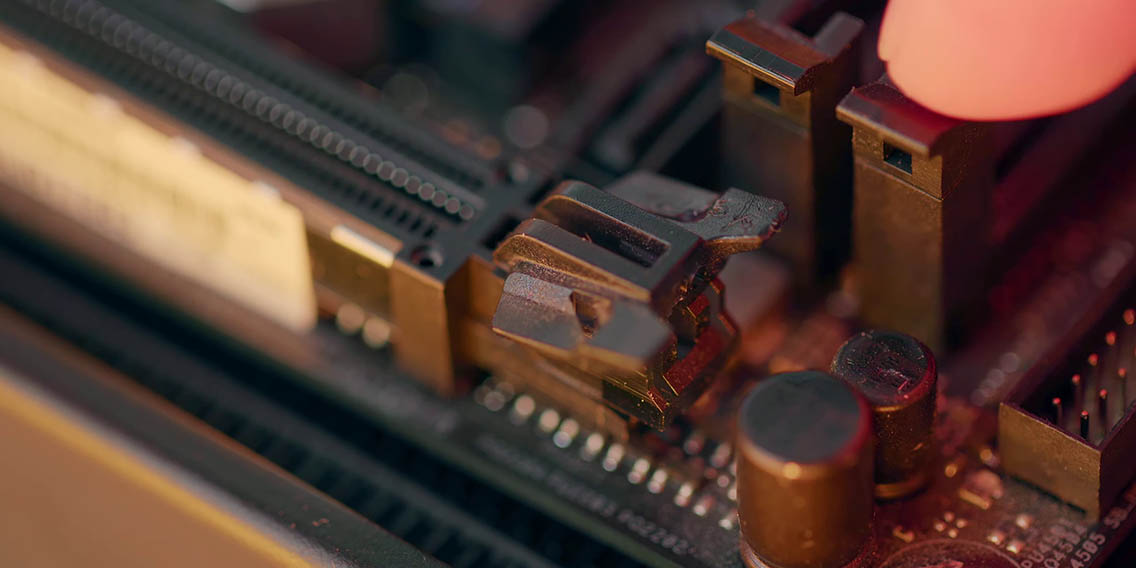
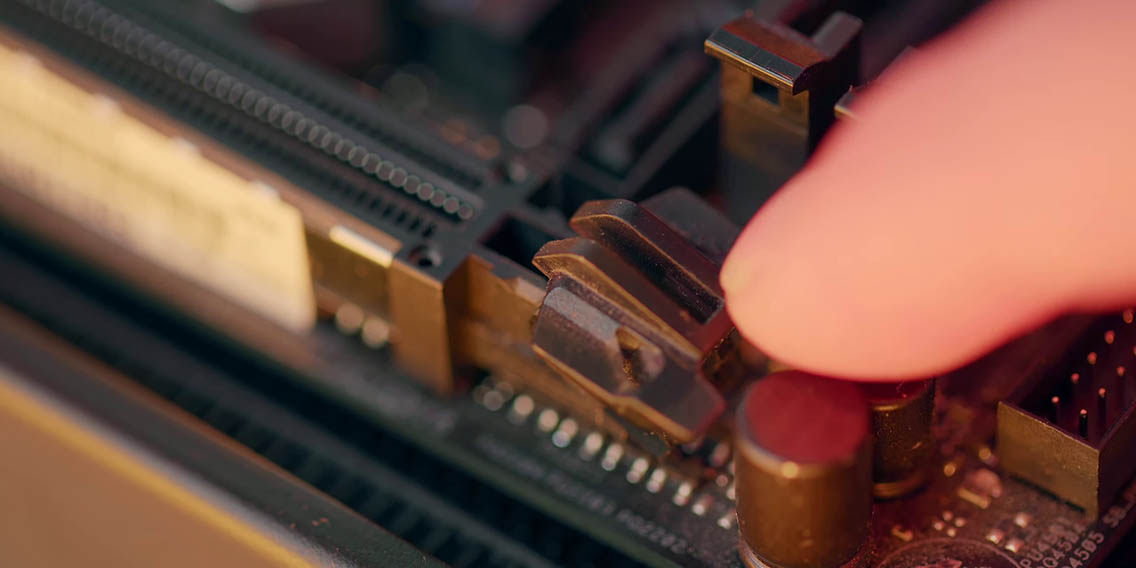
Some cases only rely on magnets for side panel mounts, like the Razer Tomahawk ITX, so even a slight cable bulge will not allow the panel to stay flush against the frame. Double-sided velcro might help here if you have the space. Captive thumbscrew mounts are so user-friendly yet most of the removable or modular elements on a case that are attached with thumbscrews, like side panels, hard drive cages, and SSD brackets might not actually have a captive thumbscrew mount. I don’t understand why releasing the PCIe lock slot mechanism can be so frustrating sometimes, especially when you have a massive CPU heatsink, a thick GPU backplate, and there is no way you can access that clip with your finger. A thin screwdriver will always help, but in some instances it’s still very difficult and maybe a new design has to happen on the motherboard that allows you to lock and unlock the GPU PCIe slot more easily.
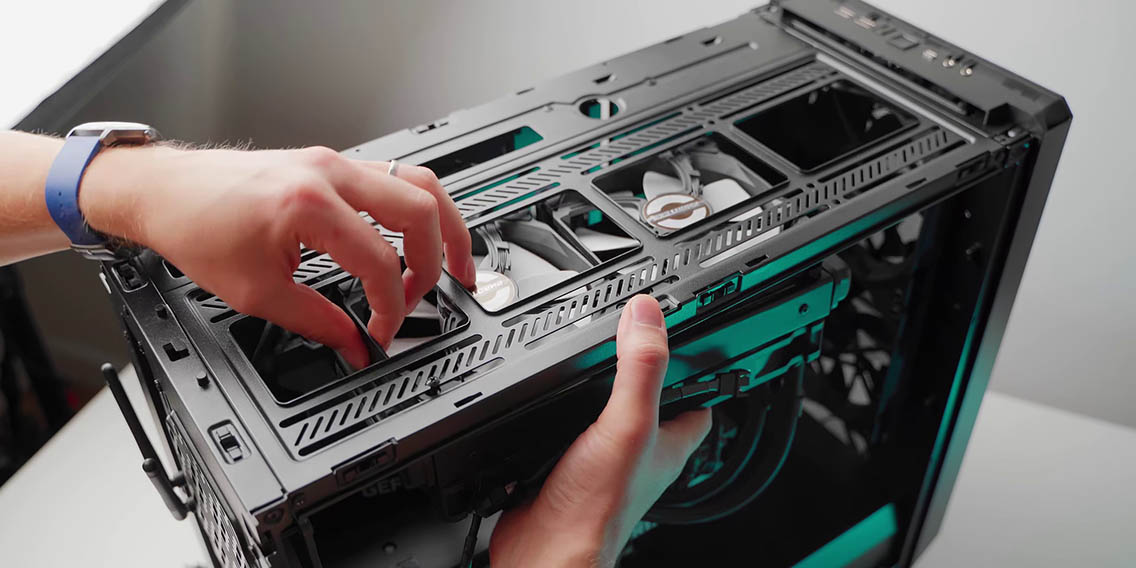
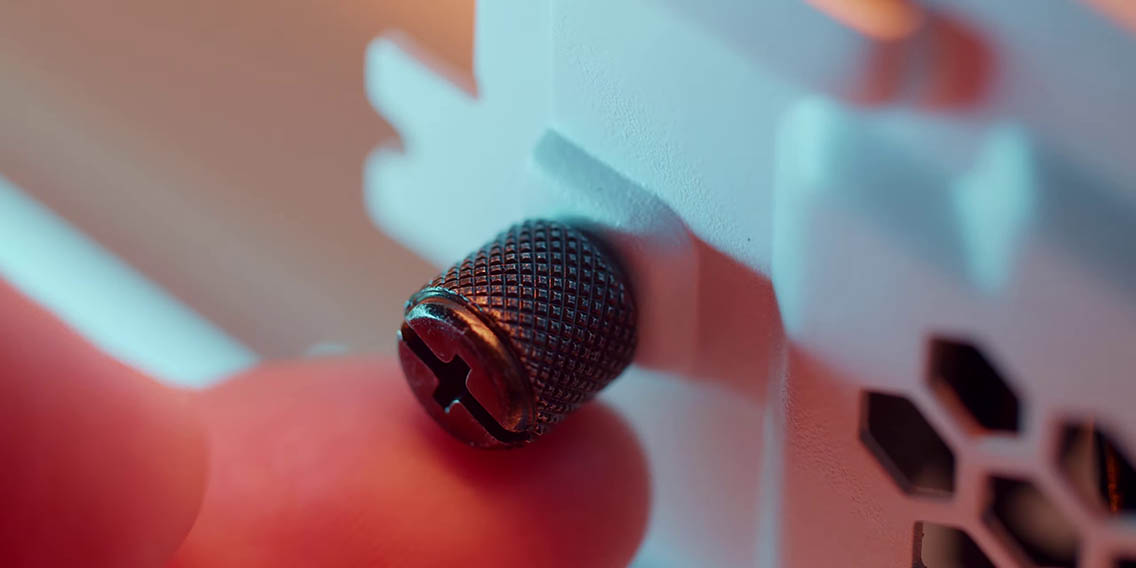
If you want to install fans above the radiator, maybe you want to try a pull configuration, all I’m gonna say is good luck. It is just so tricky trying to align the first few screws from the top passing through the fan and into a dangling radiator. Placing the case on the side might make things a bit easier, and removal fan brackets are a luxury in this scenario. You would be surprised how many issues I encounter with case screws, and that can be its own category of issues. For example, really tight screws on case cases, the thumbscrews on PCIe covers and side panels in particular are always super tight out of the factory, so loosen all the needed thumbscrews with a screwdriver before assembly. The two regular screws on my Meshify 2 case for the top fan bracket are so tight I can not even remove them. It’s extremely frustrating, but luckily not very common.
Screws

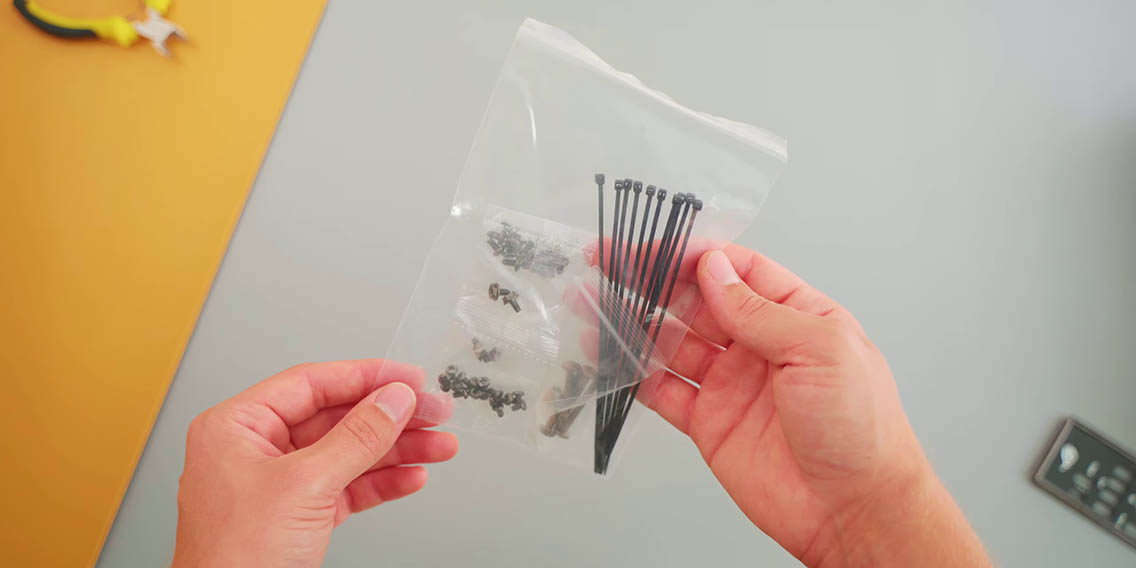
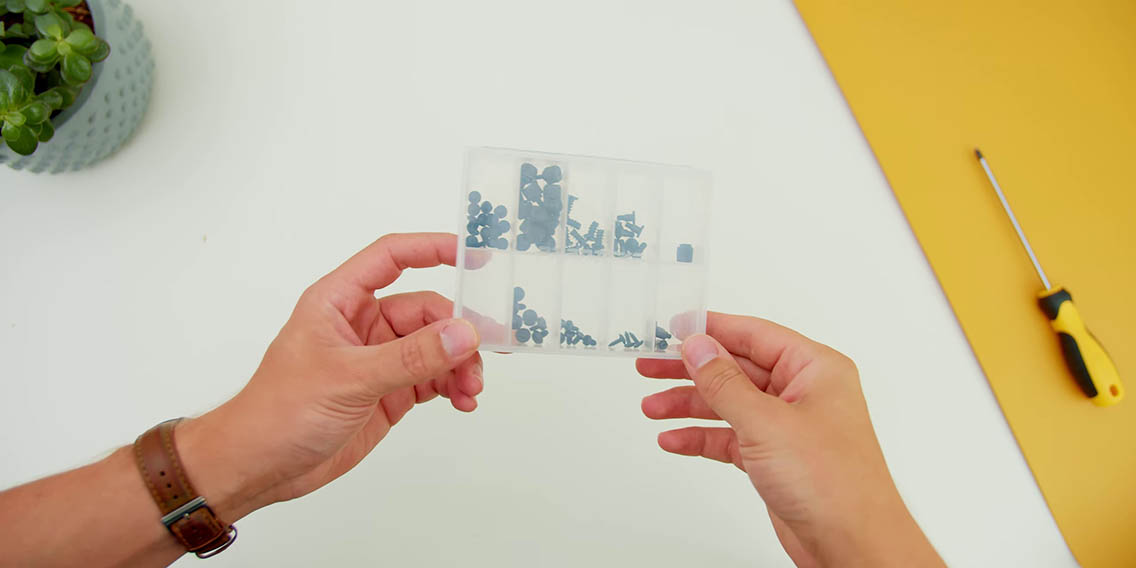
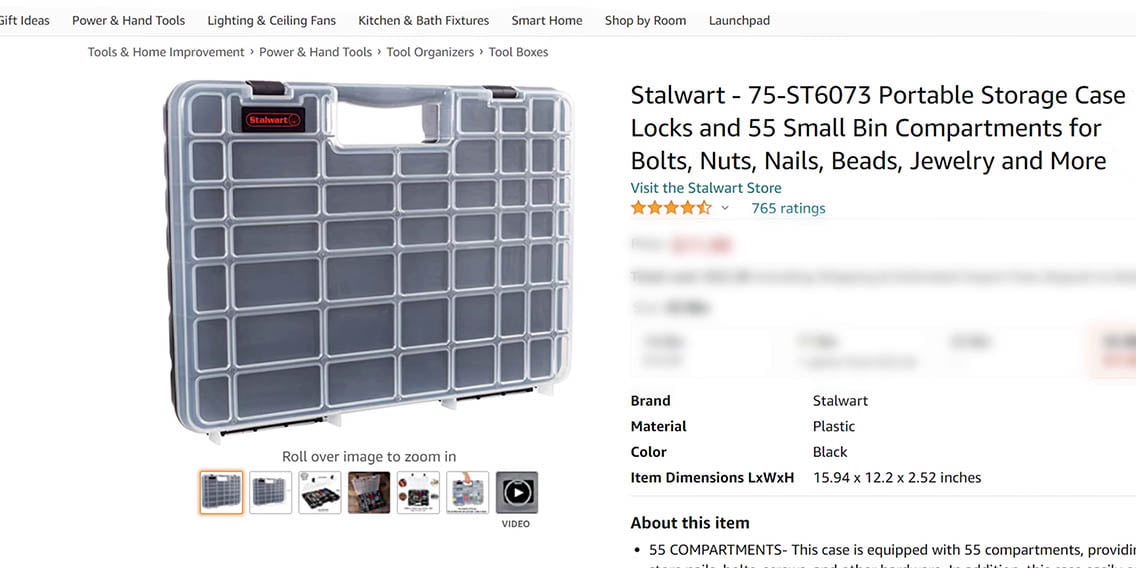
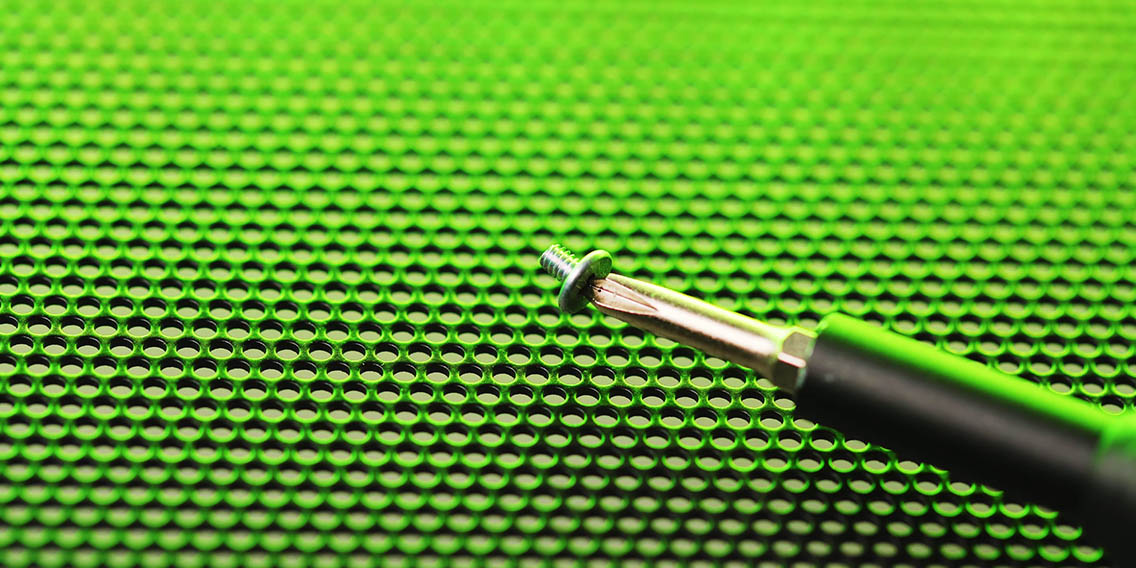
I don’t understand how we still do not have standardized screws for motherboard standoffs. Sometime it’s the fine thread, sometimes it’s the thicker thread, and I always have to check before inserting the motherboard just to avoid any headaches. Most cases and cooling hardware come with non-reusable bags for all your screws and accessories, which can be a real pain for organization for first-time builders. I love these organizers that help to separate all your screws, especially the ones included with Phanteks cases. You can also pick up these slightly larger ones from Amazon, which are going to be extremely helpful and will save you hours in the long-term when building computers over and over. While we are still on topic of screws let’s talk about M.2 screws. First of all, they are super tiny and easy to lose with a small head. They are hard to line up properly because of the ultra small threading. And most of the time they are not pre-installed into the socket, so you have to fish them out out of the motherboard accessory bags. One solution here would be to use a magnetic screwdriver and magnetic tray, and also just keep that screw in the socket even if you remove the M.2 drive.
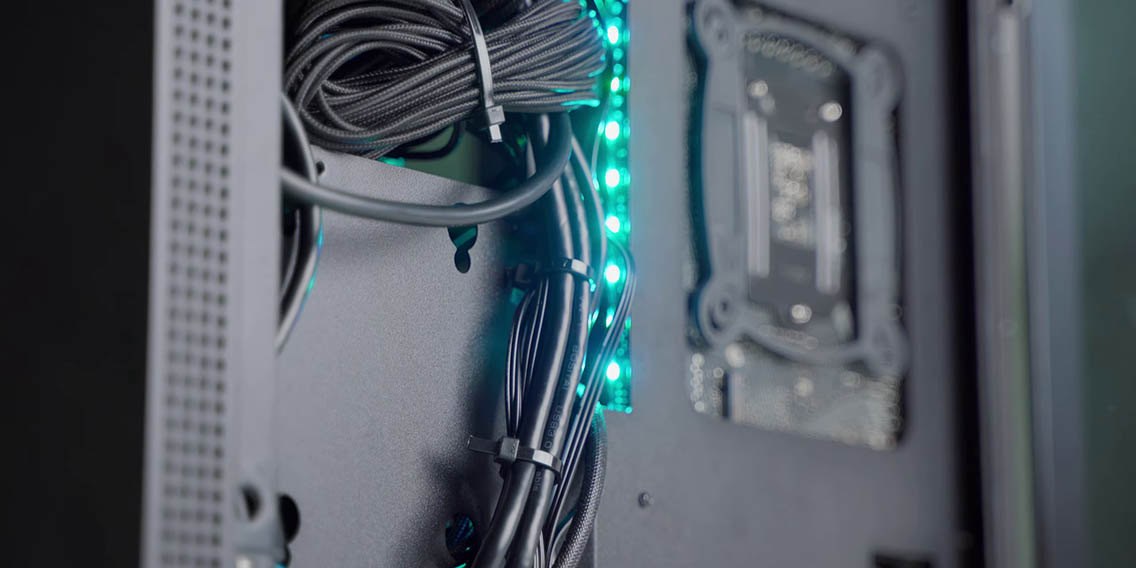
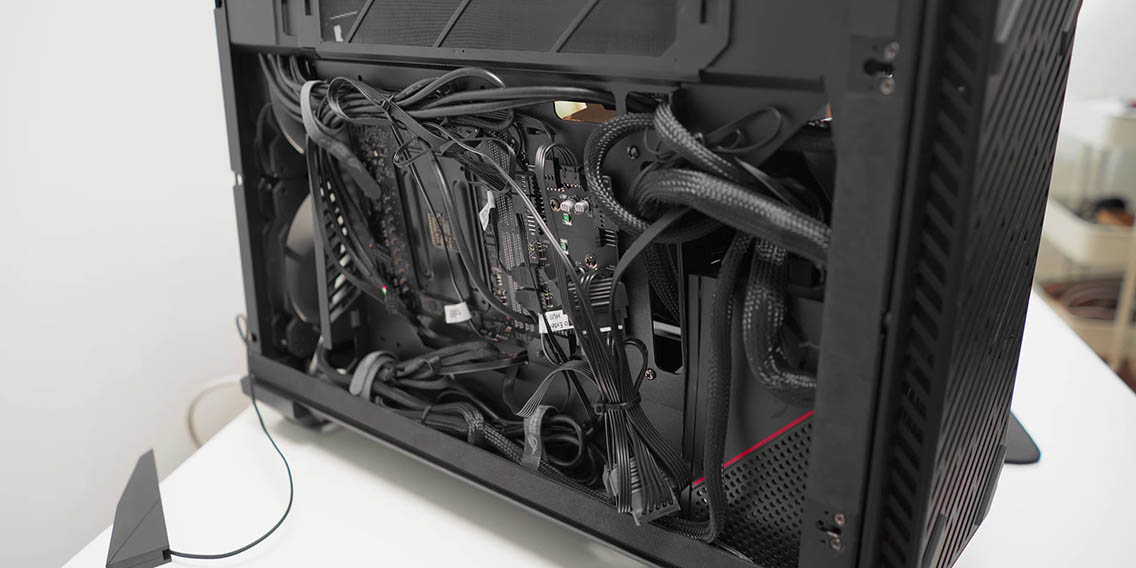
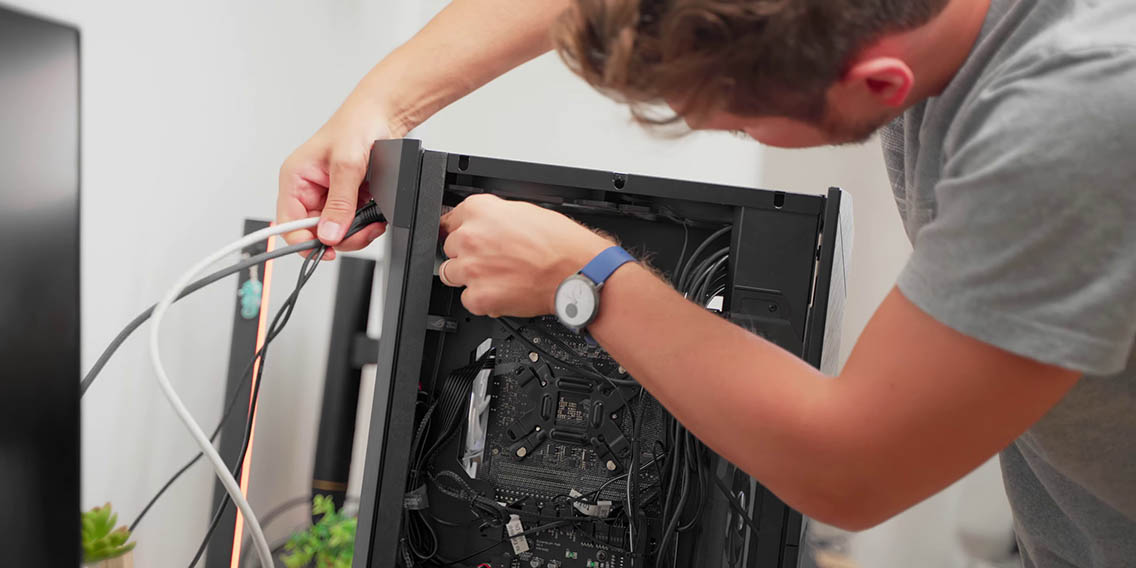
Cable Management
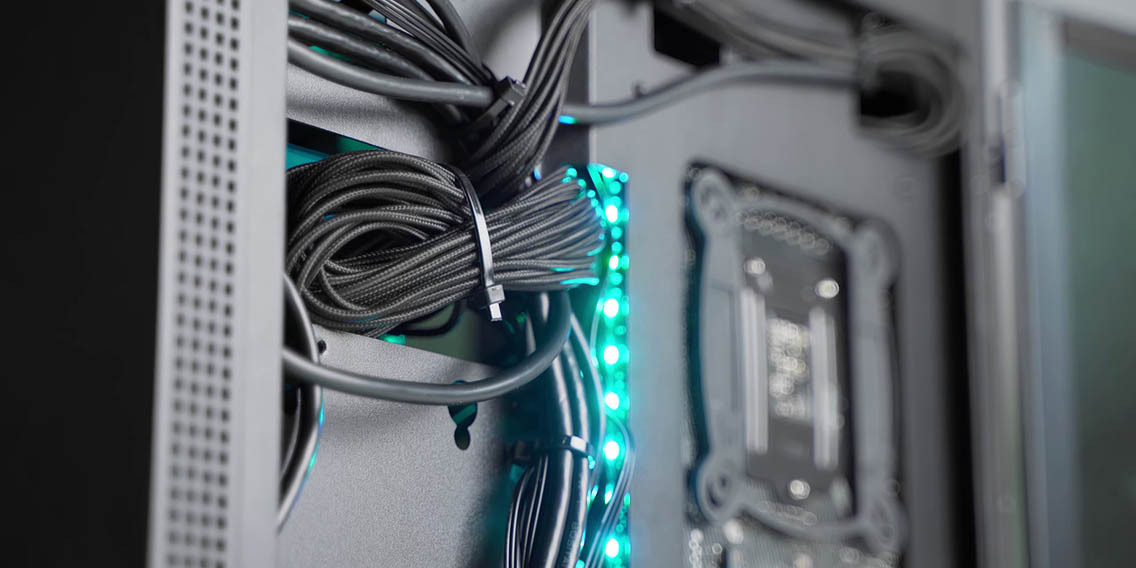

Moving onto cable management, this used to be my least favorite part of building a computer for years. I despised it because I didn’t know how to do it properly. This was partially because the zip ties that come included with the case are none or too few to do a proper job for cable management. Plus it took me years to get the cable management job done right, not just from a flatness perspective, but from a visual perspective too. I’m still happy with the cable management guide I did previously, but it can be overwhelming really fast for many novice users.
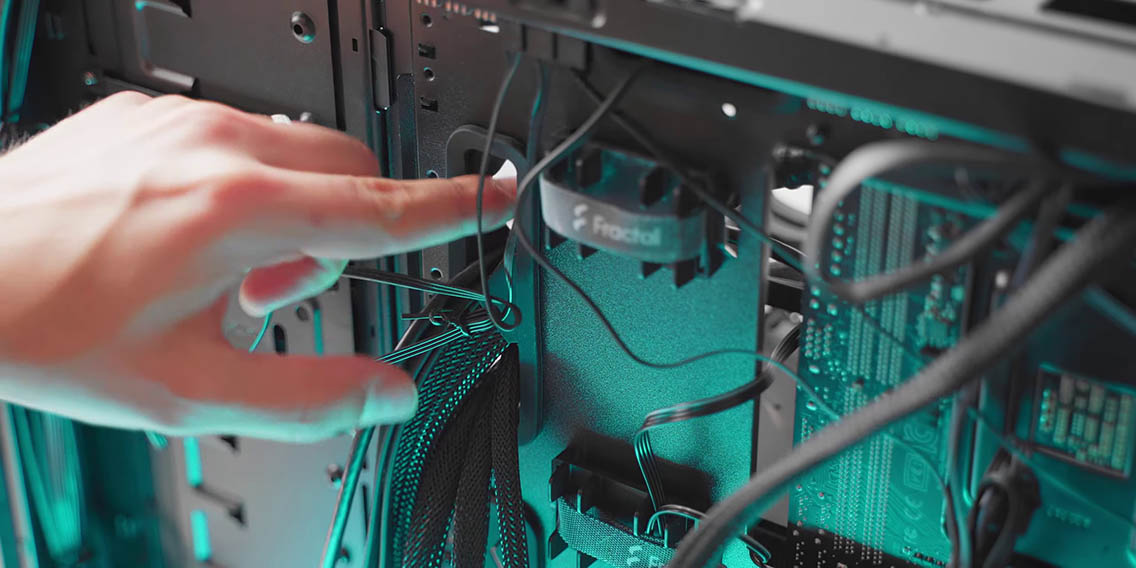
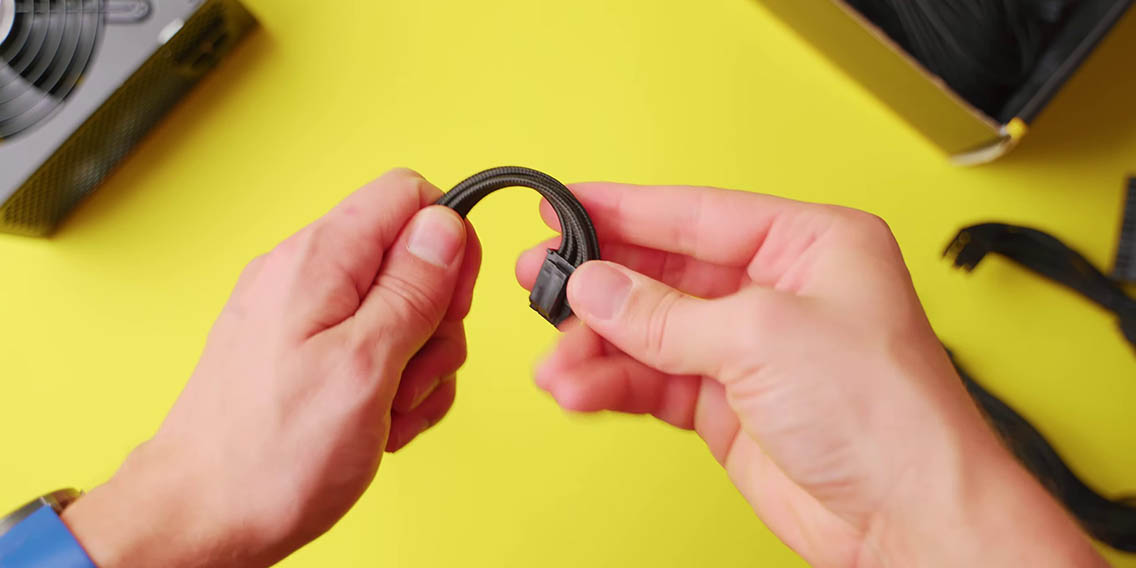
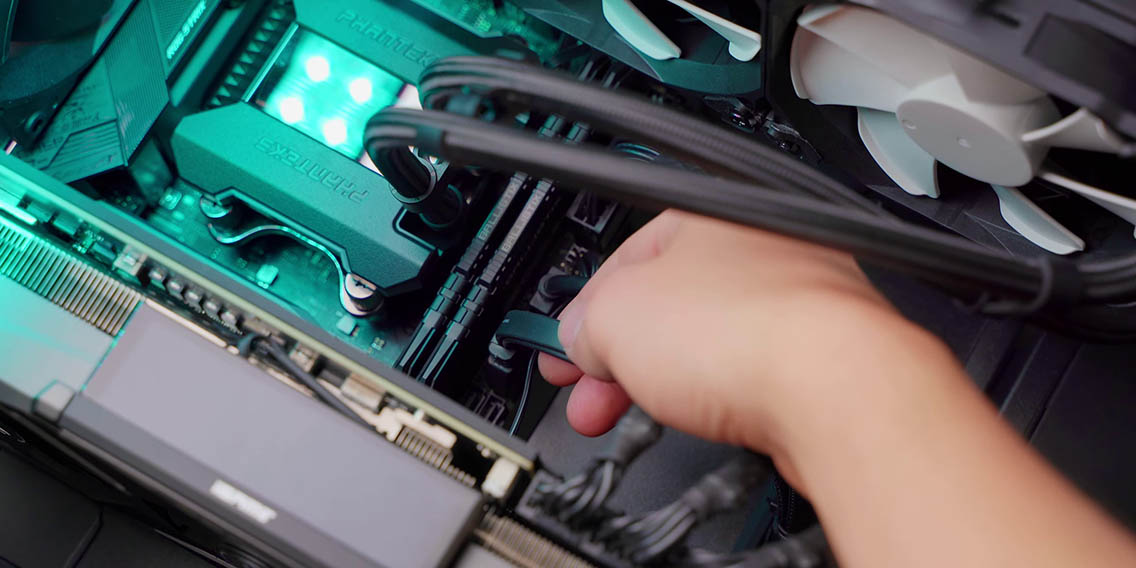
Thankfully zip tie mounts are available on the enclosure and rubber grommets have gotten a lot better, but they still pop out and waste your time as you put them back in their place. I don’t have much beef with the 24-pin cable, but the 8-pin CPU connector is often cut in half and sometimes there isn’t a way to lock the two parts together making installation in a crammed corner extremely frustrating as you try to bend your fingers in ways you did not know was possible. I tip here for new power supplies is to take that 8-pin cable and bend it at the exact angle it’s going to be need to be in your enclosure because it’s hard to do that inside the enclosure.
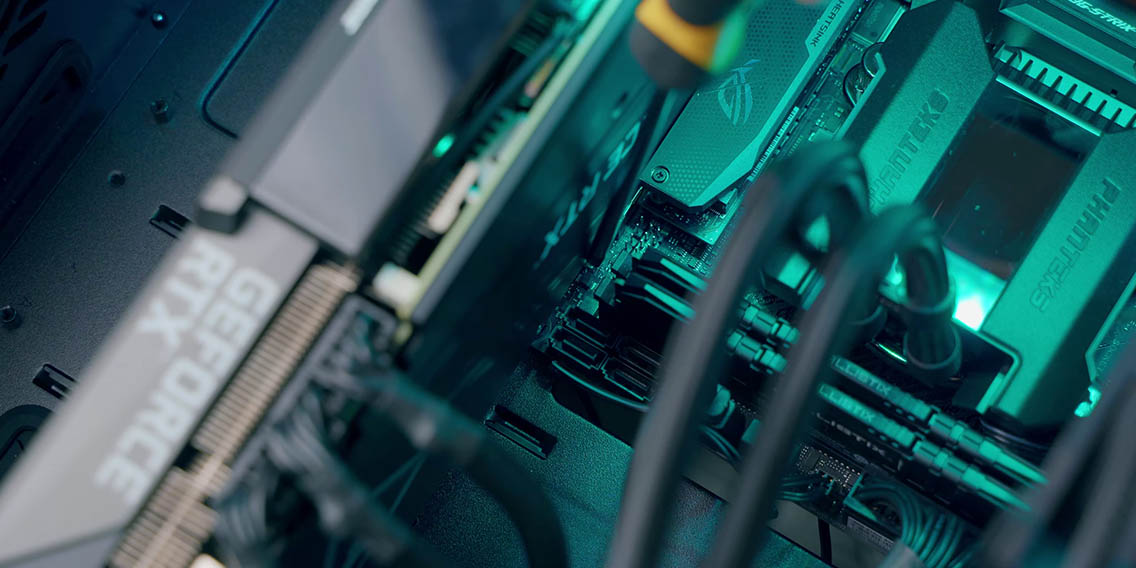
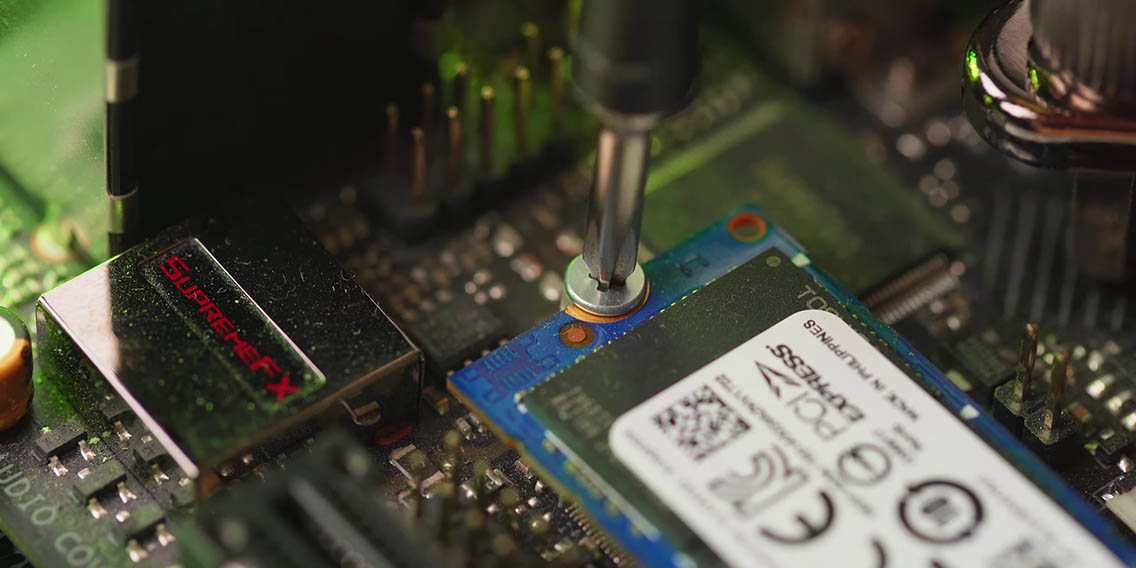
Motherboard Heatsinks
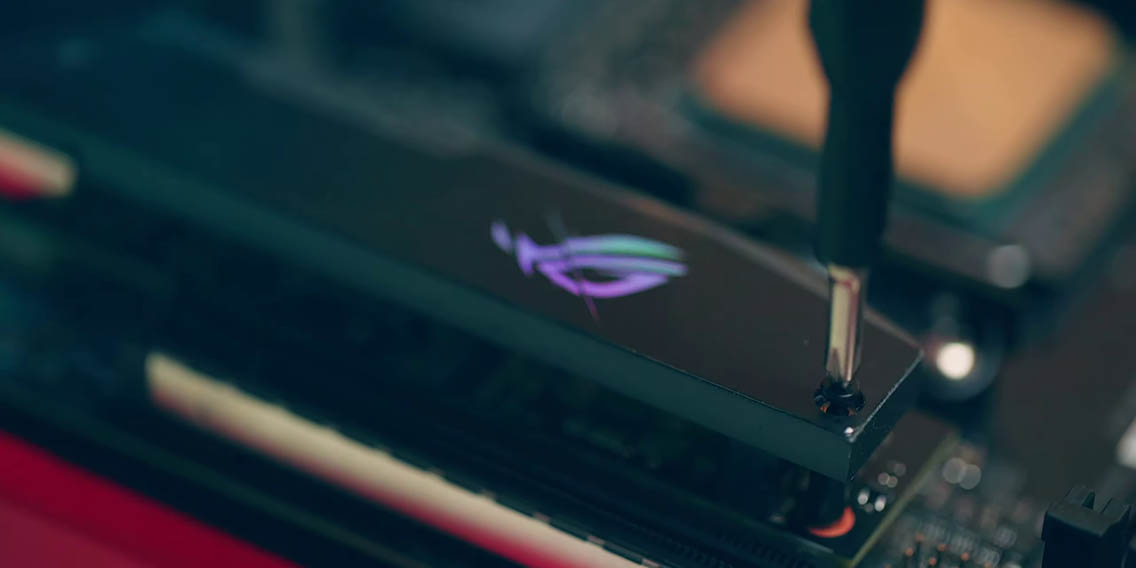
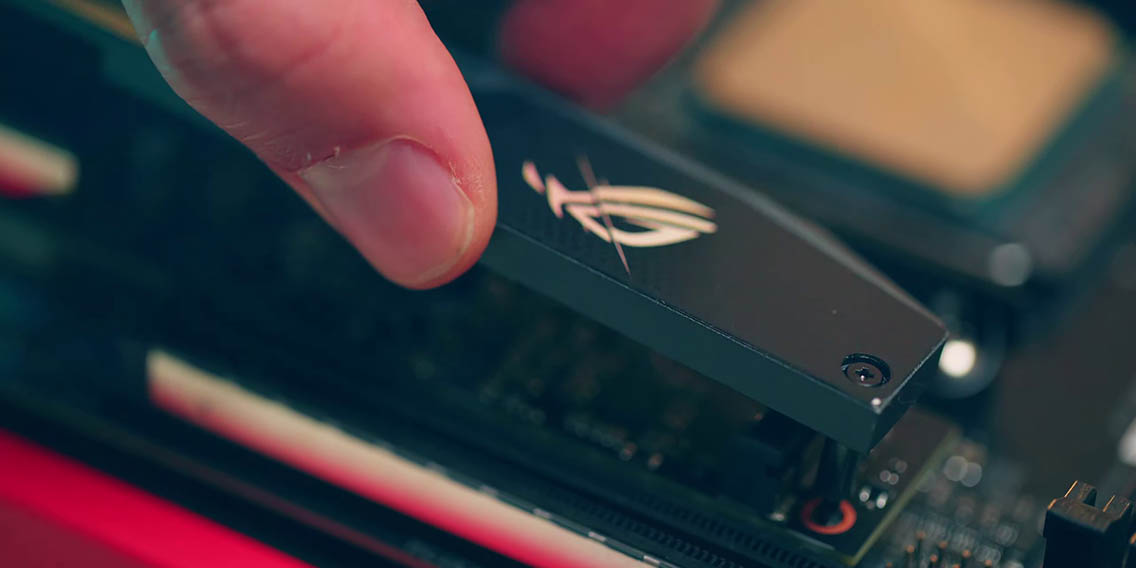
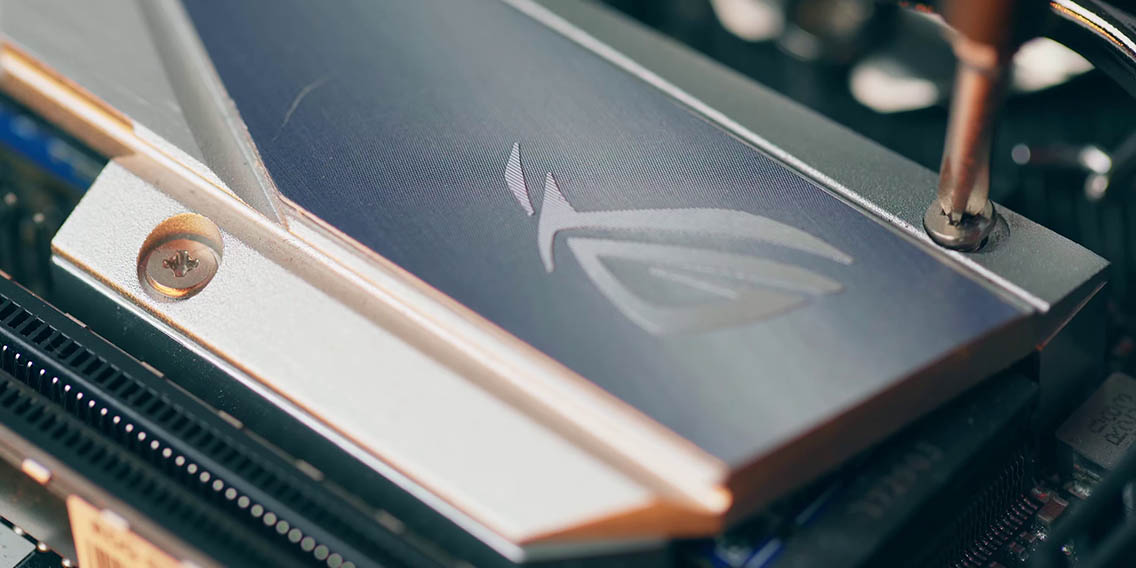
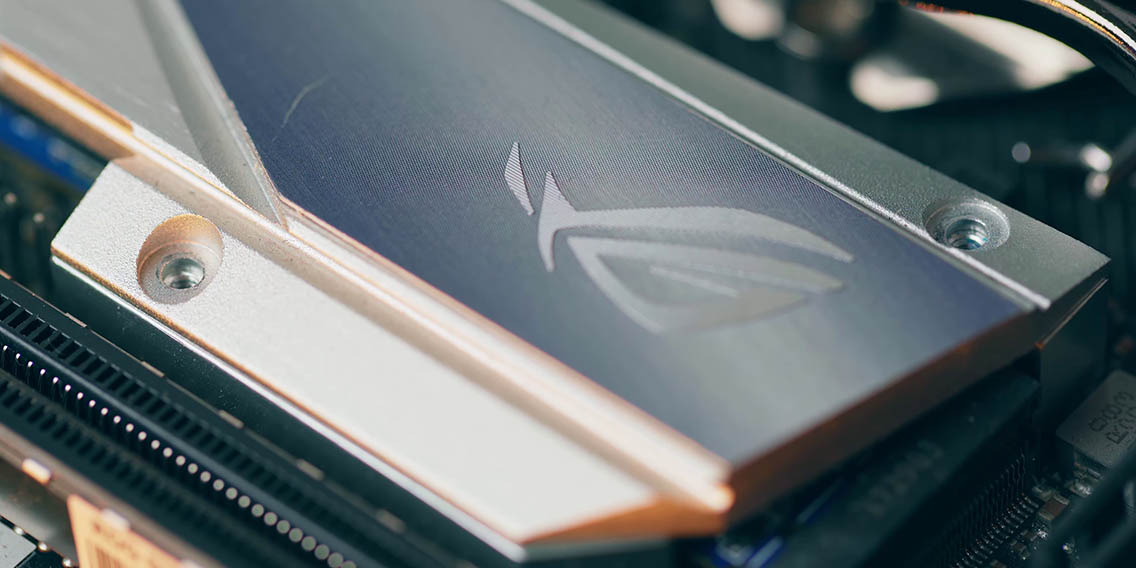
Next up we have motherboard heatsinks that make it hard to work with M.2 slots. With more and more motherboards having heatsinks, actually getting to those M.2 slots is just a complete pain. ASRock is a prime offender here because they use tiny torques head screws for the heatsinks. Sure they give you a screwdriver in the box, but if you lose that you better hope you have the iFixit toolkit ready. Other motherboard vendors use standard Phillips heads, but only a few actually use captive screws so they don’t run all over the place.
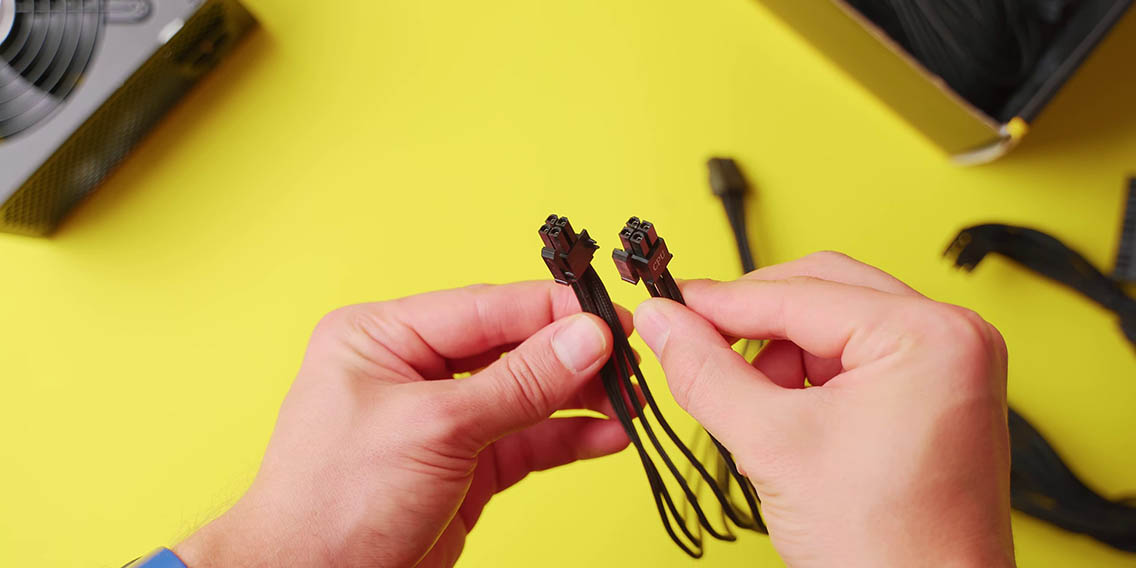
Power Supplies
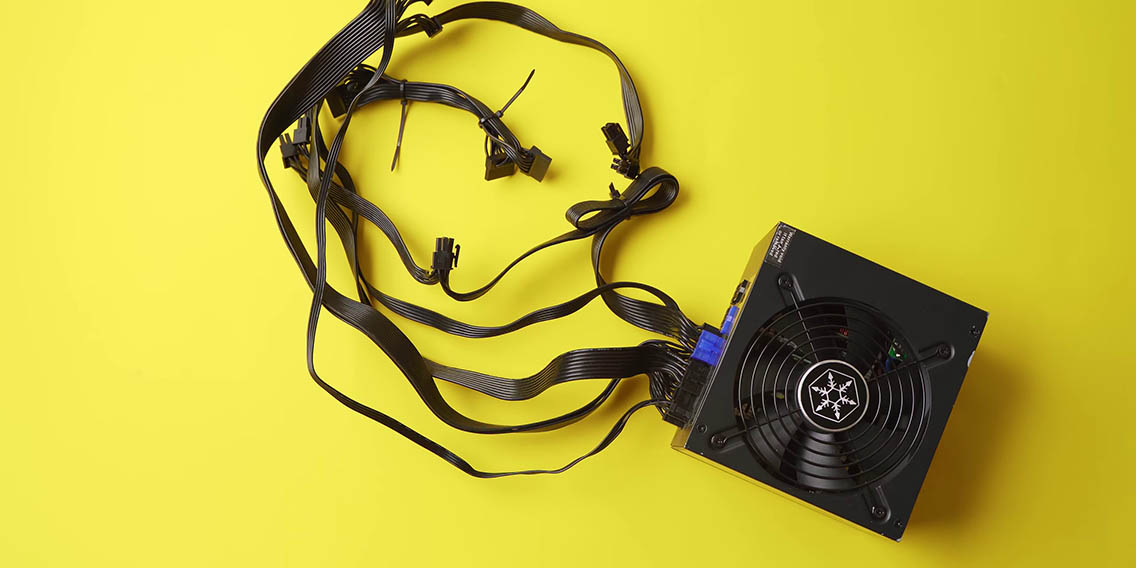
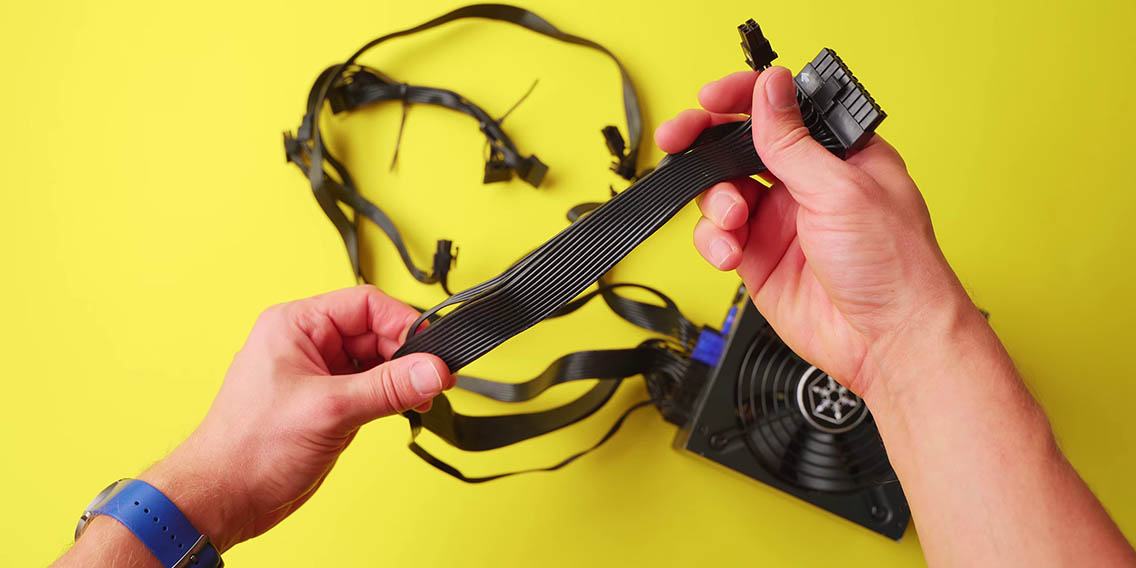
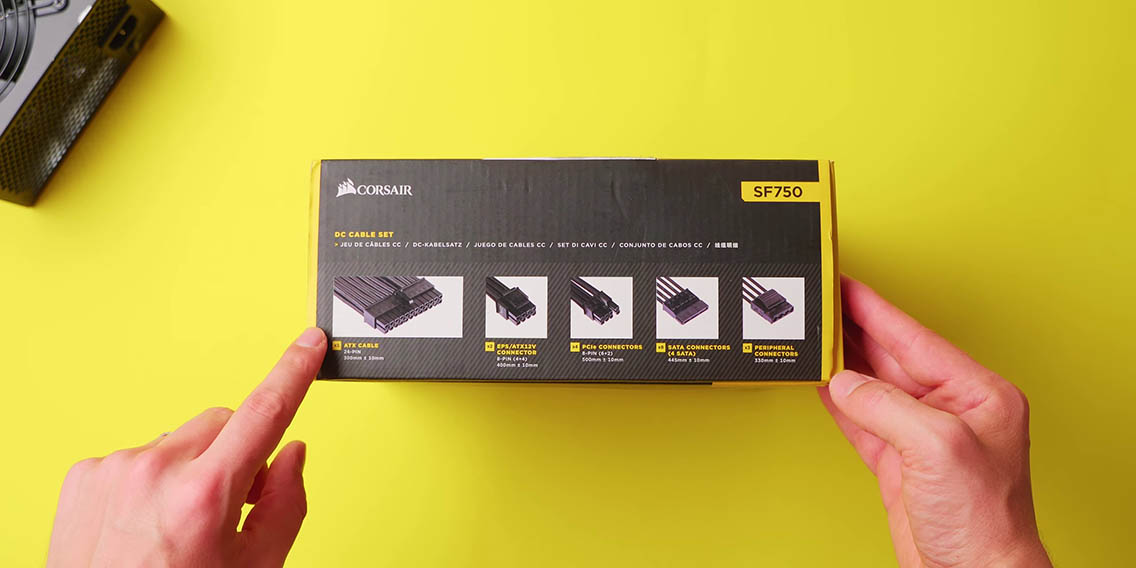
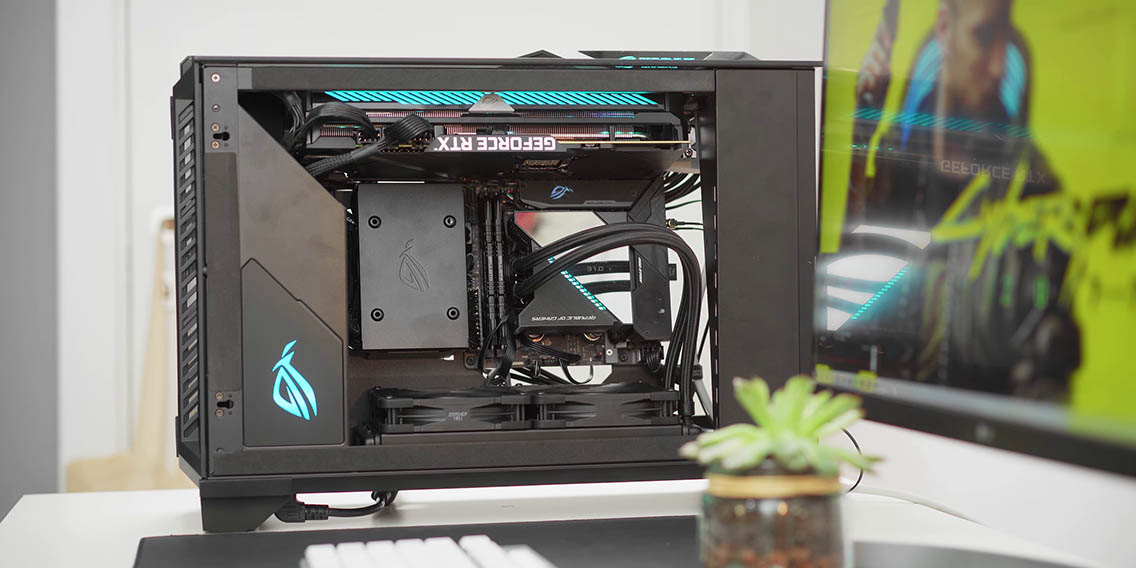
Power supplies with flat cables are another issue. Contrary to the marketing they are not easier to route. They are actually very hard to manage since they are so stiff, and I find that so much easier to work with standard braided cables. One of the solutions is to replace the cables with extensions or carefully part the rubber on the flat cable so that it’s not flat and is instead more bunched up. If you are building a small SFF ITX system and need an SFX power supply make sure the SFX power supply comes with appropriate cables for an ITX machine, because many SFX power supplies actually come with standard ATX length cables, which can be incredibly frustrating to route in an ITX case. While this gives users flexibility for cases like the Lian Li O11 Mini or for a standard ATX enclosure, but do your research to check what length of the cables are included with the case. Worst comes to worst there always CableMod to give you specific ITX length cables, and they are not just extensions, they actually replace the entire cable set for your power supply.
Heatsinks & Coolers
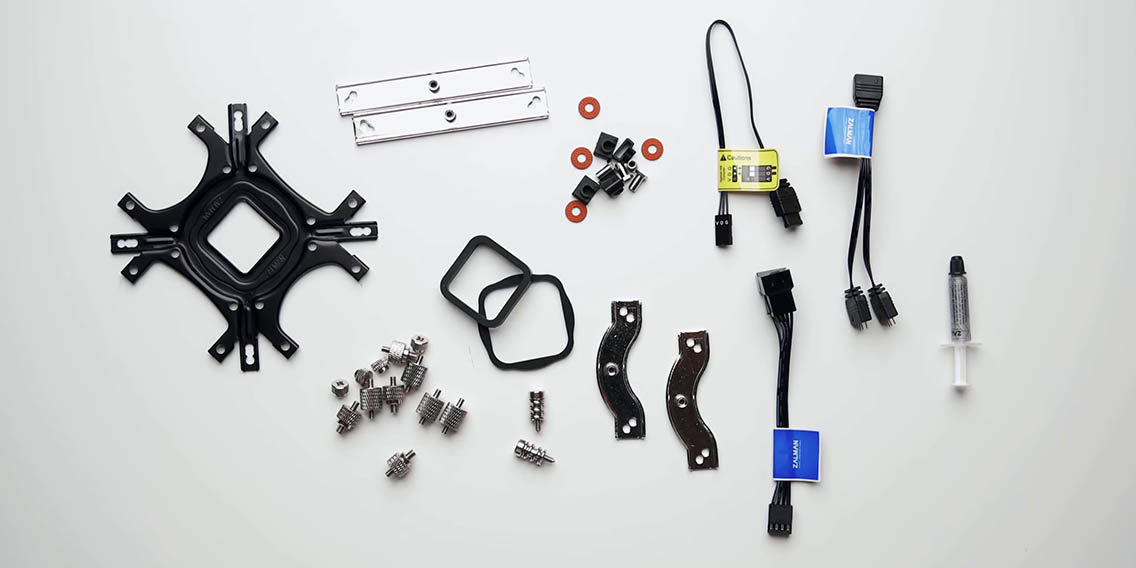
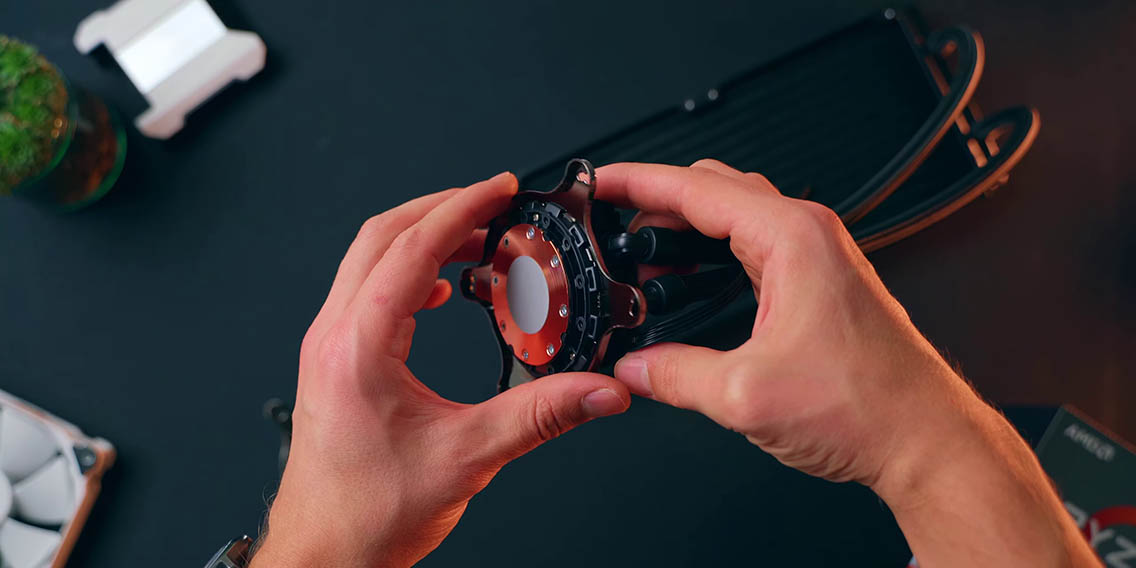
Moving on to heatsinks and coolers with ridiculous installation processes… why? One big offender here is Zalman. Check out this review to just see how hilariously bad the installation process is and what a nightmare it was for my Mike and Eber. Some heatsinks and coolers have such a bad installation process and how can it be that after decades they have not learned how to make a user-friendly multi-socket compatible mount? Noctua is a perfect example of how it should be done, or for all-in-one coolers Asetek’s design is super easy and simple to swap out between AMD and Intel brackets.
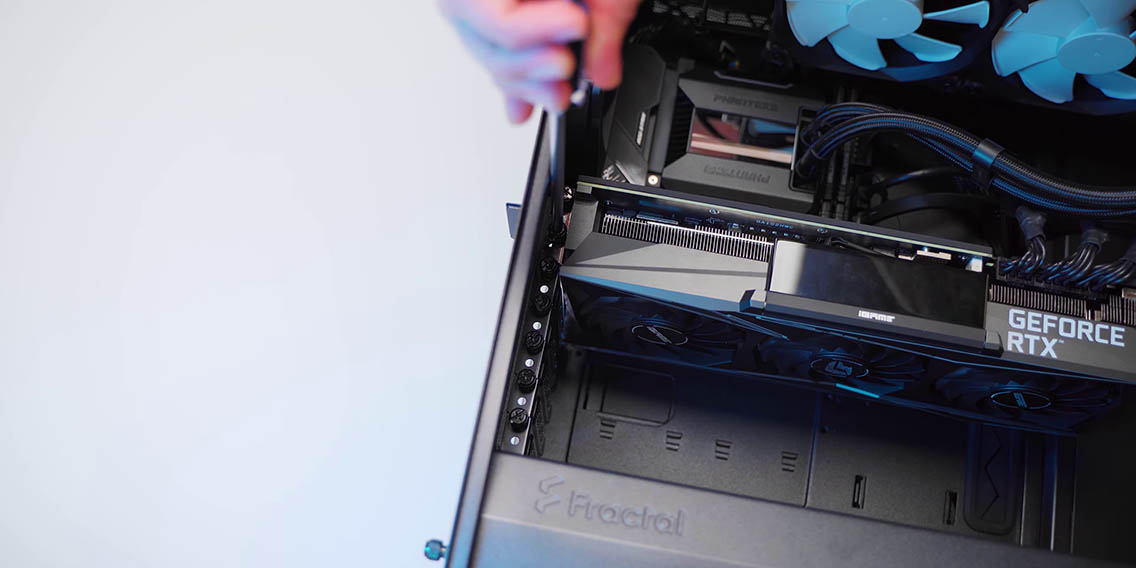
Cases
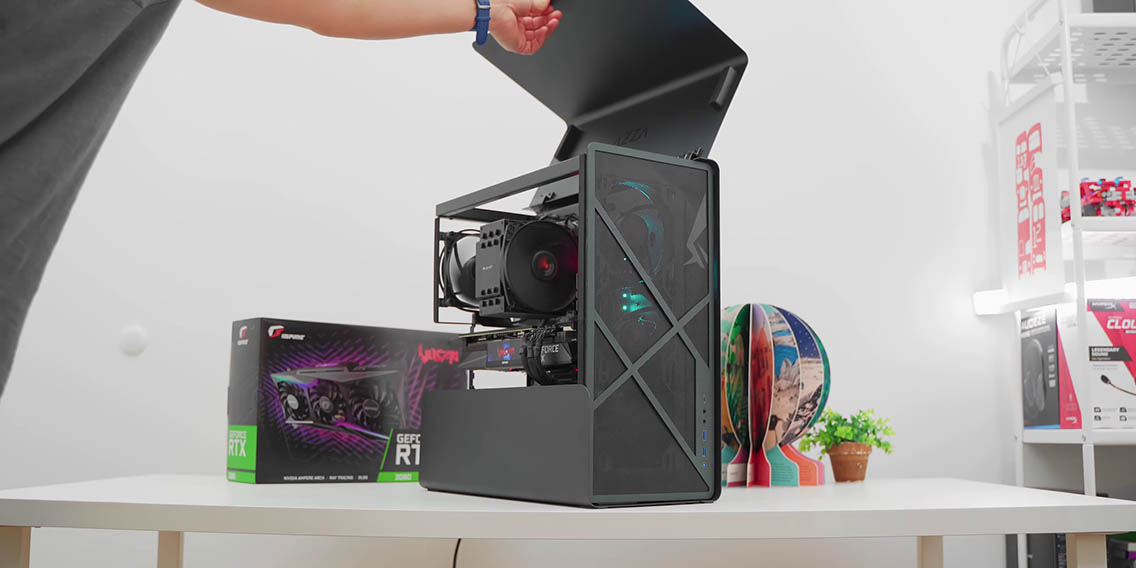
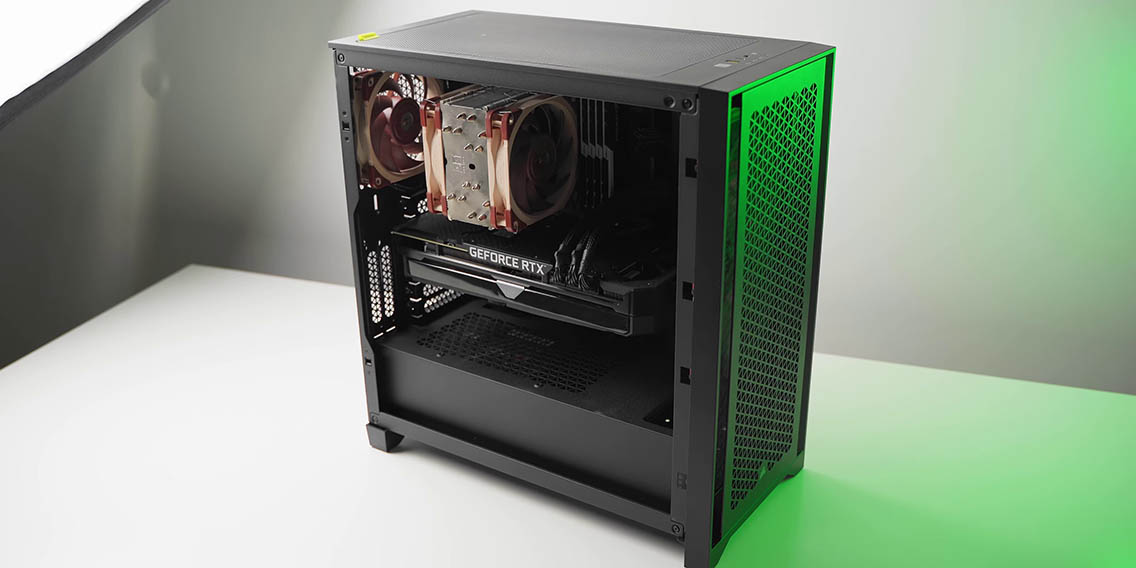

There are so many examples of cases that hinder your user experience and the assembly process rather than guiding you and making sure you have a good time. This mostly falls on those unique cases that try to do something different, but completely fail to deliver a user-friendly experience. Cases like the Azza Cast where you build a system inside an interior frame that you then have to transfer into the exterior shell that blocks any access behind the motherboard tray. Swapping out a single cable behind the motherboard tray would require you to remove that entire interior frame, redo your cable management, and then put that back in, screw everything back together, and it’s just not the right approach. The ASUS Z11 is a unique beast of a case, but the ITX motherboard I/O is on the interior, so plugging in the USBs or anything into your GPU is just a complete nightmare. Instead of reaching to the back of the motherboard on a traditional case, you have to remove four panels, route everything, make sure you pass the cables through the bottom panel and through the frame, and also access to the GPU is just so difficult. This is why I gravitate to cases like the Corsair 4000D or the Fractal Design Meshify 2, because the overall user experience is so satisfying. Zero stress, no hassle, no frustration, it’s done and you’re happy with the process.
Windows Media
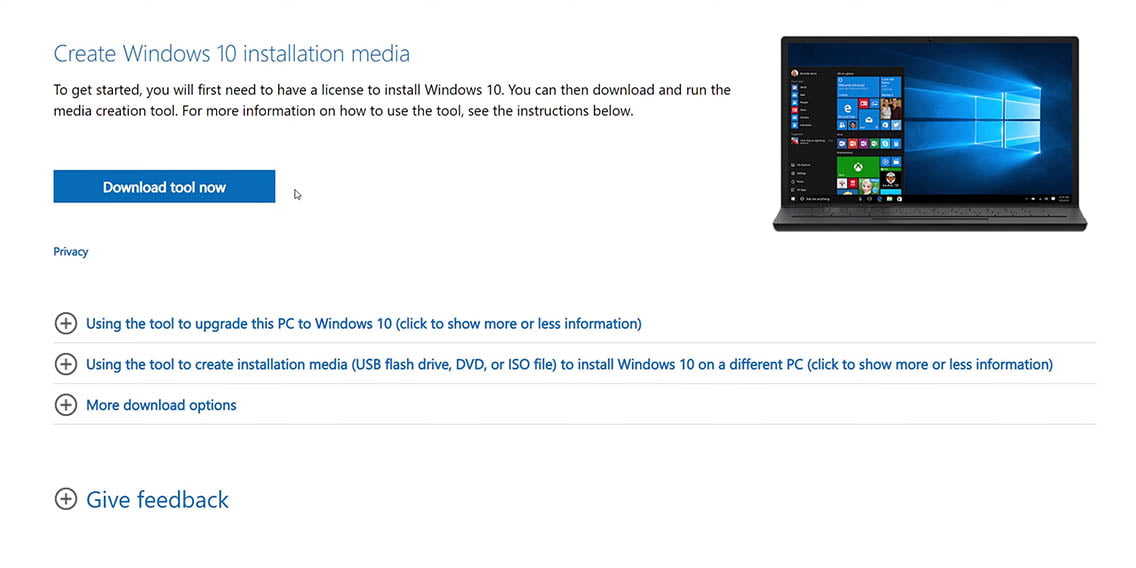

The last one installing is that Windows from a USB drive has become incredibly easy, but I have made this mistake multiple times where I do not download the latest installation media from Microsoft. Therefore, when I install Windows and connect to the internet there are hours of Windows updates waiting for me. So make sure to download the latest installation media from Microsoft, so you don’t have to wait for Windows to update, and you can just jump into your using your new system. I’m sure there are plenty more annoyances when it comes to PC building, I would love to hear yours.