There’s Something GROWING In My Loop!

Share:
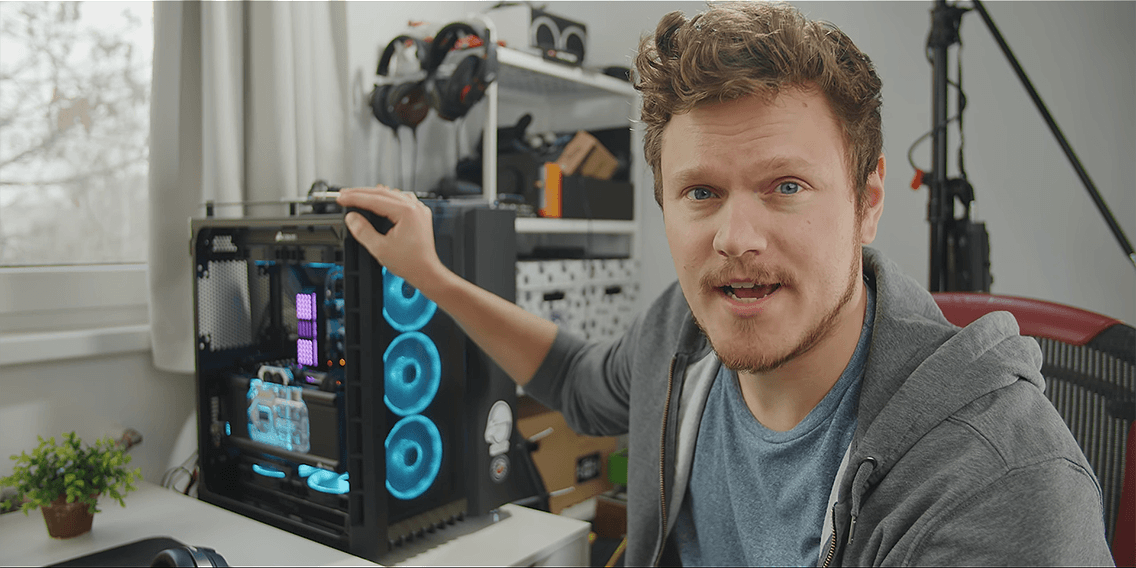
Up until now I could not have been happier with my custom ThreadRipper water-cooled machine. This thing is an absolute beast and has been running flawlessly for the past few months. It’s also been an amazing platform on which to build and develop my RGB LED lighting skills.

You can check out the full experience of how this workstation was built in a two part series: Part 1 – “Threadripper PC Build Update!” and Part 2 – “It’s Done! The EPIC Workstation Build Is Alive!”.

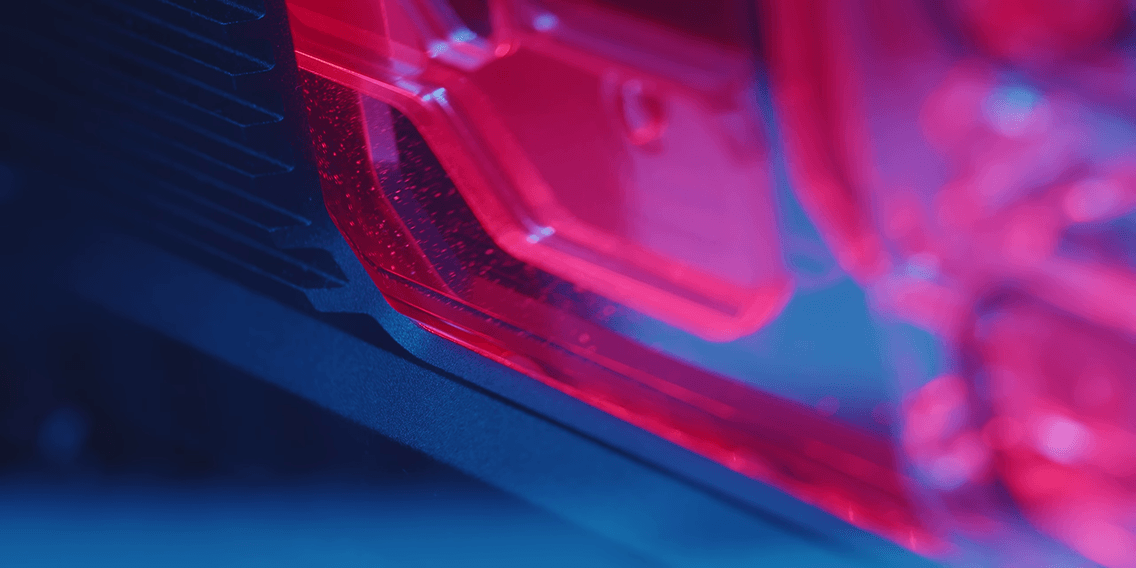

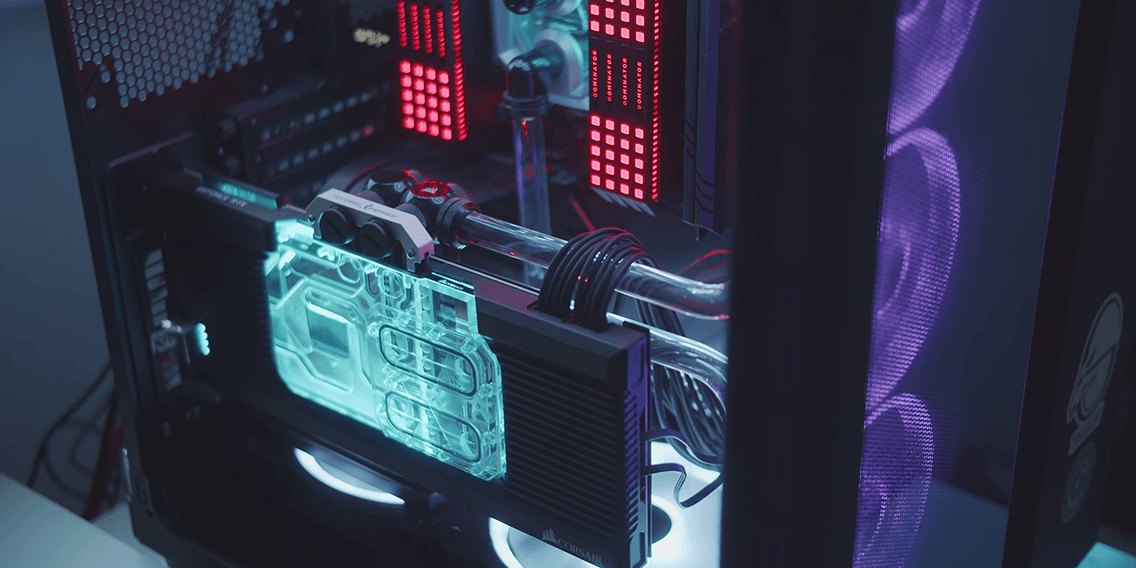
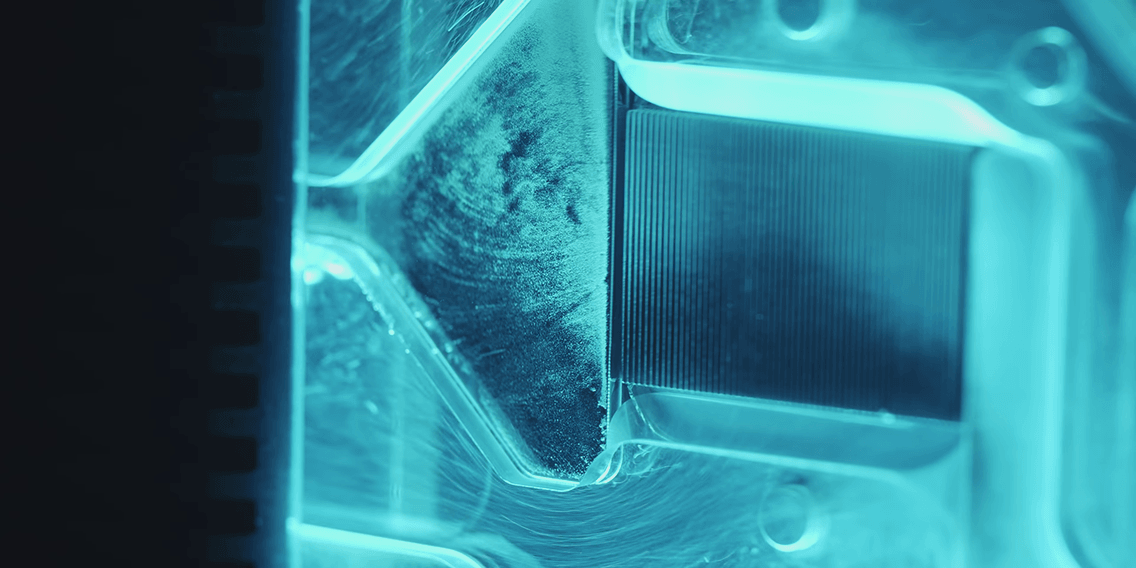
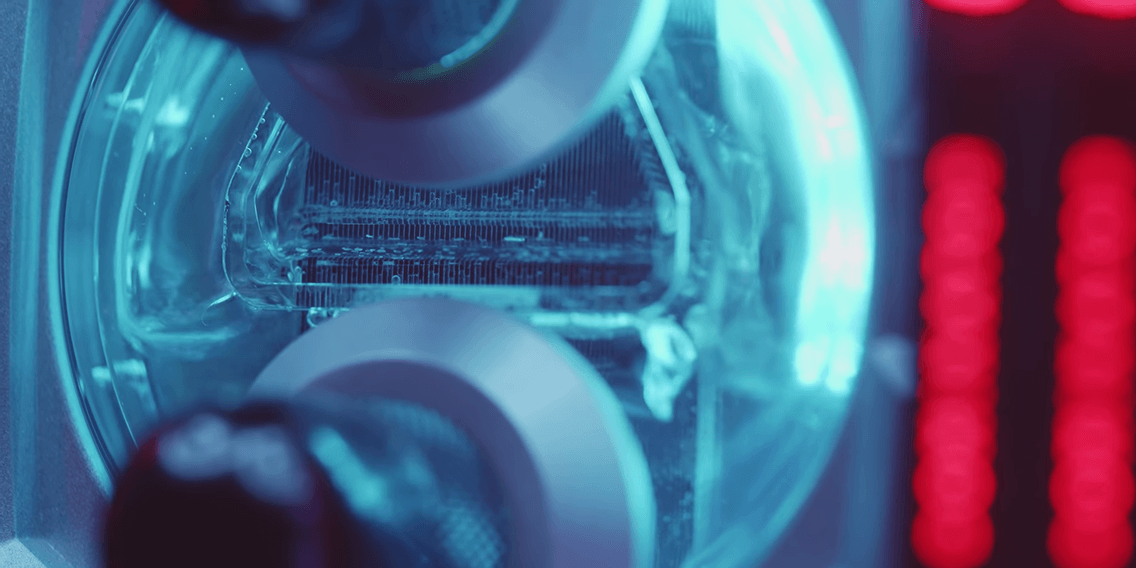
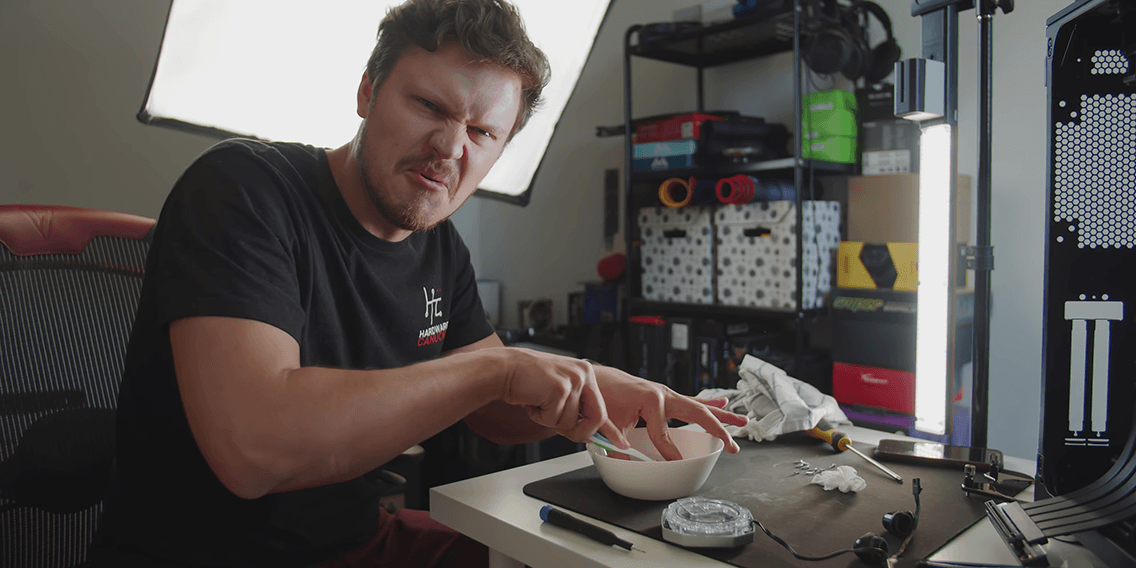
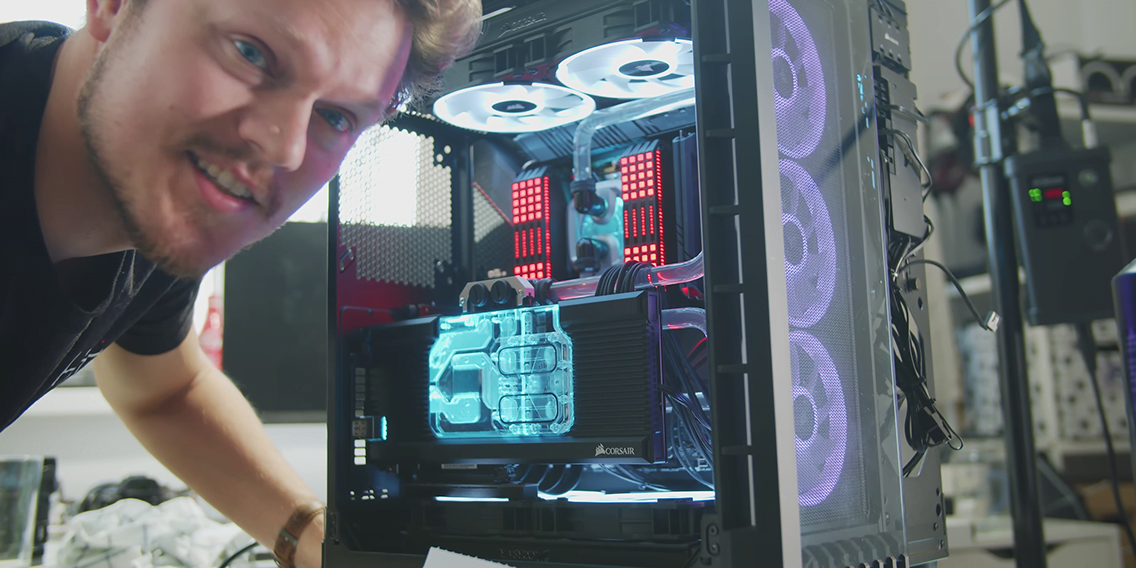
However, I have a little bit of an issue… there is something growing inside the loop. Luckily it is not organic, so it’s not growing and taking over, but I don’t know what to do. This is exactly the reason why I avoided going into custom water cooling for so long, because the eventual maintenance creeps up. The first issues arose when I was traveling for two weeks and then came back to the office, I turned the machine on and I noticed these white little particles were flowing through the loop. Initially, I thought there were just bubbles that had accumulated while the system was idle, but no they were actual particles flowing through. Then I noticed something really strange, which is that those particles were really fine and started to rise up to the top of the reservoir. Those particles were also starting to distribute themselves throughout the loop on the GPU block, on the CPU block, and at the bottom of the reservoir as well. I was even considering taking a sample and bringing it to a biology lab, but I realized that this thing is not organic.


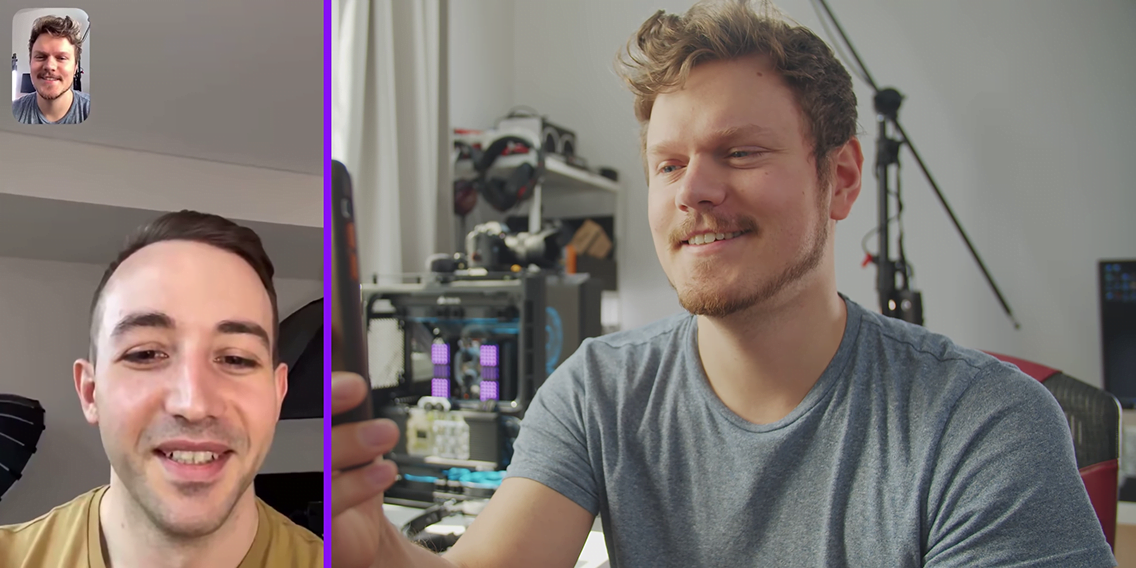
In this article, we are going to talk to a few experts on what to do when these things happen. I will guide you through my journey of draining my very first water-cooled system, and replacing the GPU block because that thing is nasty. Since I don’t know the answer, I would like to get some opinions on what is happening inside my loop. Let’s call my friend Ali Sayed from Optimum Tech to see what he has to say. He has not yet seen what is happening in the GPU and blocks, I just want to get his live reaction to this issue, which is issue that probably stops most people from water-cooling in the first place. So let’s give him a call:
Dmitry: Hey, what’s up man?
Ali: Not much, what’s going on?
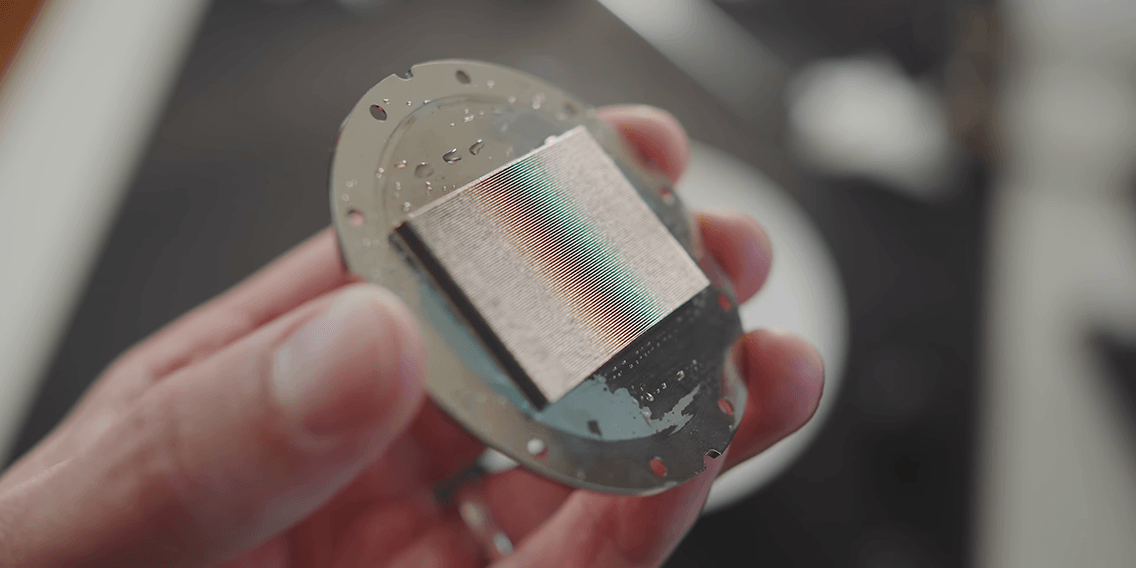
Dmitry: Well there’s a problem with my water-cooling loop. The GPU block should not be that colour. It has this yellow tint.


Ali: Oh, I see. Yeah, I see that, what’s going on there? I thought this was not part of the loop. I thought that was part of the block, like the plate.
Dmitry: Have you seen anything like it? Like this is not organic. This isn’t something that’s growing inside of it. It’s more like fine particles that have settled throughout the block. Like at the bottom there.
Ali: I definitely haven’t seen anything like that. Honestly, if it’s just like really fine particles you might not have don’t have to pull the block apart or anything. See how it goes just flushing it out. Good luck, hopefully you don’t have to pull the whole thing apart cause that’s going to be a nightmare.


Option #2, let’s call JayzTwoCents to see if he can help.
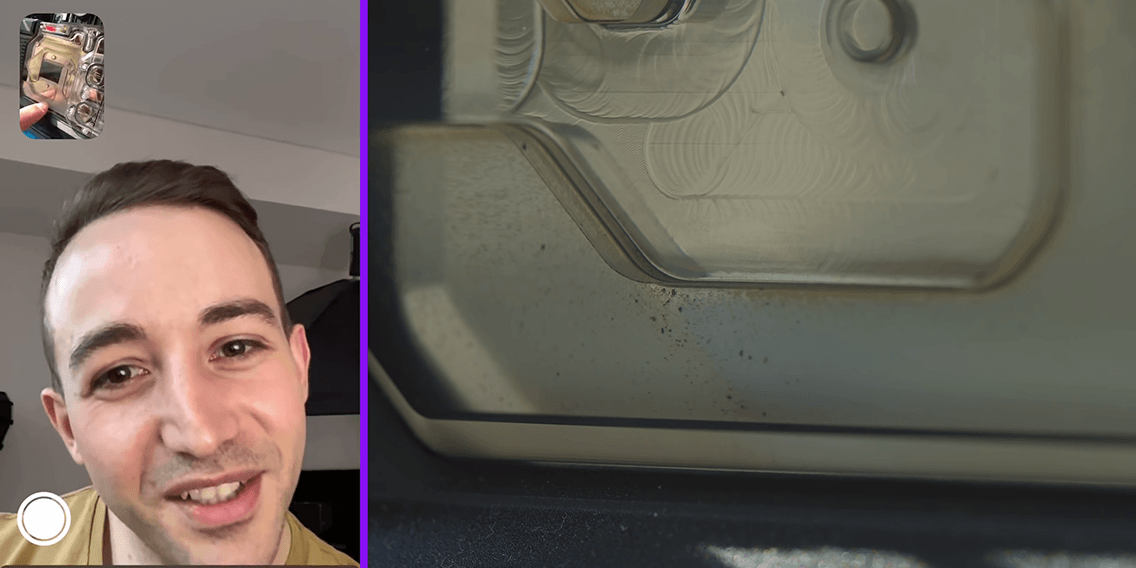
Dmitry: Are you ready to see this nastiness? Let me know what you think. You can see some discolouration happening, there is a bit of yellow right and a bit of white. The interesting part is that it’s not actually part of the loop where the water goes. It’s underneath the transparent piece.
Jay: Yeah, you will experience that in almost every block. Were you using reusing soft tubing?
Dmitry: No, brand new hard tubing.
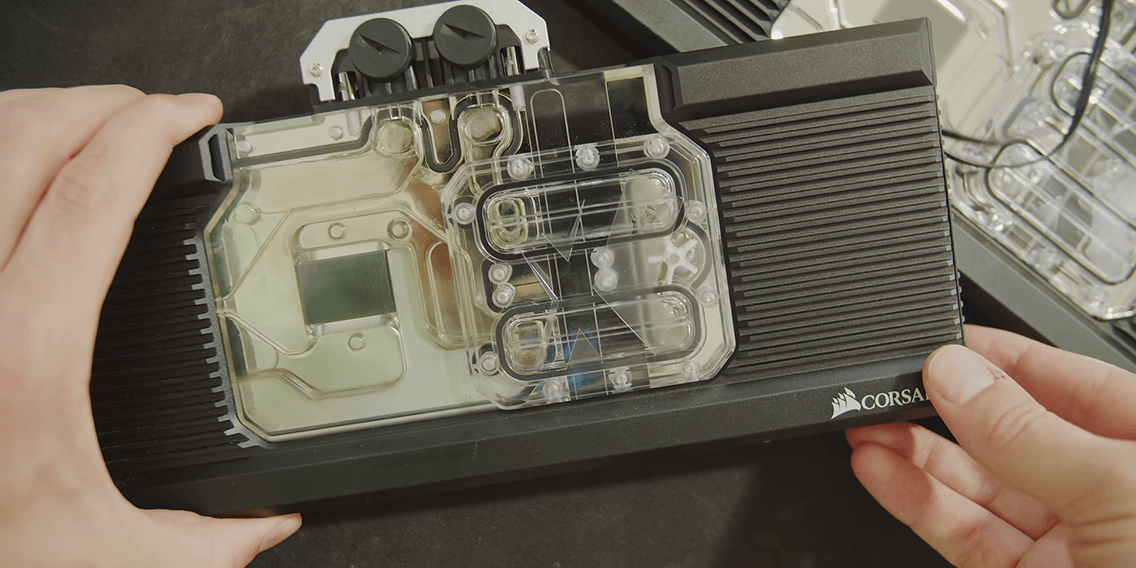

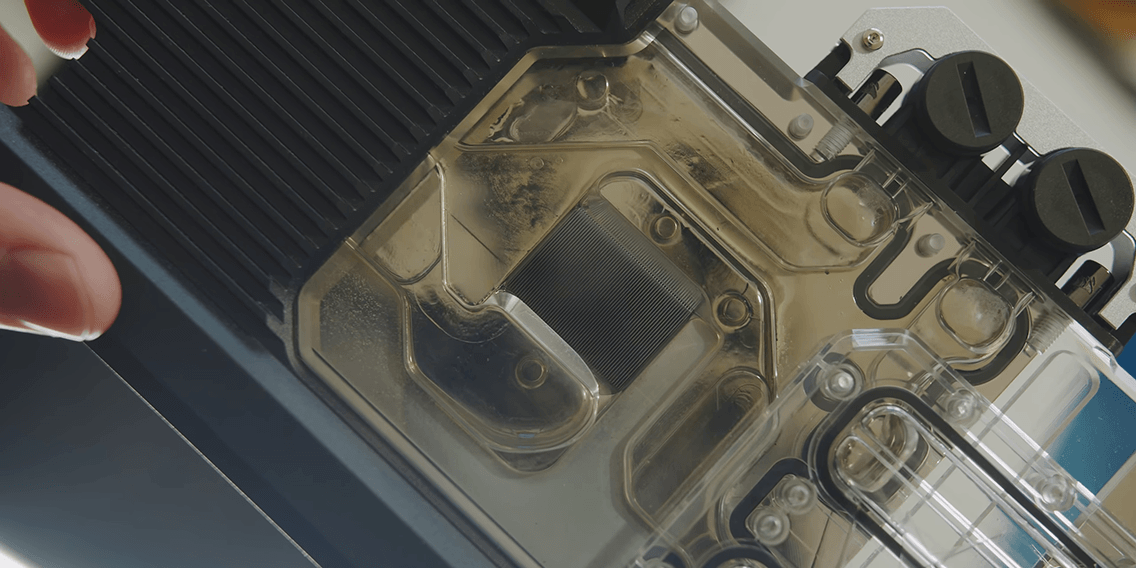

Jay: What happens there is the only O-rings that exist are kind of around the exterior to keep it within its channel. And then underneath the main block, which is probably covered by that metal, there is an O-ring that goes all the way around the exterior. But what happens is you only have acrylic touching the actual metal and so it doesn’t make a really good seal, and what you’re getting through there is just some of the residue that is pretty much a part of every fluid except distilled water. Due to the temperature changes from the block getting warm from load and you get some expansion and some contraction of the plastic and the metal, which allows for gunk to eventually work its way up in there. Every block I’ve ever done has had that sort of a residue, but what’s interesting is the way yours is kind of a yellowy colour. That’s why I asked if it was soft tubing, because the soft tubing has plasticizer in it.
Jay: That block is holding up really well though. Actually, if you wanna know the truth, that’s one of the cleaner messes that anyone has shown me.
Dmitry: Oh really? Haha.
Jay: Yeah. I don’t think a lot of people realize that that’s going to happen on every block that has an acrylic top like that. There is always going to be kind of a buildup that happens between the layers and if you disassembled that block it would just wipe off with a damp paper towel and detergent. It wouldn’t even need any scrubbing. Opening the blocks is a must, and it’s easy enough you just need Allen/hex keys and usually they come apart really easily. You have to clean those channels out, because if you leave any of that in there it just gives another place for stuff to start catching and building up again. I also do another step that a lot of people tend to forget about, which is actually disassembling your fittings and cleaning those out to you. Because you will start to get build up inside the actual fitting nozzle itself. A lot of people tend to forget about that, but it’s just another place where you are switching between materials, going from either a PETG or an acrylic tube into a nickel-plated fitting into then a copper block. When you get all those materials near each other reactions can happen.


Dmitry: I’m surprised at how quickly you were able to detect what the issue was, and even explain what the colouration was and what it’s caused by. So I appreciate your insight. Thank you so much.
Jay: There are a lot of people that are going to say water-cooling is totally unnecessary and not worth it – and that is very true for many people – but once you go down that rabbit hole and it becomes a hobby it’s just part of building a computer. And it becomes kind of a fun game to see how long can I get away with this without necessarily having to do a deep clean of all the pieces. You kind of learn which brands you can get away with and which brands you can’t. Glad I could help.


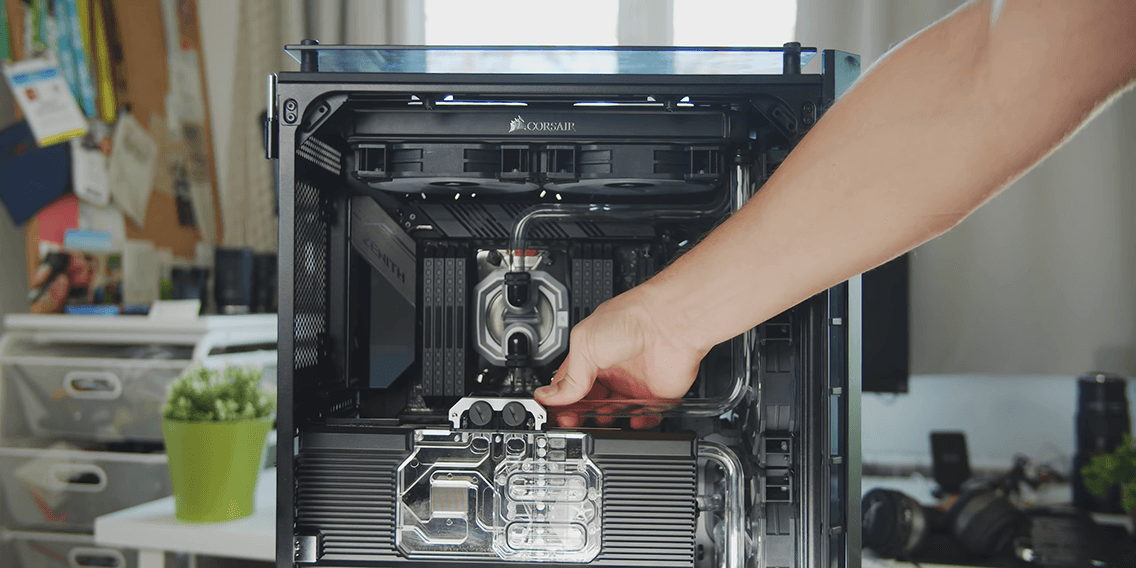
Thanks to Jay I had now had everything I needed to know, so let’s tear down this system. However, since it’s my main workstation, first I transferred all current projects doing this USB SSD just in case.
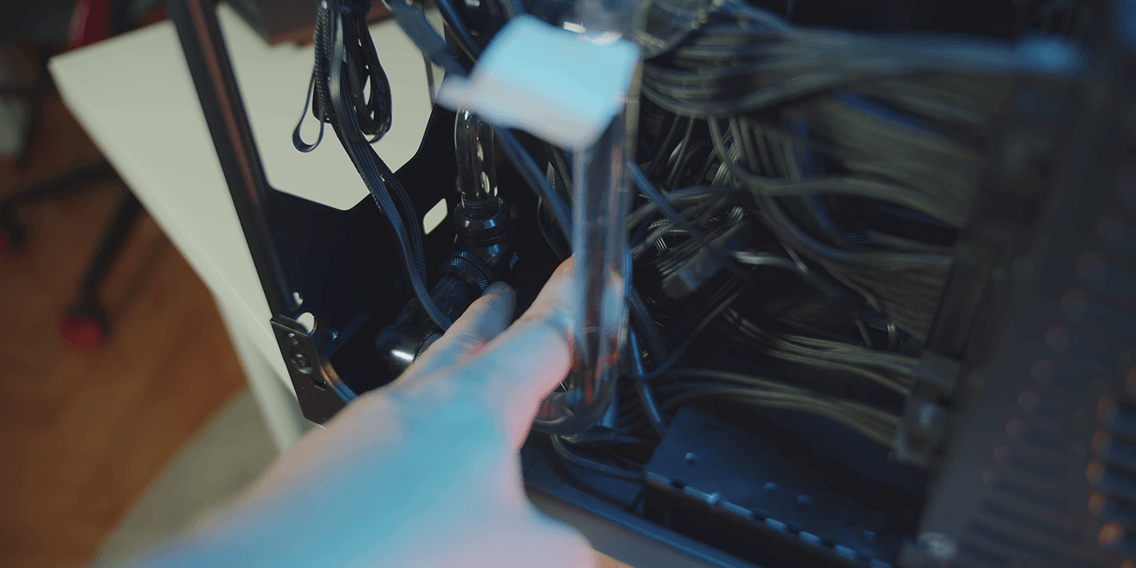
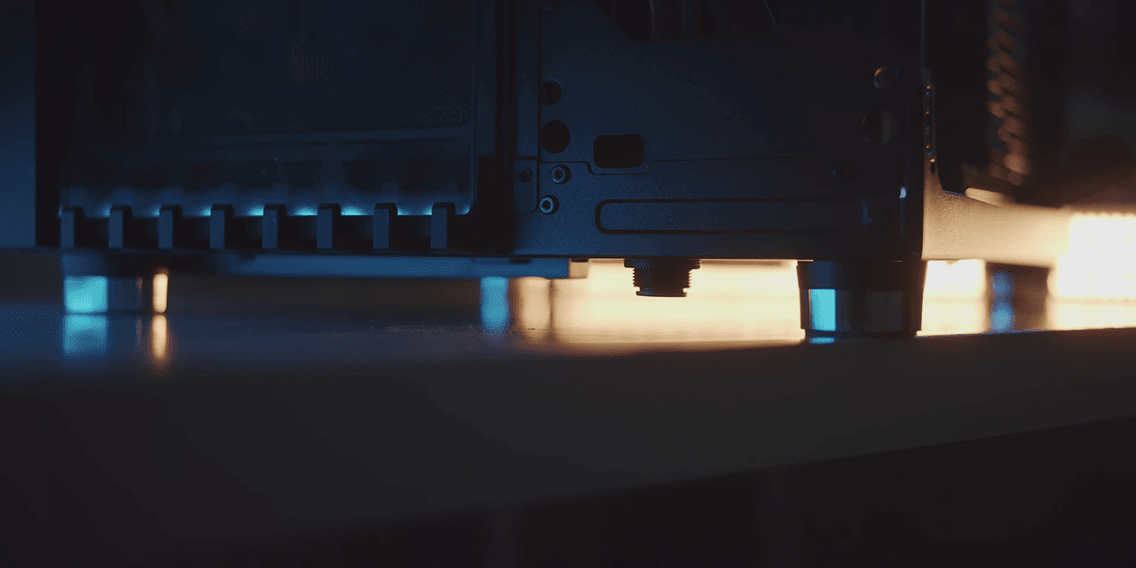


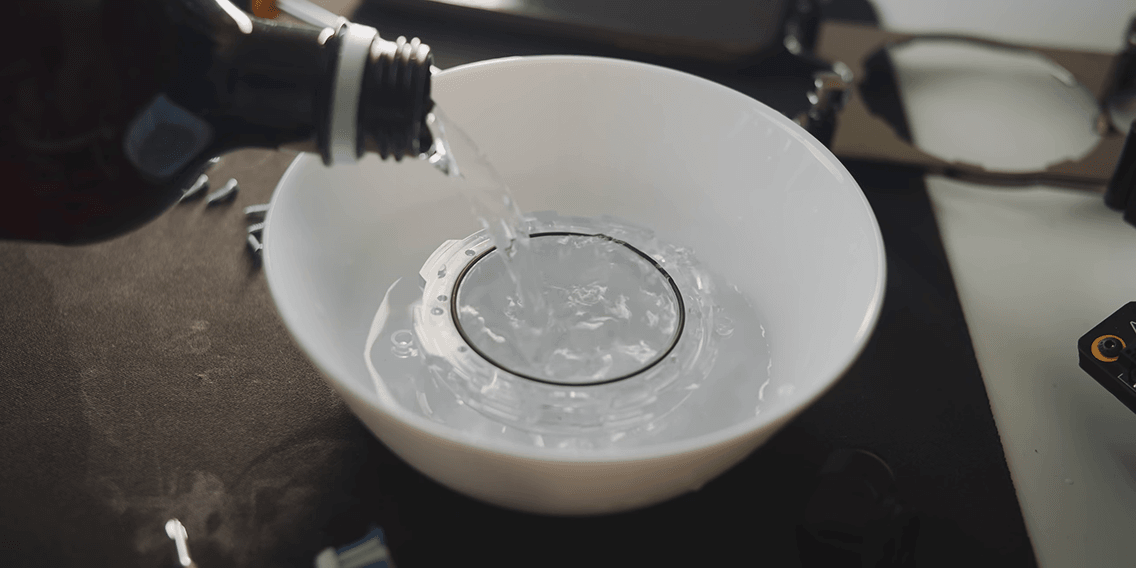
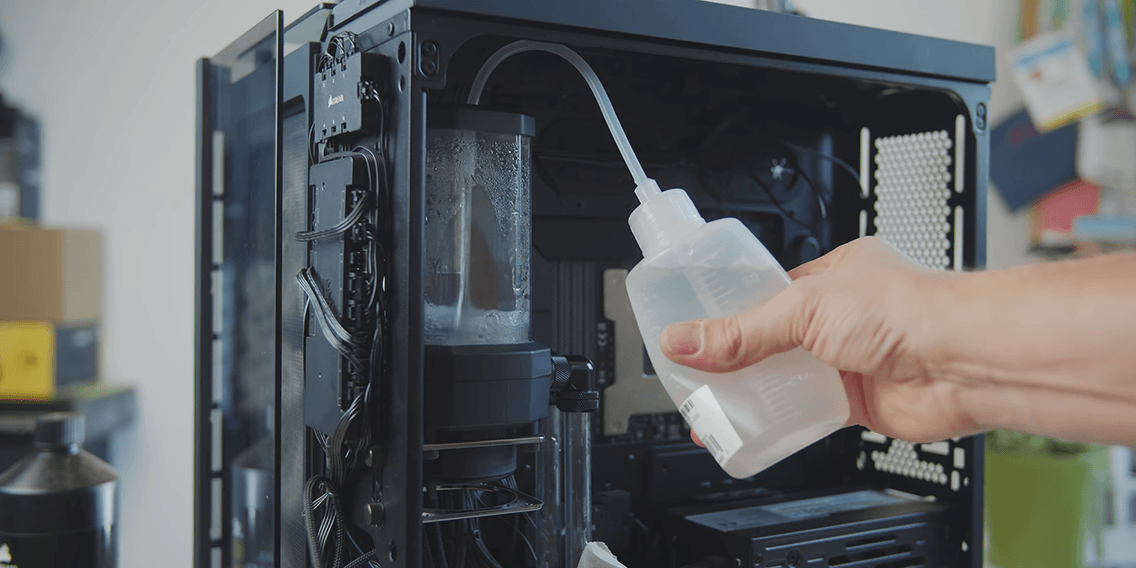
Above you can see the drain port, which is conveniently located at the bottom of the case and is how the system is drained. Once it’s largely drained I refilled the loop with distilled water. As distilled water rushes through the GPU block it’s actually cleaning up some of that build up, which is nice. However, in doing so the CPU block actually got clogged up even more.


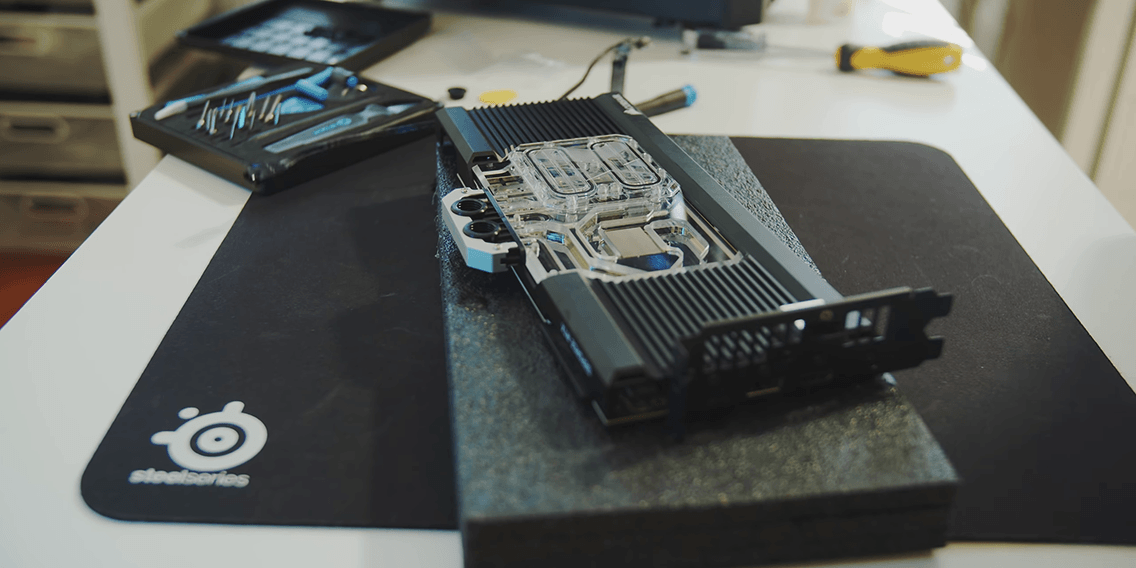

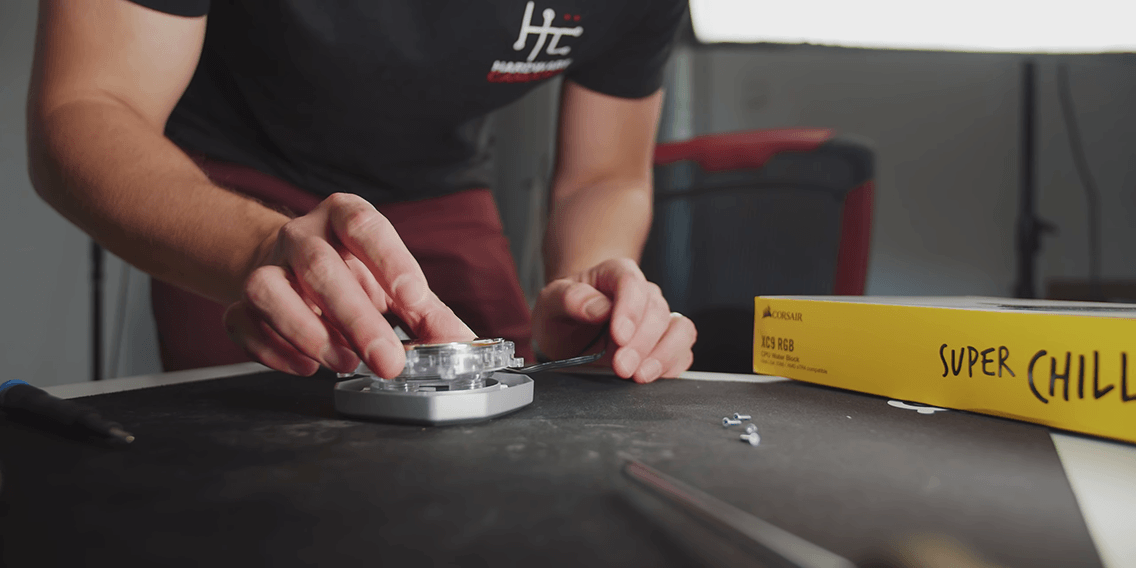
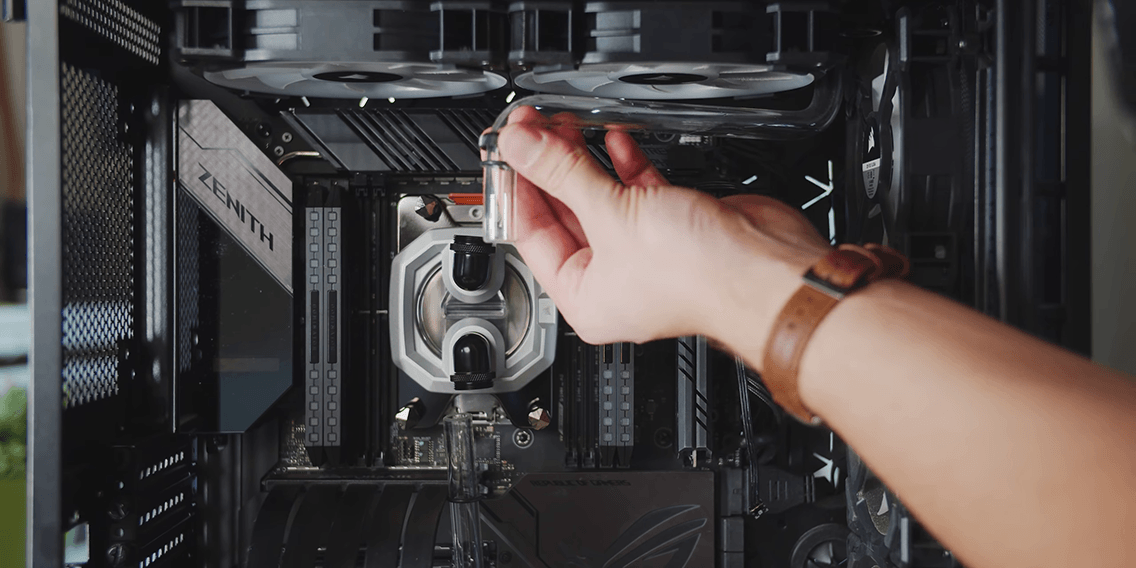
Alright, so the new GPU block is installed. I’m still incredibly impressed with how easy that was, both from ASUS and Corsair’s side. It’s looking super clean, I love that look. Now it’s time to take out the CPU block and clean it, because apparently it’s actually quite easy to disassemble it, clean it with a toothbrush and some distilled water, and put it back together. There is only one way to put it back together, so there shouldn’t be any way for me to mess that up. The good thing is that I can leave some of the tubes in place attached to the radiators and just take out the CPU block by itself, which makes the reinstallation of everything back into the case much easier. This also gives me an opportunity to dust it and clean everything.
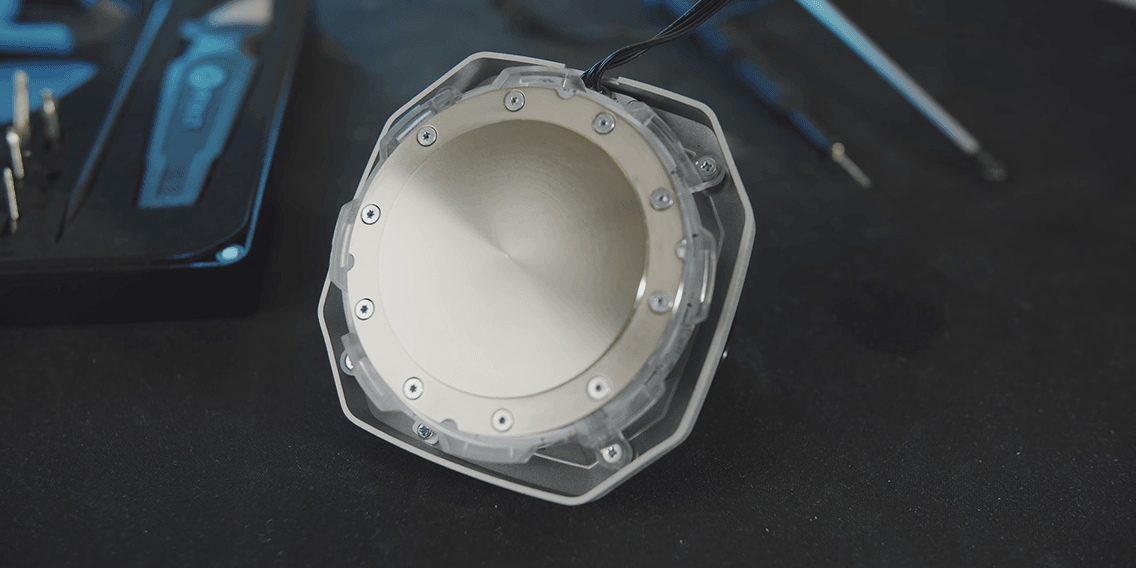
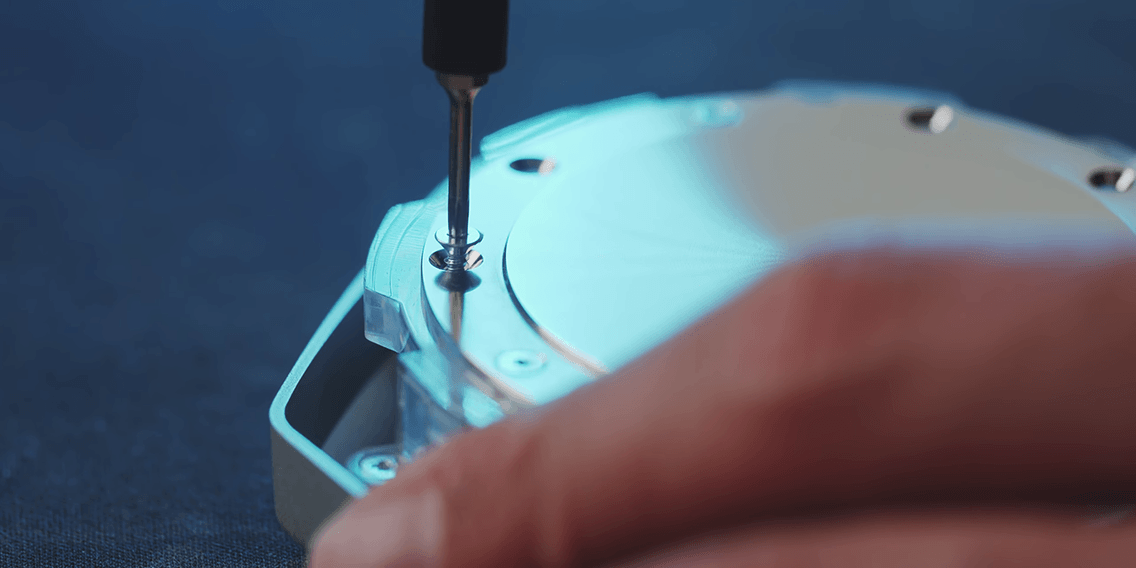


Now it’s time to take out the CPU block and see what the damage is. Unfortunately, the state of the CPU block is worse than I thought, so let’s give it a good clean with a toothbrush inside a distilled water bath. I used a white light intentionally just to show you how much residue has come off. It’s looking much better. Let’s move on to the rest of the block that you can also disassemble, and here we finally see some of the darker and larger particles that are present inside the GPU block as well. I worked on the base plate some more while the rest of the block was air drying.

And then it was time to piece everything back together with the properly cleaned CPU block and a brand new GPU block.
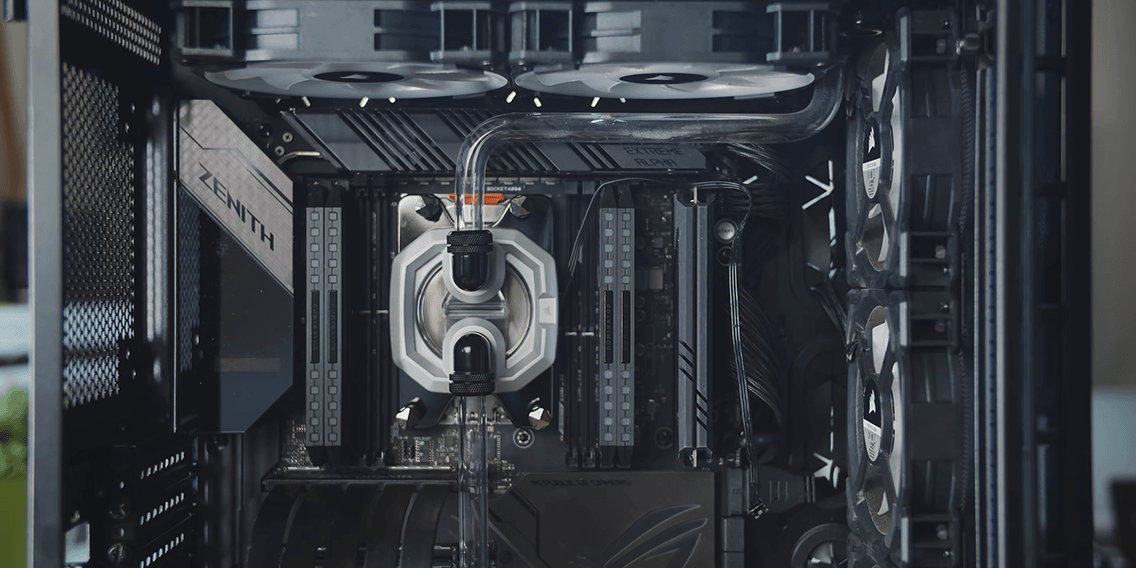

No leaks so far, that’s a good sign. The GPU block is almost filled and the CPU block is about halfway there. With that done we have ourselves a working system once again.
Alright, so now let’s talk to Hans-Peter, the gentleman who helped me build this workstation.


Dmitry: What is your best guess on why this happened?
Hans-Peter: If I have to do one guest it would be that the coolant reacted with the radiators. Like either the radiators might not have been properly cleaned, the ones that you got or the coolant has been from a bad batch or something. However, it’s so hard to tell because random stuff like this will just happen. The amount of residue that you had was quite substantial. When you first mentioned it I thought that it was just a slight film on the surface, but after seeing the pictures that was a lot of white stuff in there. I was quite surprised, because I have actually only seen that in I think one or two builds. One of which I made here at home with some very old parts and some of the first radiator and coolant samples that we have got. One of the things about water cooling is that sometimes stuff like this will just happen. It won’t be often, but you might just be unlucky run into something like this. I’ve seen some weird stuff with water cooling, like things that aren’t supposed to happen happen like clear cooling turning purple. It’s way better now than it was 5 or 6 years ago, because at that time things were a bit more sketchy. Today we do have some better parts and problems like these are way less common.
Dmitry: Well thanks Hans-Peter for your contribution and maybe look out for messages from me when I need more help.

In the end, the system is looking like Day 1 with clean blocks and no dust anywhere. I’m actually quite surprised at how little dust there was in the in there. It is quite eye opening to see what type of maintenance is involved when it comes to cleaning the blocks and discovering any issues. The good thing is cooling was perfectly fine even with the clogging on the CPU block and all those particles inside the GPU block.
Let’s go back to some wise words from JayzTwoCents and Hans-Peter:
Jay: I think a lot of people underestimate the amount of initial drainings that you have to do to get all of the oxidation reaction to stop happening. As I was explaining there is some chemical reaction or metallurgy reaction that happens between copper and liquids. It’s always going to be there, but to what extent is really going to depend on just how neutral the pH balance of your system is.
Hans-Peter: One of my rule of thumbs is that I will change something if I can see that something is wrong. If temperatures suddenly started to get real bad or something like the gunk that was in your loop shows up, even though what happened to your loop didn’t affect temperatures at all, it was only visual.

I hope you found all the conversations with our guests helpful. If you are planning to build a water-cooled system keep in mind about what could happen with the blocks, especially if they are visible. All the alloys and the liquids and the interactions between everything that is inside of it can cause issues like you saw in my loop. I’m hoping this system will last before another year or so, it has been an absolute pleasure to use it for editing, so let’s see what happens!.